- Home
- :
- All Communities
- :
- Services
- :
- Esri Technical Support
- :
- Esri Technical Support Blog
- :
- Setting up a proxy with Web AppBuilder for ArcGIS ...
Setting up a proxy with Web AppBuilder for ArcGIS (Developer Edition)
- Subscribe to RSS Feed
- Mark as New
- Mark as Read
- Bookmark
- Subscribe
- Printer Friendly Page
Please note: This blog assumes you have already downloaded, hosted, and properly configured a proxy. Unsure if you’ve done this? No worries; just follow the instructions HERE .
Just to recap, here are some reasons to set up a proxy with a Web AppBuilder application.
- Access secured services with token-based authentication
- Going across domains for your resources
- Request exceeds 2,048 characters
- O-Auth 2.0 app logins used
- Enables logging
- Both resource and referer based rate limiting
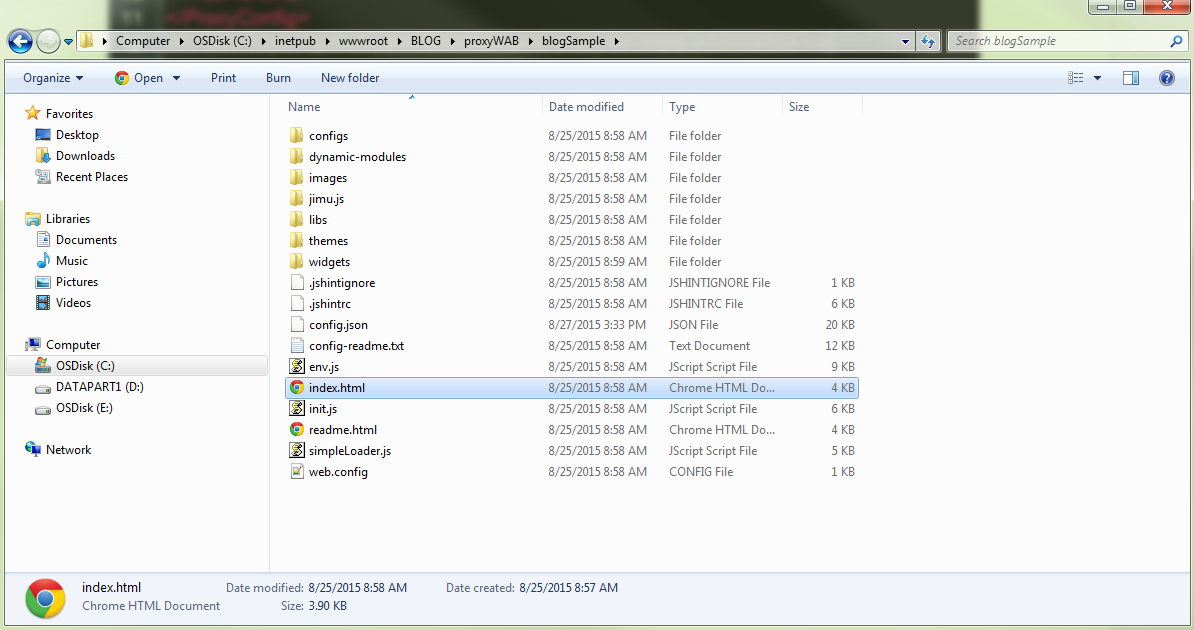
To make sure we’re all on the same page, let’s clear the murky water. A marvelous application has been created inside the Developer Edition of Web AppBuilder. Go ahead and double check to make sure that the application has been downloaded and deployed on a web server.
Two things are secured:
- An ArcGIS Online web map shared with the organization
- An ArcGIS for Server map service secured using ArcGIS Server built-in with ArcGIS tokens
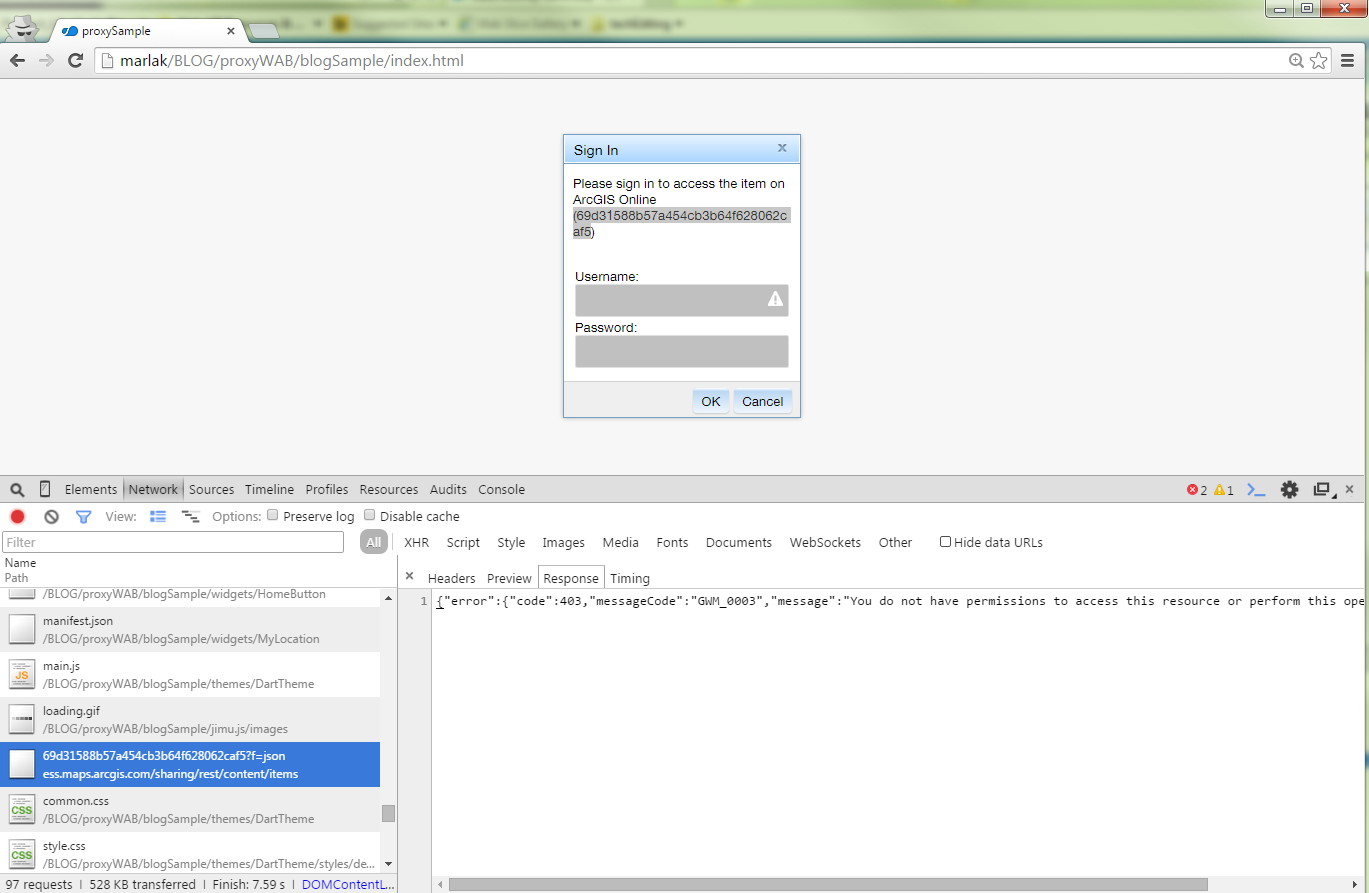
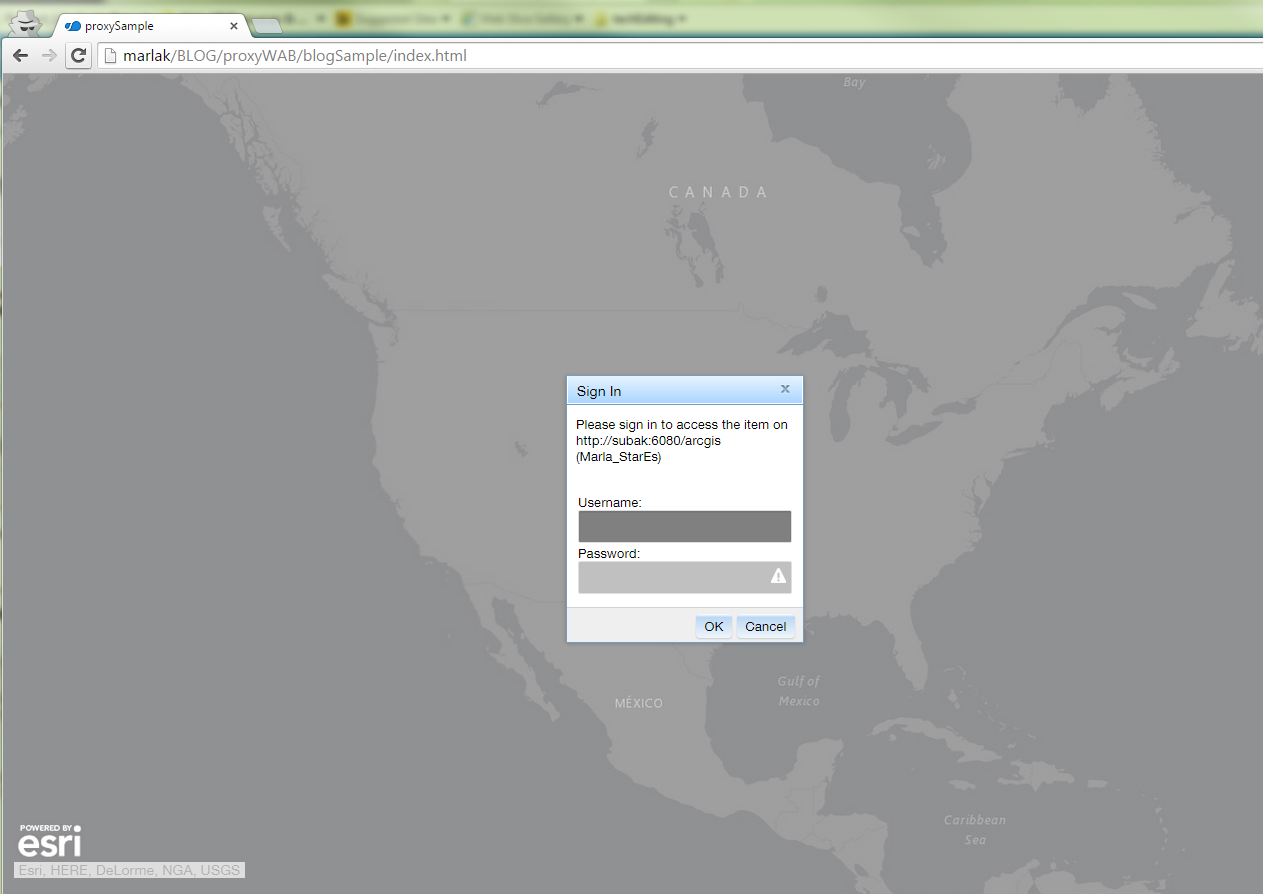
In this example, we’ll have two challenges when we run the application: one, authenticating the secured web map and two, securing the ArcGIS for Server map service.
When we open the developer tools and take a look at the Network tab, we can see that the response returns a 403 error when accessing the ArcGIS Online web map. This is because by default, an anonymous user doesn’t have permission to access this resource.

challenge for securing a web map
For the second challenge, we see that in the Network tab, the application fails to load the service, returning a 499 token required error. This tells us that to access the content, we need to pass a token.

challenge for securing an ArcGIS for Server map service
Alright, now we're ready to dive in!
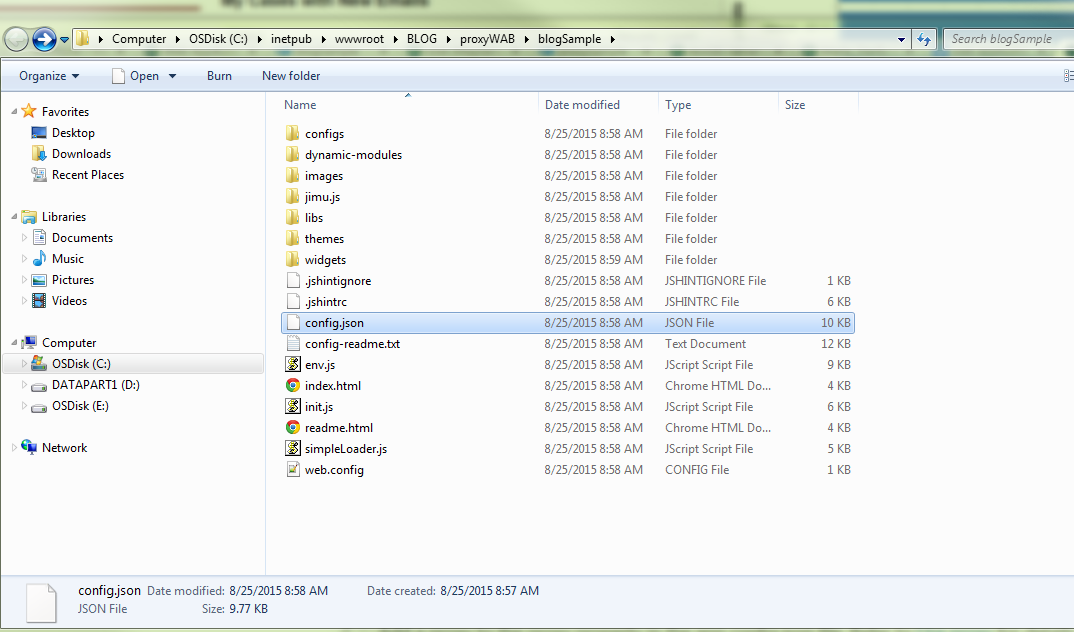
1. In Windows Explorer, open the application's "config.json" file.

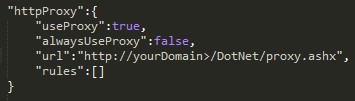
2. At the very bottom of the file, there is a cozy spot to add the proxy rule to the application.

The parameter useProxy (Boolean) is set to true by default. If it is set to false, all requests will not use a proxy.
The url (String) parameter is optional, which is the URL of the proxy location. When a request must use a proxy for a Cross Domain request, or a request is larger than 2048 characters, this proxy will be used.
The alwaysUseProxy (Boolean) is also optional and set to false by default. If set to true, all requests for communication to a REST endpoint will use the proxy set in the url parameter.
The rules (Object[]) parameter is also optional and, if set, defines specific requests that will use the proxy.
3. Since we have two secured resources, we can channel the requests through the proxy to authenticate. To do this, we need to add some proxy rules to the config.json file.

proxy rules
The first rule is for the web map shared to the organization, and the second rule is for the secured ArcGIS for Server service.
The urlPrefix property tells the application that when you see this prefix in the request, use the proxy to access the resource. The proxyUrl property tells the application where the proxy is located.
Web maps can be shared with the organization, or not shared at all. By using clientId and clientSecret, we can authenticate the web map or resources inside the web map. If you are working with an ArcGIS Online hosted feature service, you MUST be the owner of that hosted feature service to authenticate using an app login.
4. Set up the serverUrls in the proxy.config file. Since we have two rules, we will also have two serverUrls.
When working with content secured in ArcGIS Online (such as a secured web map or a secured hosted feature service), it is highly recommended to use a client id and client secret to authenticate. We will be using an ArcGIS for Server username and password for services hosted on ArcGIS for Server.
Need help registering an application to get a client id and client secret? There are two ways to do this! The choice is yours, and yours alone...they produce the same results; it’s just your personal preference.

serverUrl in the proxy.config
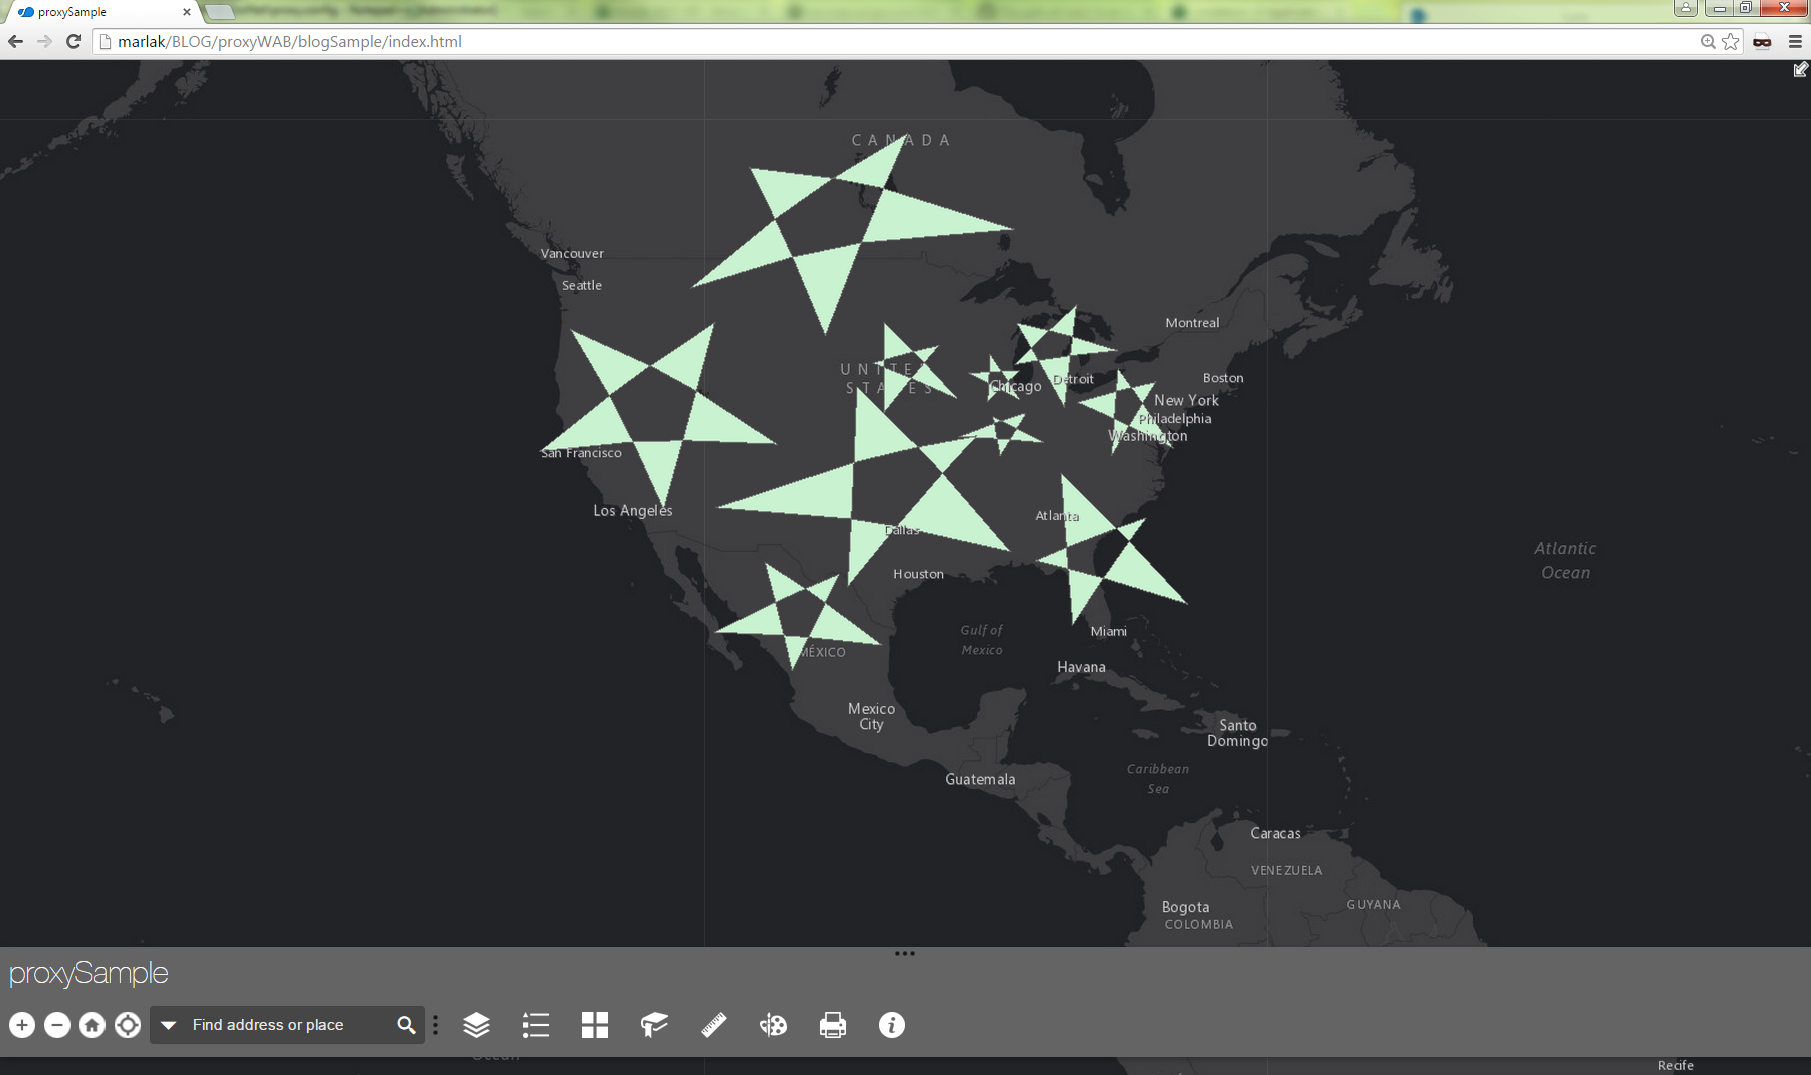
Beauty! We added the proxy rules in the config.json and configured the serverUrl in the proxy.config. Make sure to save those two files and run the application in a web browser!

Look at that, you’re a *S*T*A*R* ! Now you’re a pro at setting up a proxy with Web AppBuilder! Have fun creating and designing beautiful apps!

Marla K. & Akshay H. - SDK Support Services
You must be a registered user to add a comment. If you've already registered, sign in. Otherwise, register and sign in.
-
Announcements
70 -
ArcGIS Desktop
87 -
ArcGIS Enterprise
43 -
ArcGIS Mobile
7 -
ArcGIS Online
21 -
ArcGIS Pro
14 -
ArcPad
4 -
ArcSDE
16 -
CityEngine
9 -
Geodatabase
25 -
High Priority
9 -
Location Analytics
4 -
People
3 -
Raster
17 -
SDK
29 -
Support
3 -
Support.Esri.com
60
- « Previous
- Next »