- Home
- :
- All Communities
- :
- Products
- :
- ArcGIS QuickCapture
- :
- ArcGIS QuickCapture Blog
- :
- ArcGIS QuickCapture: Hazards project tutorial
ArcGIS QuickCapture: Hazards project tutorial
- Subscribe to RSS Feed
- Mark as New
- Mark as Read
- Bookmark
- Subscribe
- Printer Friendly Page
In this step by step tutorial you will learn how to create an ArcGIS QuickCapture project using the hazards feature layer template and the ArcGIS QuickCapture designer. This is meant to be an introductory tutorial for building ArcGIS QuickCapture projects.
Pre-requisites
- Some basic familiarity with ArcGIS Online.
- A mobile device.
- An ArcGIS Online or Enterprise account with permissions to publish feature services (Creator user type, for example)
Context
In this exercise, we will create a project to help field workers document hazards of different types. You will create and share a simple project for users to locate, categorize and take a photo of the hazard from the ArcGIS Quickcapture mobile app.
Overview
This step by step tutorial will guide you through the following:
- Creating an ArcGIS feature layer using a predefined feature layer template.
- Exploring and extending your feature layer for use within ArcGIS QuickCapture.
- Configuring your ArcGIS QuickCapture project with QuickCapture designer
- Downloading and testing your project in the ArcGIS QuickCapture mobile app
- Sharing your ArcGIS QuickCapture project.
- Viewing results.
Following the entire tutorial to completion will take approximately 45 minutes.
Creating an ArcGIS feature layer using a template
In this step you will create a new hosted feature service using a feature layer template.
Login into ArcGIS Online or ArcGIS Enterprise using an account with permission to publish feature services
Navigate to Content and click on New Item - Feature layer
Search for the template called Hazards and create a new feature layer out of it

Feature layers are the foundation of ArcGIS QuickCapture projects. The ArcGIS QuickCapture mobile app needs a feature layer to store data captured by the end user. The feature layer also defines the attributes and geometry types of the observations captured from the mobile app. The symbology and editing templates in the layer are used to create an initial set of buttons in your ArcGIS QuickCapture project.
Exploring and extending your feature layer for use within ArcGIS QuickCapture
In this section you will explore in detail the default feature templates created in your feature service. You will learn why these feature templates are important to ArcGIS QuickCapture. You will also learn how to add additional fields into your feature service for use within ArcGIS QuickCapture.
In the feature layer item details page, switch to the Data tab.
This is the list of fields currently in the feature layer. These fields can be used to store information about the documented hazards. Next, we will add a couple of new fields which will be populated automatically by the ArcGIS QuickCapture mobile app at the time when the data is captured.
Click on the menu button in the top-right corner of the table and select Add Field
Add a new field to store the horizontal accuracy of the observation captured as a field of type double
Add another field to store the exact time when the observation is made.

As we will see later, ArcGIS QuickCapture can automatically populate specific values when data is captured from the app:
- The speed at which the field user is traveling when an observation is made.
- The direction of travel.
- The exact time when the observation is made
- The latitude, longitude and elevation of the device when the observation is made
- The device model and operating system from which data is captured
- And many other variables
When you author feature layers for use within ArcGIS QuickCapture, it is important that you think about the attributes you will want ArcGIS QuickCapture to populate for you. You will need to create the corresponding fields. The complete list of device variables can be found in our help.
Next, we are going to double check some important settings in your feature service.
Switch to the Settings tab
Make sure the following settings are checked:
- Enable editing must be checked, or otherwise field users will not be able to add data to your layer.
- What kind of editing is allowed must at least allow adding new features. From the ArcGIS QuickCapture app it is not possible to edit (update) or remove features. The mobile app can only add new features.
- It is also good practice to enable the following options: Keep track of who created and last updated features. You do not need to enable sync.
Switch to the Overview tab
Make sure attachments are enabled in your layer if you want to associate photos with your field observations.
You are now good to go, but for completeness, I want to describe in more detail the role of feature templates. ArcGIS feature templates define in a feature layer a collection of pre-configured feature types that can be created from different applications in ArcGIS. It is up to you to define what feature templates are included in a feature service.
Since we created a feature layer from an ArcGIS feature layer template, your feature service already includes a set of feature templates. Lets explore them.
From the Overview tab, click on Open in Map Viewer. This will load your empty feature layer into the Map Viewer.
Click on Legend to display the predefined categories in your layer.
Note that categories such as Wire Down, Flooding or Dangerous Animal already have been configured on your behalf as part of this feature layer template. These feature types and their symbology will be used to define the initial buttons of your QuickCapture project.
Click on Edit, and then on Manage. This will open a dialog from which you can modify the feature templates.
Note that each feature template specifies what default attributes will be stored when a new feature is created. All these values and rules will be used to define the behavior of your buttons in ArcGIS QuickCapture. We will learn later how to use ArcGIS QuickCapture designer to further refine the look and feel and behavior of buttons in your ArcGIS QuickCapture project.

Configuring your project with QuickCapture designer
If you have a good feature layer design, most of your job is done. Lets learn how you can kick-start your ArcGIS QuickCapture project now.
Open QuickCapture from the App Launcher or alternatively navigate to https://quickcapture.arcgis.com and login with your ArcGIS credentials.
Click on New Project and choose Start from existing layers
Select the new feature layer you created and hit next
You can select one or more feature layers to create your ArcGIS QuickCapture project. Before you can create it, you will need to define a title, tags and also a data-recovery e-mail. The data-recovery e-mail will be used by the ArcGIS QuickCapture mobile app in the event that field users have trouble uploading data through your ArcGIS QuickCapture project. In that case, you will receive an e-mail with an attachment including the data that failed to upload.
Complete the title and other properties and click Create.
By default, QuickCapture designer creates a group of buttons for each layer in your feature service, and one button for each feature template. The symbology of your feature template is matched to equivalent display properties for your buttons.
Through ArcGIS QuickCapture designer you can easily change the visual characteristics of your buttons as well as their behavior.
Hover your mouse over the label of the Hazard group and click to select it.
Change the number of columns to 2
The number of columns used to display your buttons is an important decision. Switch the preview across the different from factors to see the impact of your selection in the project. If your field users will use a tablet, you can add 4 or even 5 columns to your group. If using a smartphone, you will rarely be able to use more than 3 columns before the labels start getting cut-off.
Click on the Road Not Passable button to display its properties in the right-side panel.
Change some of the display properties, such as Shape, Size, Label, etc. to see the effect it has in your project.
When adjusting the display properties of your buttons, you need to think about your end users and what devices they will be using. Try to maximize the available screen real estate so you can make data capture easier. You will note that you can also reorder to position of buttons within a group.
While your Road Not Passable button is selected, click on the Data section of the right-side panel.
Enable photo capture with this button.
Look for the Horizontal Accuracy and Captured time fields you added before and set variables accordingly.
Note that in ArcGIS QuickCapture you capture data by simply pushing a button. The application automatically associates a location with the selected feature type and also populates attributes as defined in the Data properties of the button.
As you define values for your feature attributes through the Data properties section, you can choose to set a static value, or a value set through a variable. You cannot prompt the user to add free text (comments) or other values for the observation.

You can change the visual and data properties of other buttons in the project and when ready, save the changes.
Click Save to persist all changes you made to the project.
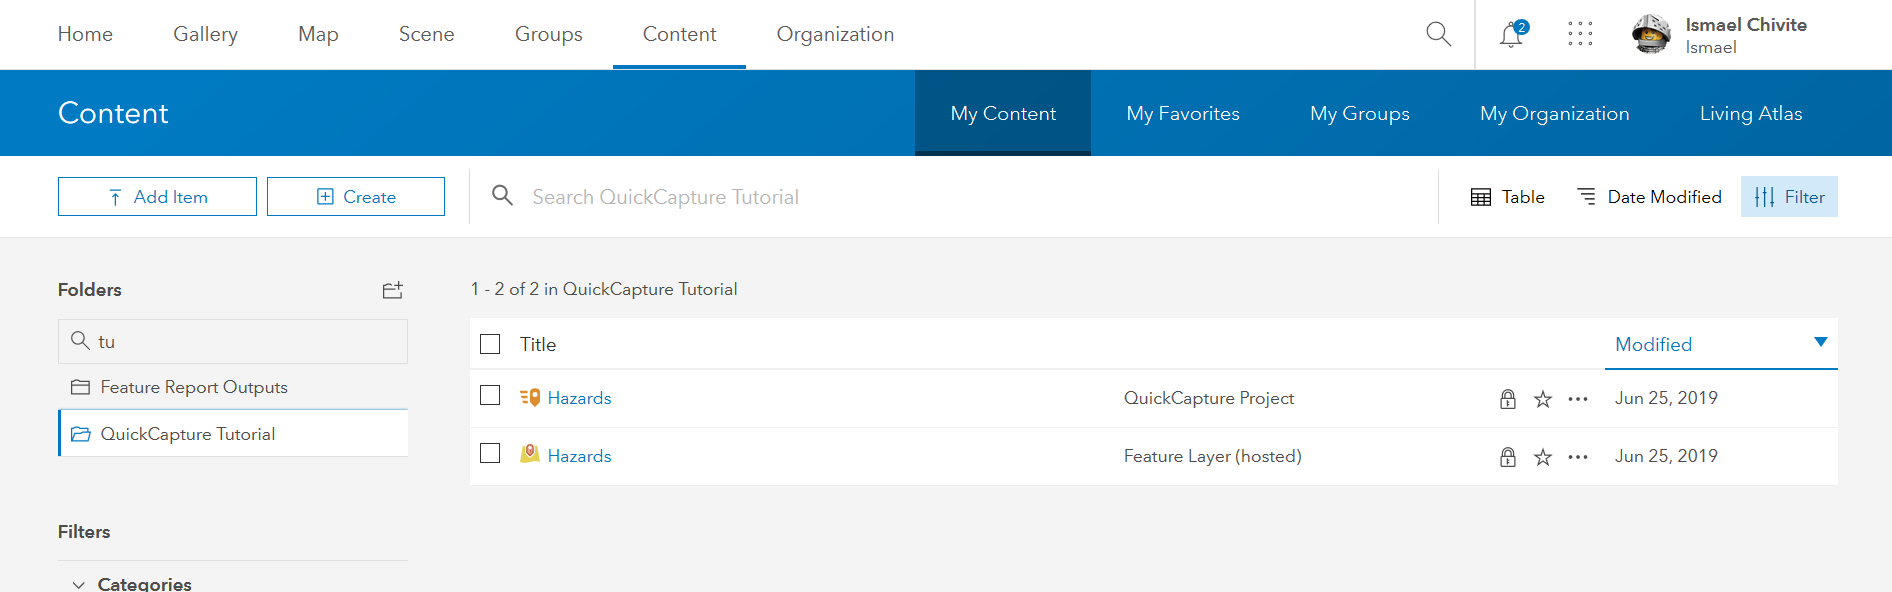
ArcGIS QuickCapture projects are stored in your account as a dedicated ArcGIS item type (the ArcGIS QuickCapture project item type). You will be able to find the ArcGIS QuickCapture project item you created in your content. A QuickCapture project can be related to one or more feature layer items.
Downloading and testing your project in the QuickCapture mobile app
Now that you have an ArcGIS QuickCapture project, you can downloaded into the ArcGIS QuickCapture mobile app.
If not already, download the ArcGIS QuickCapture mobile app from the app store (Apple, Google Play and Microsoft).
Login with your ArcGIS credentials. Click on Projects and download your Hazards project.
Capture data by pushing the hazard buttons.
You can make additional changes with ArcGIS QuickCapture designer at any time. Simply remember to save your changes and update the project in the mobile app to see the changes.
Sharing your ArcGIS QuickCapture project
Once you are happy with your project, you will want to share it with people within your ArcGIS organization. So far, you have been able to download the project in your mobile app because you are the author of the project, but nobody else in your organization will have access to it.
You can easily share your project right from within ArcGIS QuickCapture designer.
If any of the layers in your project cannot be shared with the groups you select in the dialog, you will get prompted to update the sharing of the feature layers accordingly.
Viewing results
All data captured from ArcGIS QuickCapture will be stored in your hazards feature layer. The easiest way to visualize the data is to create a web map.
Within ArcGIS QuickCapture designer, click on the top-left button to return to the project gallery.
Hover your mouse over your project and select View Results to open your project data in a web map.
Ideally, you will want to set a refresh rate on your web map to see changes in real time and put together a nice web mapping application or dashboard with your web map, but that would be the topic of another post.
Congratulations, you have created your very first ArcGIS QuickCapture project!
You must be a registered user to add a comment. If you've already registered, sign in. Otherwise, register and sign in.