- Home
- :
- All Communities
- :
- Products
- :
- ArcGIS Utility Network
- :
- ArcGIS Utility Network Documents
- :
- SVG symbology creation for use in Pro/Portal
- Subscribe to RSS Feed
- Mark as New
- Mark as Read
- Bookmark
- Subscribe
- Printer Friendly Page
SVG symbology creation for use in Pro/Portal
SVG symbology creation for use in Pro/Portal
The purpose of this document is to provide a step-by-step guide on how to create SVG files for existing multi-layered symbology styles. SVG symbology can improve performance in services, and is recommended for publishing of Utility Network Model services. This workflow requires ArcGIS Pro and Adobe Illustrator
- Open ArcGIS Pro and open a new map and delete out the base layers
- Create a new point feature class in Catalog, and import it to the map
- this is required for visualising and exporting the symbols in future steps - no attribution is required
- Create a single point in the map window, and save edits
- Go to the Appearance tab > Symbology > Single Symbol
- The Symbology pane will open
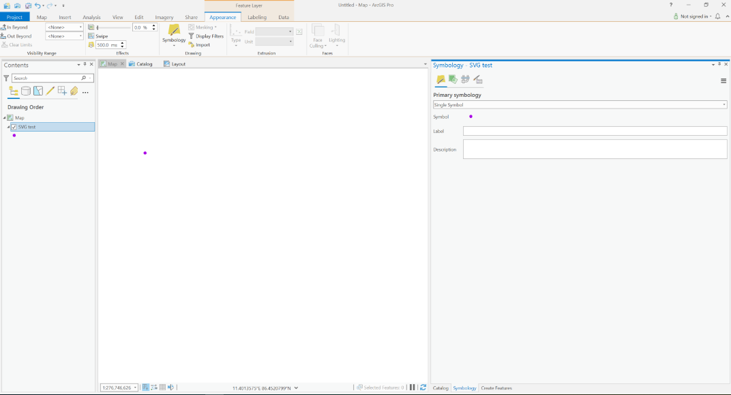
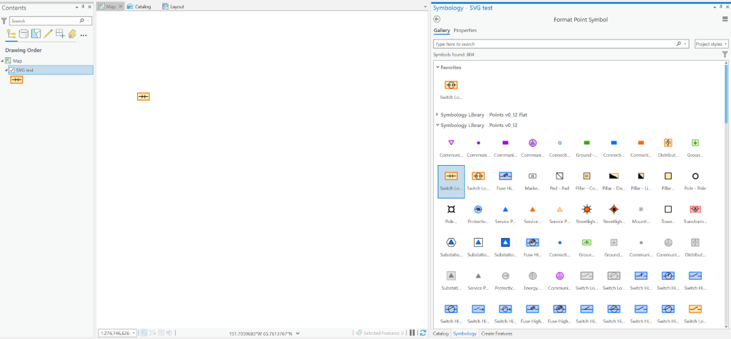
- In the symbology pane, next to Symbol, click on the symbol icon
- Navigate to the symbol in the library that you want to convert to SVG and select it.
- the point in your map window will update with the selected symbol style
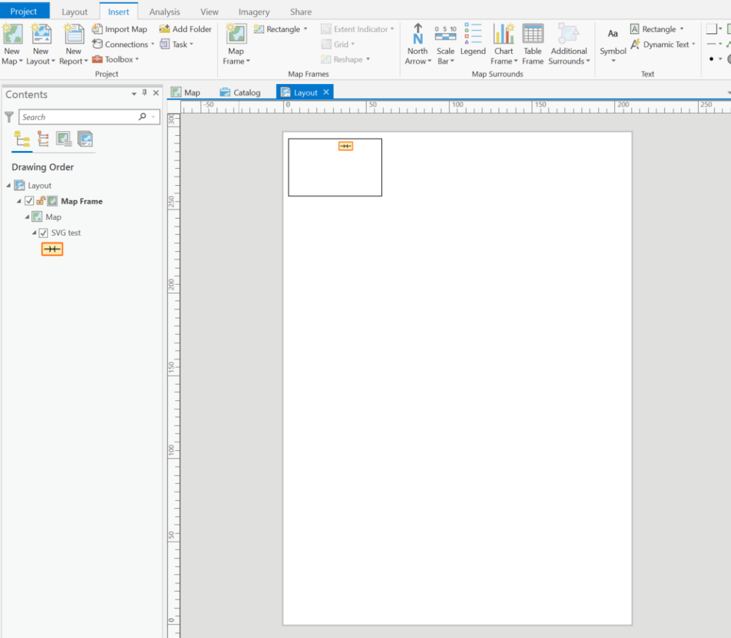
- Create a new layout window (Insert > New Layout > A4).
- NOTE: The size of the layout window is unimportant
- In the Layout window, go to Insert > Map Frame and select the map window with your point in it.
- Click and drag an area within the layout window for the map frame
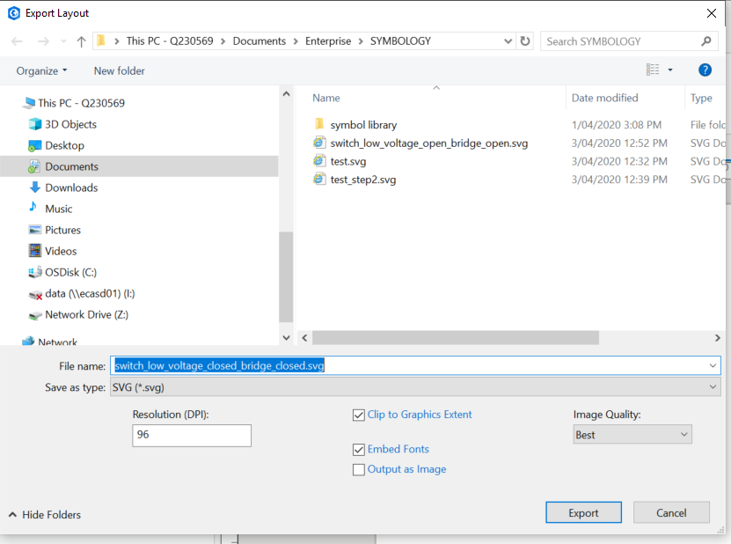
- Click Share > Layout
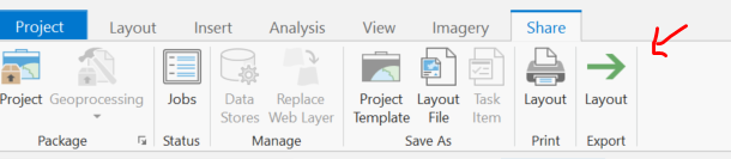
- Change the ‘save as type’ to SVG (.svg), keep the resolution at 96 DPI, and set Image Quality to Best
- Open Adobe Illustrator
- Open windows explorer and navigate to the saved SVG file
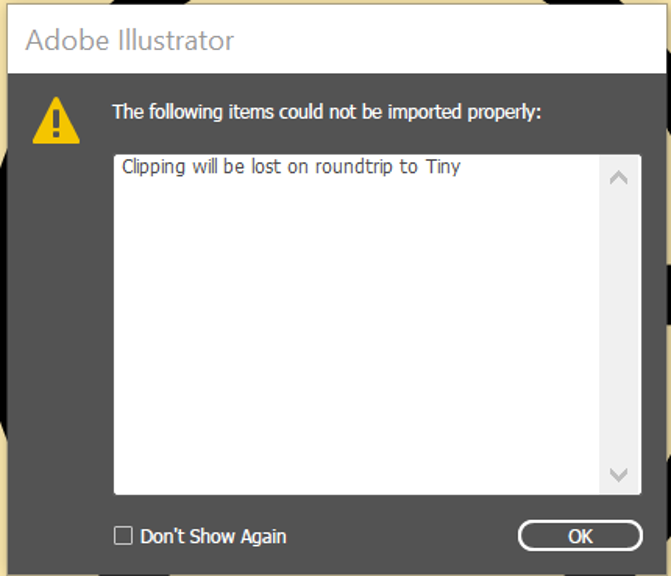
- Click and drag the SVG file into the adobe illustrator frame
- Accept any warnings
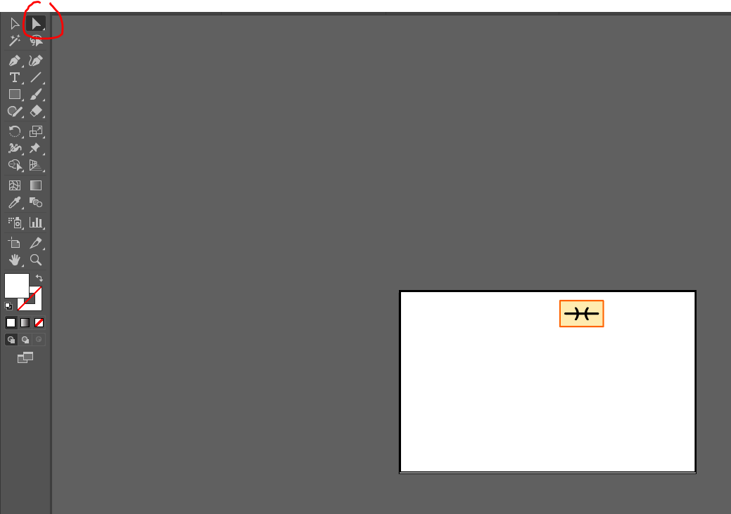
- You will see the extents of the map frame in Adobe, with the one symbol within the frame

- Click the ‘direct selection’ tool from the tool bar > click on the white mapframe > press delete on your keyboard. This will get rid of the background layer. NOTE: The page will still appear the same as before
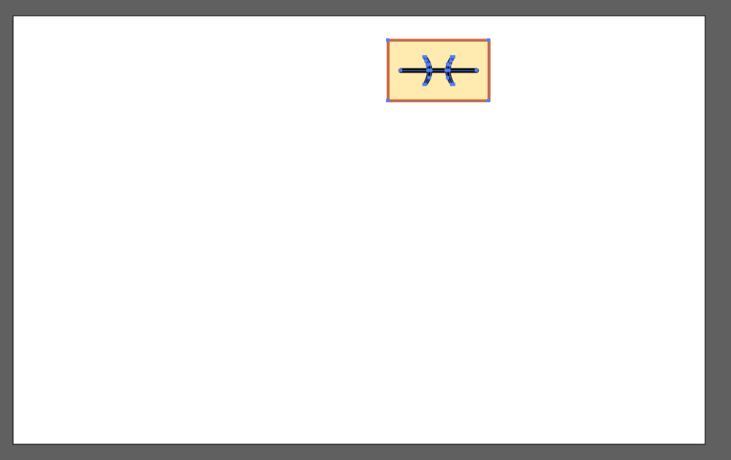
- Ensure the direct selection tool is still active, and click and drag a box around the icon. ensure there are no background layers select (selections are indicated by highlighting the vertices in blue - screenshot below)
- Press Ctrl+C on your keyboard to copy
- Go to File> New
- In the New Document window, go to Web > Minimum and click Create
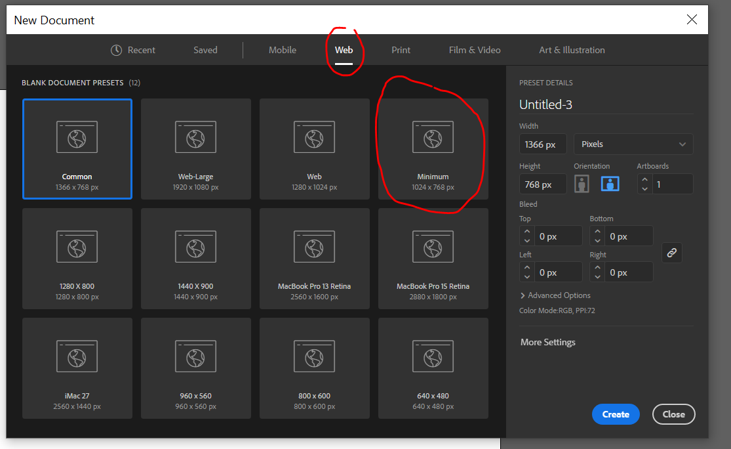
- In the new blank window, click Ctrl+V to paste the icon into the new window.
- NOTE: Because this is a web style, the white background is effectively non-existent at the export stage
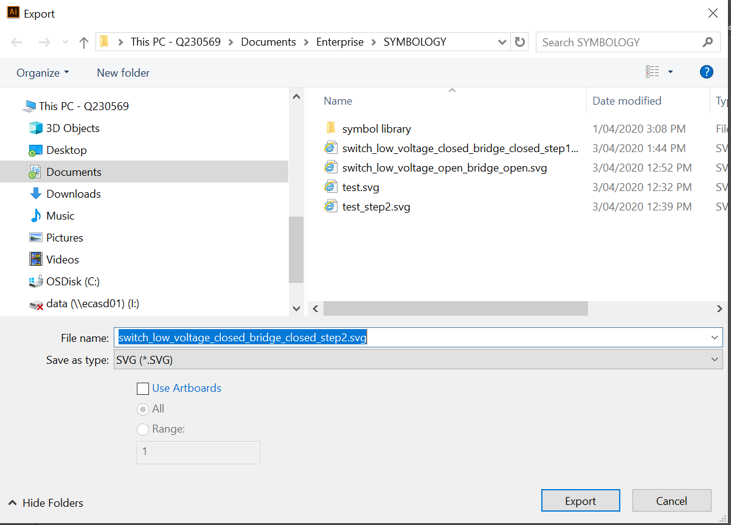
- Go to File > Export > Export As and in the export window ensure SVG is selected as the export type. Click Export
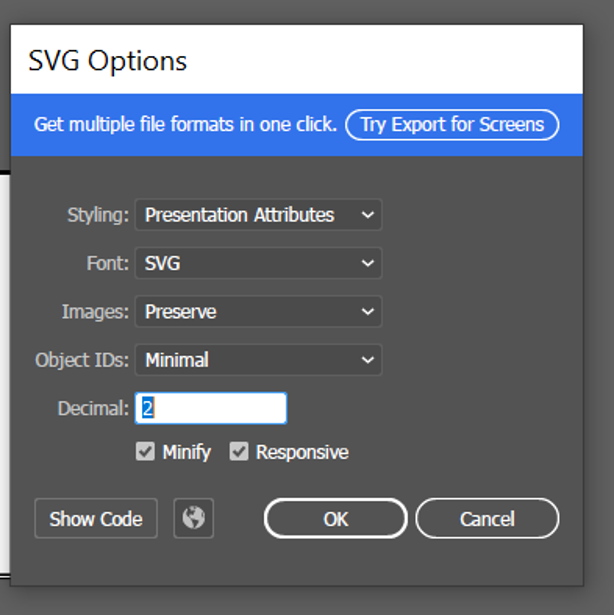
- A new window pane will appear for SVG Options. Ensure the following settings are set, and click OK
- Styling: Presentation Attributes
- Font: SVG
- Images: Preserve
- Object IDs: Minimal
- Go back to ArcGIS Pro, and select your existing Map window
- In the symbology pane, next to Symbol, click on the symbol icon
- In the symbol library select a simple symbol style (simple circle) and go to the Properties tab
- Under Appearance, click the File button
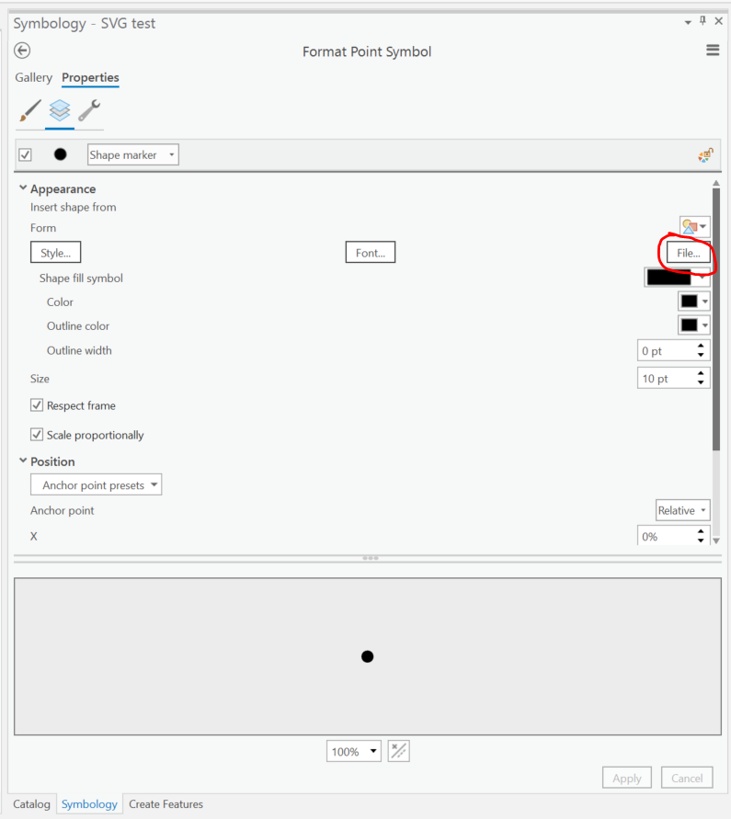
- Navigate to the SVG file youve published from Adobe Illustrator and click OK
- The SVG symbology file is imported into the symbology pane
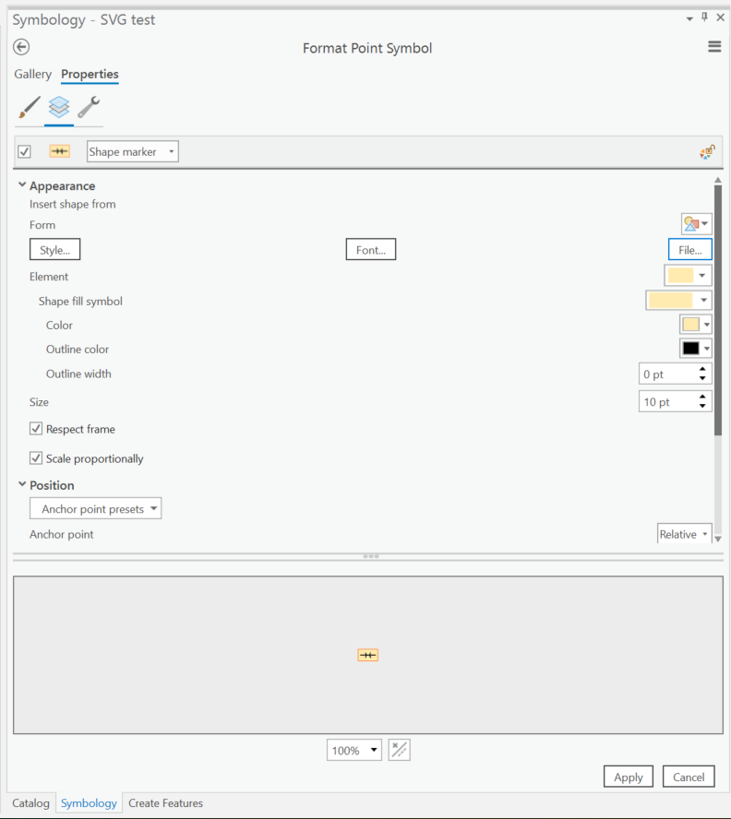
- Click on the icon next to ‘Element’ to see the drop down of every element within the SVG, and the ability to edit each element individually
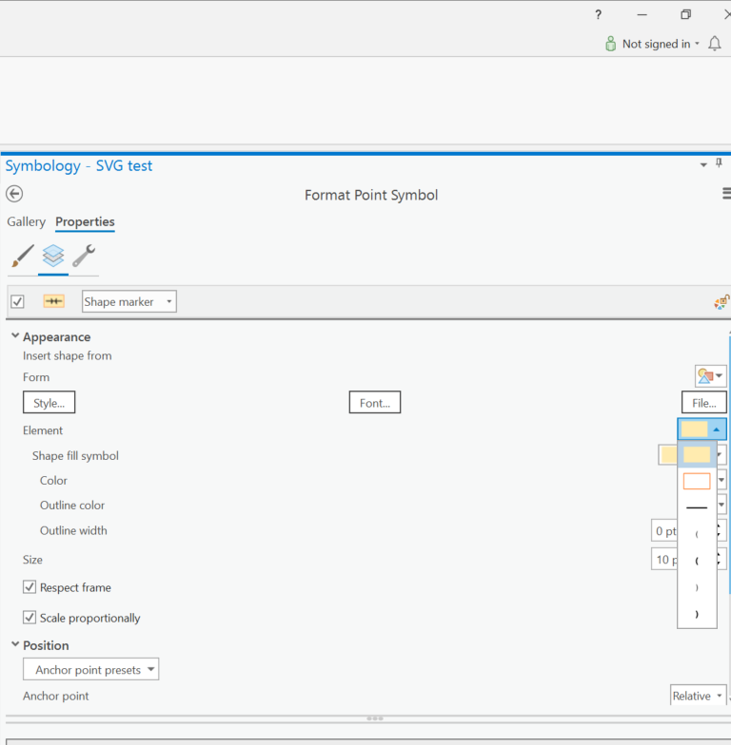
- Click Apply for the symbol to appear in the map window
Thank you, this is exactly what I was looking for!
Hi, @Anonymous User, this is great. is this more performant in Pro also, or only for web services?
Also, this is quite a manual process and has to be re-executed if modifying the original stacked symbology or a custom dict, and it’s challenging to script. Is it worth to suggest an ‘export flattened svg’ from a symbol or a style file as a Pro Idea? Theres a great addinx to import svg back into a pro style that would close the loop here https://carto.maps.arcgis.com/home/item.html?id=c25ab2da6ae343af9acc632120c7cf01 from this thread https://community.esri.com/t5/arcgis-pro-questions/bulk-import-svgs-to-shape-markers-and-add-to-stylx/td-p/1102959
This is awesome. Thank you so much!
If you have a lot of these you need to do, it's possible to create a C# Add-In that uses the ArcGIS Pro SDK to convert all the symbols in a layer, map, or even project into separate named SVG files.
@RobertKrisher - can you elaborate on the benefits of using SVG - given there are many things that can enhance the performance of services it would be helpful to understand were to prioritize using SVG in the hierarchy of service improvement oppurtunities. Thanks in advance.
@AlanHope I've always considered this a compatibility issue, I've never measured whether there is any benefit with regards to performance between the different symbology formats. I would imagine it would depend on the complexity of the CIM definition and whether you're using PNG or SVG. There are other tradeoffs for each of these formats concerning quality as well as functionality (i.e. symbol-level arcade expressions).
When this article was first written there wasn't an option to publish symbology that is compatible with all client types. So, if you had a web map or service that was used by a client that didn't support the full CIM Web Map specification you didn't have a lot of good options, and this was one of the workarounds.
Now when you publish a map you can choose to publish symbols that are compatible with all client types (png) or to retain the original CIM.
@RobertKrisher by any chance, is this plug-in available somewhere ?
@GuillaumeRuelle If you're asking about an add-in to convert all the symbology in a project to SVG, I don't know of any examples. You should be able to write your own, or there may be examples you can find on the mapping community.
As discussed above, now that there are features to publish services compatible with a broad number of clients, I don't think there is as strong a need to go through this process.