- Home
- :
- All Communities
- :
- Global
- :
- Europe
- :
- GeoDev Germany
- :
- GeoDev Germany Blog
- :
- Multi-language Support for your Widget
Multi-language Support for your Widget
- Subscribe to RSS Feed
- Mark as New
- Mark as Read
- Bookmark
- Subscribe
- Printer Friendly Page
As I've presented a way to create your own widget for the Web Appbuilder in my last post I would like to explain the options for multi language support in your widget.
NLS
The strings for our last widgets are more or less hard coded in the Setting.html and Widget.html file at the moment. If you want to replace these string with the language set inside the browser or portal you need to label the strings and create a library of strings. This is done for the Setting.html and for the Widget.html at different places inside the widget structure.
Setting.html
The setting folder contains a folder called nls. Inside you create a folder for each language you would like to support and an initial strings.js file with the strings that should be used in the settings of the widget by default. The strings.js file consists of the actual default strings and an indicator, whether or not a single language (we only support "de" in our example) is supported:
define({
root: ({
ZoomSetCheckboxText: "Show Zoom Level",
ScaleSetCheckboxText: "Show Scale",
configText: "Set Configuration:"
}),
"de": 1,
"es": 0
});You might have noticed that we use a variable called "ZoomSetCheckboxText" and "ScaleSetCheckboxText" and define the content of the variable with some basic strings. These strings should be used, wherever the variables are used. We place the variables inside the Setting.html file. This looks now a little bit different as the nomenclature looks a bit weird:
<div>
<div class="title">${nls.configText}</div>
<div class="row">
<input type="checkbox" id="ZoomSetCheckbox" data-dojo-attach-point="ZoomSetCheckbox"></input>
<p style="display:inline">${nls.ZoomSetCheckboxText}</p>
</div>
<div class="row">
<input type="checkbox" id="ScaleSetCheckbox" data-dojo-attach-point="ScaleSetCheckbox"></input>
<p style="display:inline">${nls.ScaleSetCheckboxText}</p>
</div>
</div>All strings are defined with a "${nls.XXX}" schema. This allows of the strings and the automatic translation according your definition in the strings.js file.
Off course we also need to define a translation in German in identificationour case. This is done inside the "de" subfolder in the nls folder. We place a second strings.js there which holds the German strings:
define({
"ZoomSetCheckboxText": "Zeige Zoomlevel",
"ScaleSetCheckboxText": "Zeige Maßstab",
"configText": "Einstellung",
});Please not the different usage of string indicators compared to the default strings.js file in the parent folder.
The Widget.html
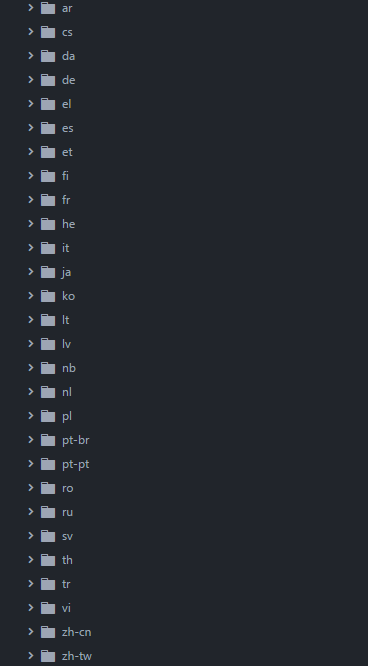
The widget itself works similar. Inside the Widget folder you create a nls folder with subfolders regarding the desired languages you would like to support. A list of languages which are supported, can be seen here:
Once again we substitute the strings used in the original file with the "${nls.XXX}" schema:
<div class="ZoomLeveLInfo">
<div data-dojo-attach-point="zoomInfoDiv">${nls.label1} <p style="display: inline;" data-dojo-attach-point="MapZoomInfo"></p></div>
<div data-dojo-attach-point="scaleInfoDiv">${nls.label2} <p style="display: inline;" data-dojo-attach-point="scaleInfo"></p></div>
</div>In our strings.js file we set the default strings:
define({
root: ({
_widgetLabel: "Zoom Level Info"
label1: "Zoom Level:",
label2: "Approx. Scale:",
}),
"de": 1
});In the "de" subfolder I use a similar pattern as describe in the chapter above:
define({
"_widgetLabel": "Zoomstufeninfo",
"label1": "Zoom Stufe:",
"label2": "ungef. Maßstab:"
});The Result
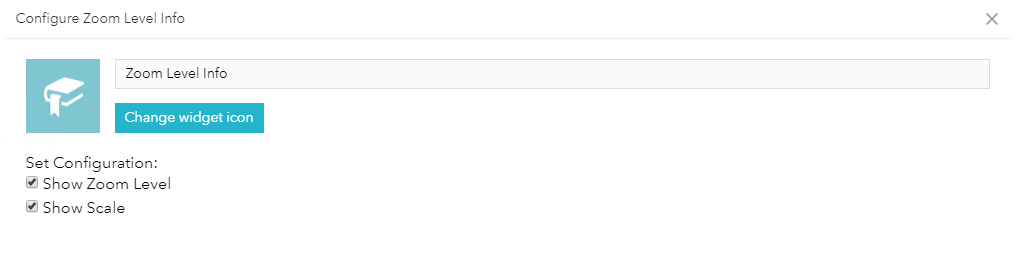
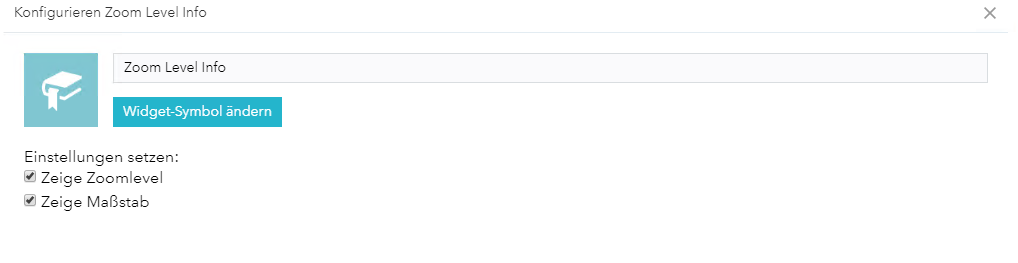
The widget is now able to start in English as well as in German depending on the settings in the Portal:
You must be a registered user to add a comment. If you've already registered, sign in. Otherwise, register and sign in.