- Home
- :
- All Communities
- :
- Global
- :
- Europe
- :
- GeoDev Germany
- :
- GeoDev Germany Blog
- :
- Create Custom Widgets for your Web App... an intro
Create Custom Widgets for your Web App... an intro
- Subscribe to RSS Feed
- Mark as New
- Mark as Read
- Bookmark
- Subscribe
- Printer Friendly Page
Working with a GIS results sometimes in quite advanced workflows, models and so on. The next step might be: How to get these tools shared so other parties and people can work with them? There are multiple approaches to do so:
- publish Geoprocessing as a Web Tool.
- ArcGIS JavaScript API
- Widgets for the Web AppBuilder
In this blog post I would like to describe the last approach and create a customizable Widget for the Web AppBuilder.
Web AppBuilder Dev Edition
You might ask yourself, why do I need the Web AppBuilder Dev Edition (short: WAB)? As we will create a widget is it always good to test the solution prior publishing it as a custom application on AGOL. With the Web AppBuilder Dev Edition we can use template widgets and test the widgets local on a server (or a resource that has a pretty domain...)
WAB runs on Node.js but is only available for Windows at the moment.
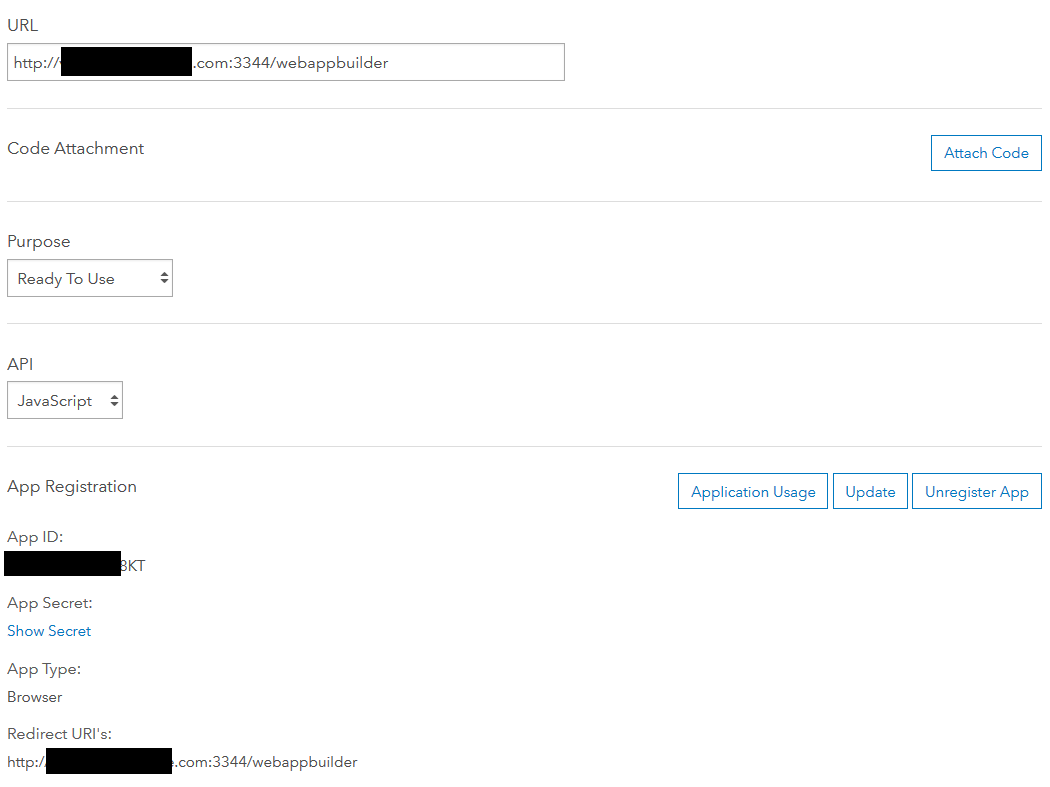
Once it is unzipped and configured with your ArcGIS account (connect with Portal for ArcGIS, create an App on your Portal, register the App with your Portal) you're ready to go:


Follow the steps defined at the Get started section.
The Widgets Purpose
For this introduction I would like to create a widget that shows the scale as well as the current zoom level of a map. Of course it is somewhat an enhancement of the standard Scalebar Widget. Therefore I will first show the standalone way and later on describe the enhancement of the default Scalebar widget to do the same: Show not only the Scalebar but also show the zoom level as well as the scale of the underlying map.
A Widget's Structure
A Widget itself consists of a several files that are described below:
- The JavaScript file that defines the widget function (Widget.js)
- The template file that defines the widget’s user interface(Widget.html)
- The widget’s configuration file (config.json)
- The widget's manifest file which is needed for publishing(manifest.json)
- The widget’s i18n strings file for internationalization of strings if needed (nls/strings.js)
- The widget’s style file if you're a fancy guy and like border-rounding, background-images, sliders and circles (css/style.css)
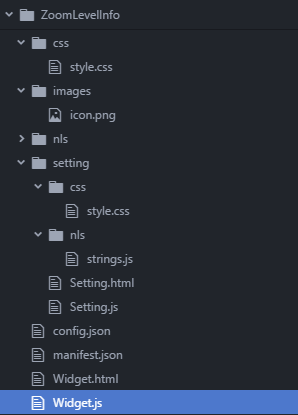
In the end the structure of your widget should look something like this:

As you may have noticed the structure also contains a folder called setting. As we want to customize the behavior of our widget we need to define some settings and interact with them.
The Code
Let's get through the files. We will let the user define, whether or not he/she would like to see the scale, the zoom level or both. This is done in the setting.html
The Setting.html / Setting.js
Therefore we will show two Checkboxes. As I like it plain Vanilla (and didn't got the dijit checkboxes to work 😉 ) we use HTML input checkboxes:
<div>
<div class="title">Zoom Level Info</div>
<div class="row">
<input type="checkbox" id="ZoomSetCheckbox"></input>
<p style="display:inline">Show Zoom Info</p>
</div>
<div class="row">
<input type="checkbox" id="ScaleSetCheckbox"></input>
<p style="display:inline">Show Approx. Scale</p>
</div>
</div>But as this is a widget and we would like to store the default settings in a configuration file called config.json we need to connect the setting.html with the configuration file using the settings.js file.
Therefore we will not only use ids of the buttons (each widget could have items with identical ids...) but also data connectors:
<div>
<div class="title">Zoom Level Info</div>
<div class="row">
<input type="checkbox" id="ZoomSetCheckbox" data-dojo-attach-point="ZoomSetCheckbox"></input>
<p style="display:inline">Show Zoom Info</p>
</div>
<div class="row">
<input type="checkbox" id="ScaleSetCheckbox" data-dojo-attach-point="ScaleSetCheckbox"></input>
<p style="display:inline">Show Approx. Scale</p>
</div>
</div>Now we can communicate with the sates of the buttons.
The setting.js file has two main functions: reading and writing the settings to the config.json file so the widget uses always the correct settings in a new app.
The settings in the config.json file are to set as follow:
{
"settings": {
"ZoomSetCheckbox": true,
"ScaleSetCheckbox": true
}
}As visible, the default state of the widget isto enable both checkboxes. The states of the config can be set and read using two functions: getConfig and setConfig (download the zip at the end of the post to get the whole script):
define(['dojo/_base/declare','jimu/BaseWidgetSetting'],
function(declare, BaseWidgetSetting) {
return declare([BaseWidgetSetting], {
startup: function(){
this.inherited(arguments);
console.log(this.config);
this.setConfig(this.config);
},
setConfig: function(config){
this.config = config;
this.ZoomSetCheckbox.checked = config.settings.ZoomSetCheckbox;
this.ScaleSetCheckbox.checked = config.settings.ScaleSetCheckbox;
console.log("settings read from file: ");
console.log(config);
},
getConfig: function(){
settings = this.config.settings;
if (this.ZoomSetCheckbox) {
settings.ZoomSetCheckbox = this.ZoomSetCheckbox.checked;
}
if (this.ScaleSetCheckbox) {
settings.ScaleSetCheckbox = this.ScaleSetCheckbox.checked;
}
this.config.settings = settings;
console.log("settings write to file: " + settings);
console.log(this.config);
return this.config;
}
});
});
This reads the states of the button (this.XXXSetCheckbox) and writes it in the config for each app it is used in and reads the configuration according the used settings.
The Widget.html / Widget.js
As we covered the settings in the paragraph above let's concentrate on the main code in the Widget.html and Widget.js.
We are only showing two lines in the widget: One line for the Zoom Level, one for the Scale. Therefore the Widget.html file is very short and consists of 2 lines:
<div class="ZoomLeveLInfo">
<div data-dojo-attach-point="zoomInfoDiv">Zoom Level: <p style="display: inline;" data-dojo-attach-point="MapZoomInfo"></p></div>
<div data-dojo-attach-point="scaleInfoDiv">Approx. Scale: <p style="display: inline;" data-dojo-attach-point="scaleInfo"></p></div>
</div>
You can see a similar approach as in the Setting.html: We use data-dojo-attach-points to access the div element and alter the content of this div. We could do this inline but we stick to the structure and define the JavaScript part in the Widget.js.
define([
'dojo/_base/declare',
'dojo/_base/lang',
'jimu/BaseWidget',
'dojo/on', //as we alter the div when the map is panned "on.extent-change"
'esri/map' //as we interact with the map
],
function(declare, lang, BaseWidget, on, Map) {
return declare([BaseWidget], {
baseClass: 'jimu-widget-zoomlevelinfo',
postCreate: function() {
this.inherited(arguments);
this.own(on(this.map, 'extent-change', lang.hitch(this, this._zoomInfo)));
this._zoomInfo();
},
startup: function() {
this.inherited(arguments);
},
_zoomInfo: function(){
scale = esri.geometry.getScale(this.map);
var json = this.config; //read the config
if (json.settings.ZoomSetCheckbox){ //show Zoom Info set to true
this.MapZoomInfo.innerHTML = this.map.getZoom(); //alter the inner HTML with the Zoom Info
} else {
dojo.destroy(this.zoomInfoDiv); //get rid of the div so it looks clean if not wanted
}
if (json.settings.ScaleSetCheckbox){
this.scaleInfo.innerHTML = "1:" + Math.round(this.map.getScale()/1000)*1000 ;
} else {
dojo.destroy(this.scaleInfoDiv);
}
}
});
});
The Manifest.json
To implement the new custom app in a web app we need to create a file called manifest.json. This file holds the basic information about the name and main settings:
{
"name": "ZoomLevelInfo",
"platform": "HTML",
"version": "2.8",
"wabVersion": "2.8",
"author": "Esri Deutschland GmbH // Riccardo Klinger",
"description": "This is a widget to show scale and zoom level of the underlying map.",
"copyright": "",
"license": "http://www.apache.org/licenses/LICENSE-2.0",
"properties": {
"inPanel": false, //as it is off-panel
"hasUIFile": true, // we do have a settings ui file
"supportMultiInstance": false´// we just allow one instance of the widget.
}
}Now we can test the widget.
Testing the Widget
As we created the main widget we should test it in our WAB Developer installation now. Therefore place the whole folder (in our case ZoomLevelInfo) in the client widget folder of the WAB (in my case "C:\WebAppBuilderForArcGIS\client\stemapp\widgets").
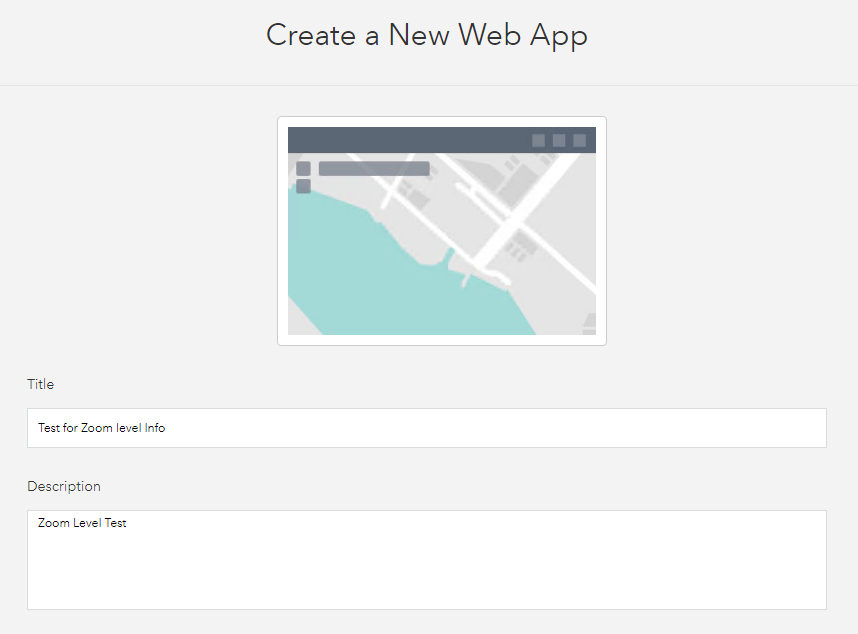
For the test, restart the Web AppBuilder and create a new application:

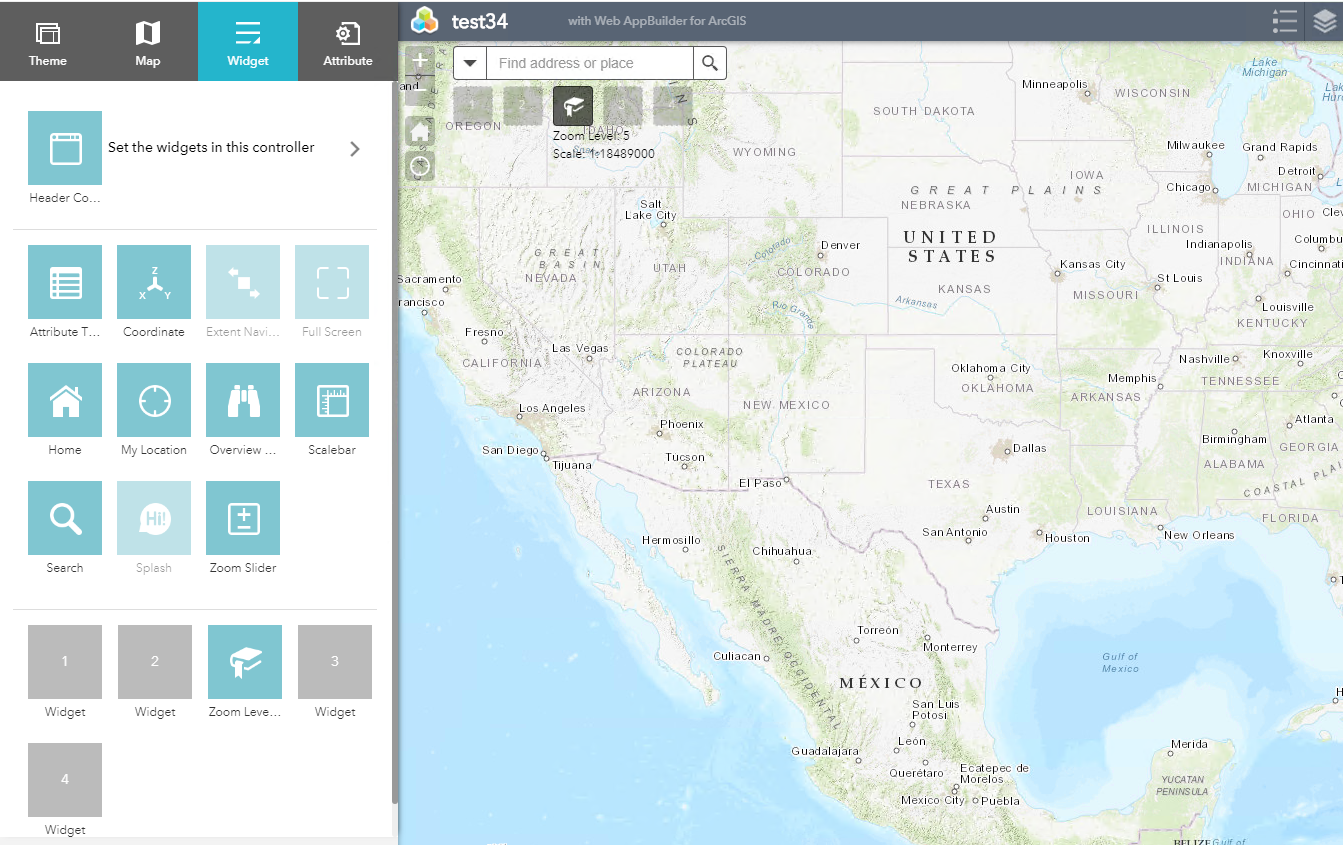
The widget is now part of the Web AppBuilder and can be selected as a widget:

Hosting the Widget
If your tests were successful you can host the widget on a server and implement it in ArcGIS Online or your ArcGIS Enterprise (>10.5) environment as a custom widget. If you own the portal you might also want to add the folder inside the WAB of the portal (in my case "C:\Program Files\ArcGIS\Portal\apps\webappbuilder\stemapp\widgets").
Download the Example
If you want to use the example, use github here. Or you download it directly below.
You must be a registered user to add a comment. If you've already registered, sign in. Otherwise, register and sign in.