- Home
- :
- All Communities
- :
- Products
- :
- ArcGIS Instant Apps
- :
- ArcGIS Instant Apps Blog
- :
- Screenshots with the ArcGIS API for JavaScript & H...
Screenshots with the ArcGIS API for JavaScript & HTML2Canvas
- Subscribe to RSS Feed
- Mark as New
- Mark as Read
- Bookmark
- Subscribe
- Printer Friendly Page
The December 2018 release of the ArcGIS API for JavaScript version 4.10 includes a new feature that allows users to take screenshots of a map.
By using the new screenshot capability from the ArcGIS API for JavaScript, along with the “screenshot” functionality of HTML2Canvas (a third-party tool that allows you to take “screenshots” of DOM elements with JavaScript) enables developers to add the capability of combining map screenshots and map component screenshots to web apps. More info on HTML2Canvas can be found here.
Provided below is a general overview of how this can be done. We’ll simply be modifying the existing screenshot sample found in the documentation of the ArcGIS API for JavaScript.
Please note that the following procedure only highlights the key steps, so be sure to reference this Code Pen example if needed. This is one way of achieving this, and surely, there are other potential routes.
Now, let’s get started!
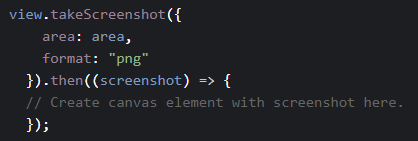
1. Call the takeScreenshot method from the “esri/views/MapView” class. Optionally, pass in an area of the map that you would like to screenshot along with other configuration options. If options are not passed in, the screenshot will default to the full extent of the map view. Please refer to the documentation here for possible configuration options. The takeScreenshot method will return a Promise, supplying a Screenshot object once the promise is resolved. The Screenshot object will have a property, dataUrl, where the value is, you guessed it, the data URL that represents the screenshot.
2. Next, create a new canvas element and image element. You’ll want to set the image element’s src property to the value of dataUrl.
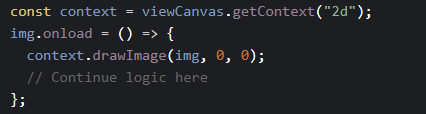
3. With the canvas element, in this case, viewCanvas, we’ll be getting the 2D context with getContext(“2d”). Load the image with onload and draw the image on the 2D context. We now have the map image as a canvas element.
4. Now, by using HTML2Canvas, you can simply pass in a DOM reference to the map component you would like to screenshot and optional configuration options. You can find more details on the configuration options here. In this example, we’ll pass in a DOM element reference to the map Legend. Html2Canvas returns a Promise, which supplies a canvas element of the referenced DOM object once the promise is resolved.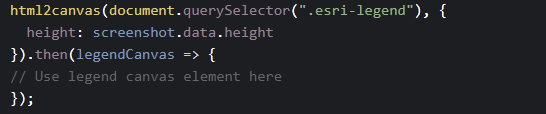
5. Next, create a new canvas element where we can draw both the view and legend canvas elements. To draw the canvas elements side-by-side, we’ll set the x-offset value of viewCanvas to the width of legendCanvas
6. Once the map and legend canvas elements have been drawn to the new canvas element, we need to get the data URL of the screenshot. We can achieve this by using the toDataURL method from the canvas object.
7. Finally, we can reference an empty image element and set it’s src property to the new dataURL.

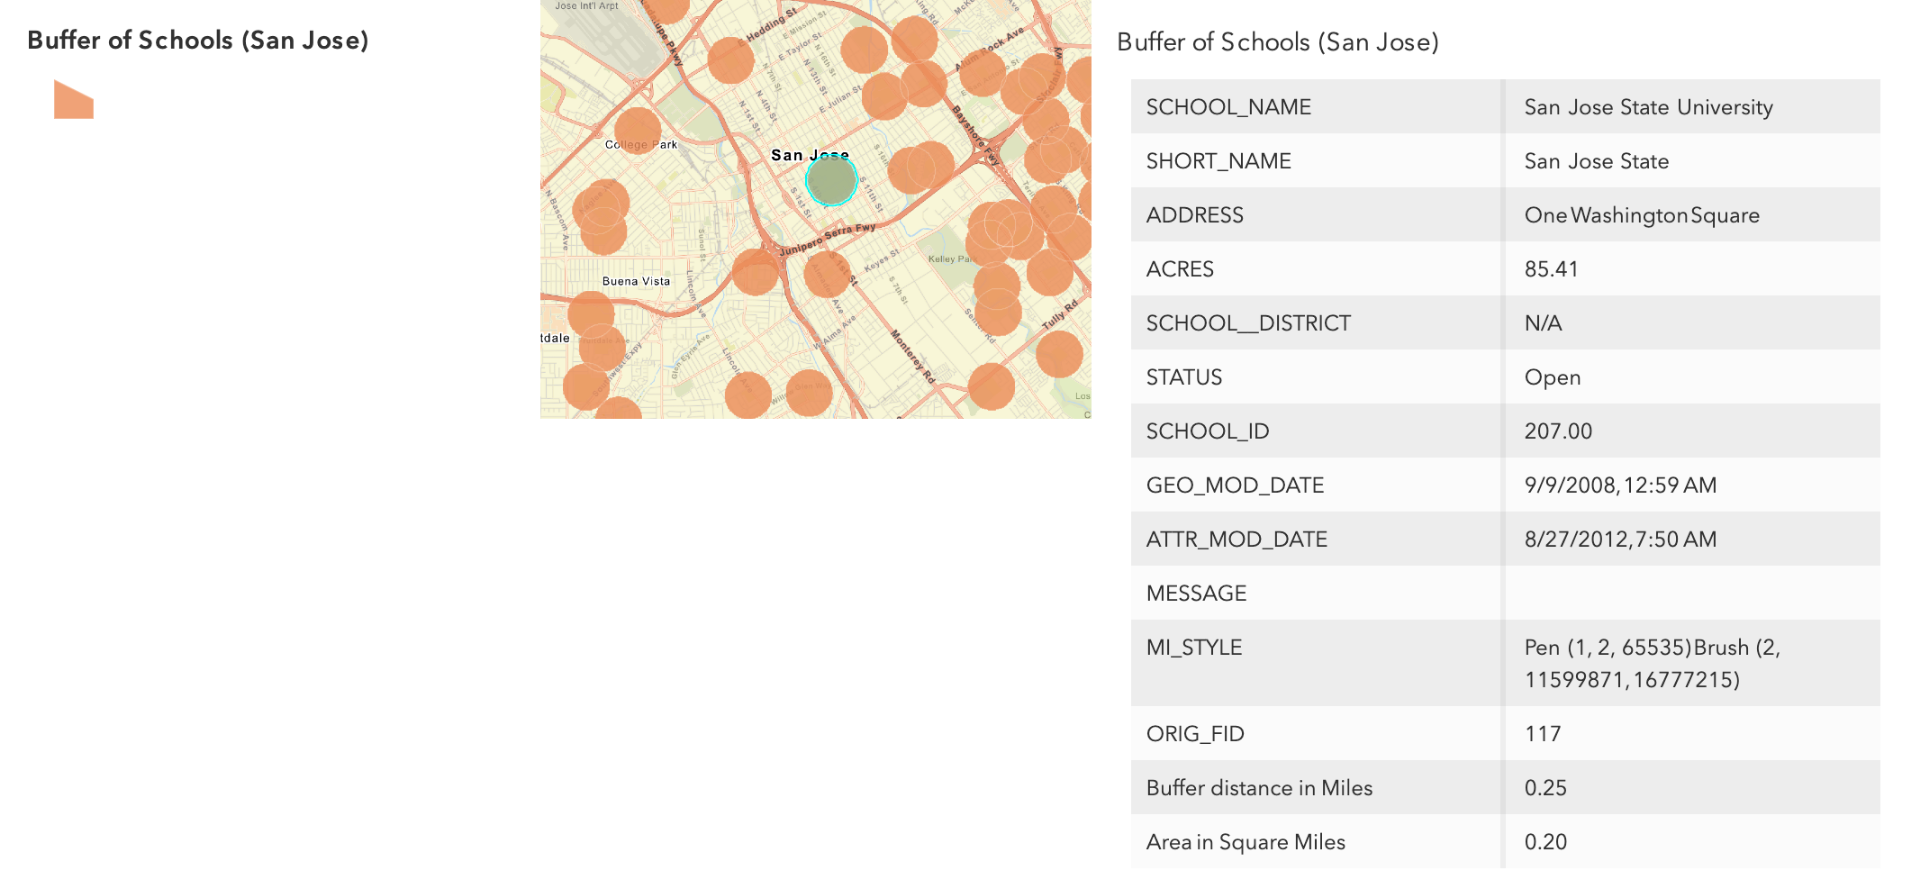
Congratulations! You now have a screenshot of the map view and legend.
Example screenshot:
Bonus: Here's an extra sample that includes a pop-up in the screenshot.
You must be a registered user to add a comment. If you've already registered, sign in. Otherwise, register and sign in.