- Home
- :
- All Communities
- :
- Products
- :
- ArcGIS Pro
- :
- ArcGIS Pro Blog
- :
- Using ArcGIS Pro and Arcade expressions to create ...
Using ArcGIS Pro and Arcade expressions to create Shortlist popups that POP in ArcGIS Runtime Apps
- Subscribe to RSS Feed
- Mark as New
- Mark as Read
- Bookmark
- Subscribe
- Printer Friendly Page
Support for the use of Arcade expressions in popup configurations is starting (June 2019) to roll out in apps like Collector for ArcGIS, Explorer for ArcGIS Windows Beta, Navigator for ArcGIS Beta and any app based on the ArcGIS Runtime 100.5 or later. This article will show how Shortlist and Tour Story Map popups can be adapted to an HTML style popup. The relatively standard data structure of story maps make for a great popup experience.
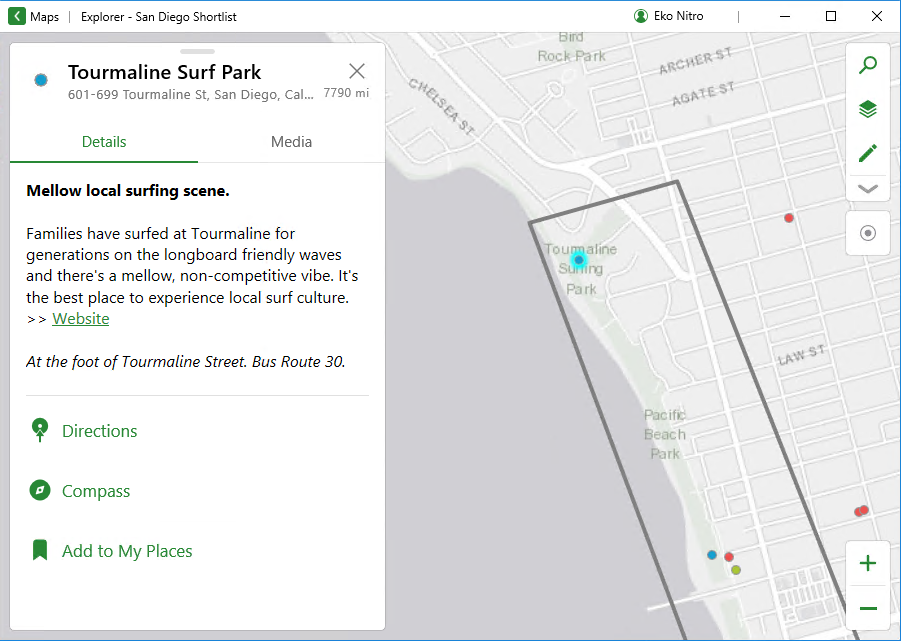
For this example we will be using the San Diego Shortlist webmap
Opening this Map in Explorer for ArcGIS we see a popup that looks like this:
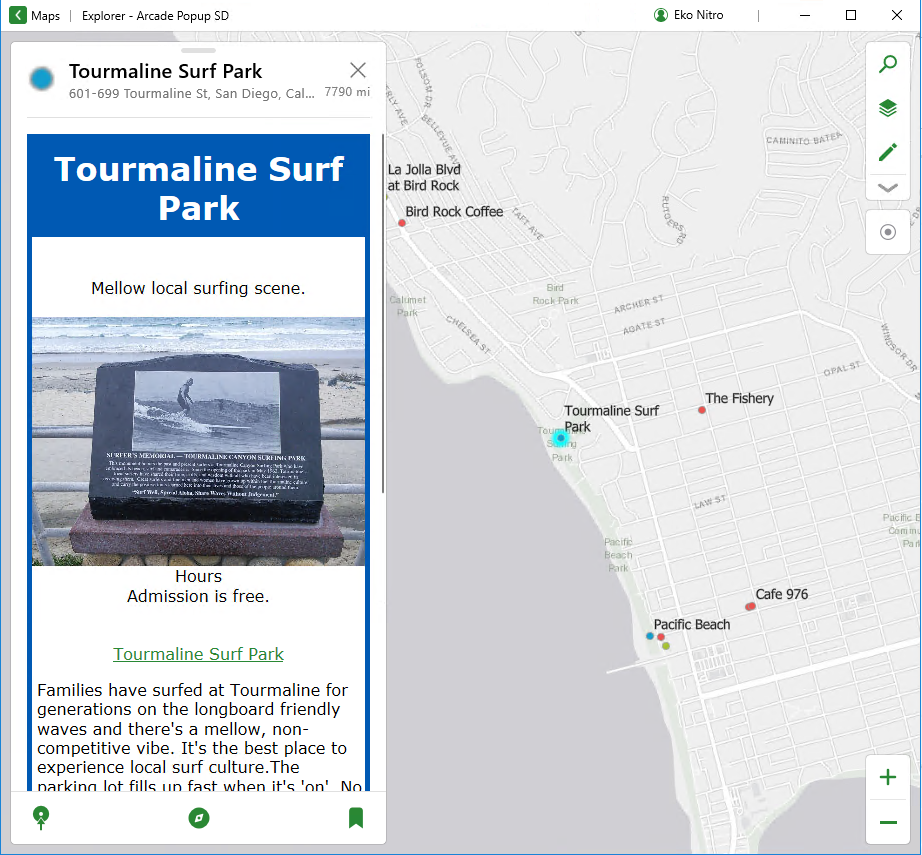
Using an arcade expression we can create a popup in ArcGIS Pro that looks like this in Explorer.
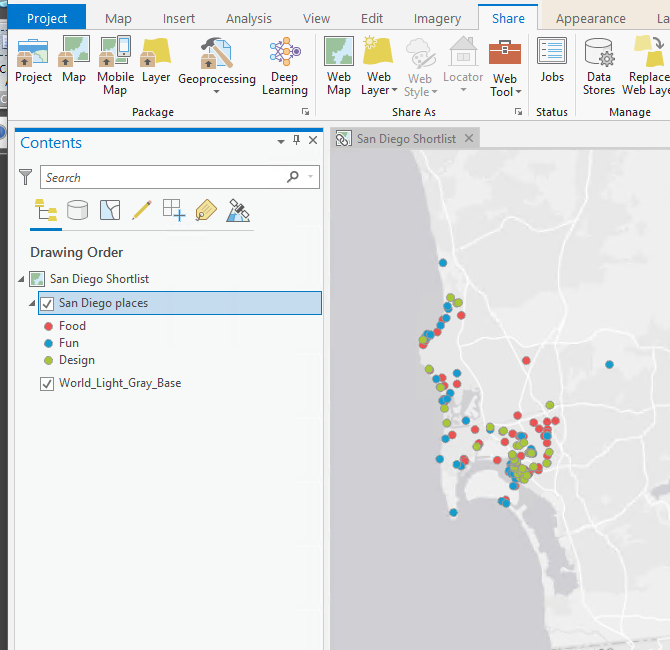
If you would like to follow along, open the San Diego Shortlist webmap in ArcGIS Pro.
From the Catalog Pane search for ‘San Diego shortlist’ and 'Open' it.

In this exercise we are only going to work with the San Diego places layer, so the other layers can be removed from the map.
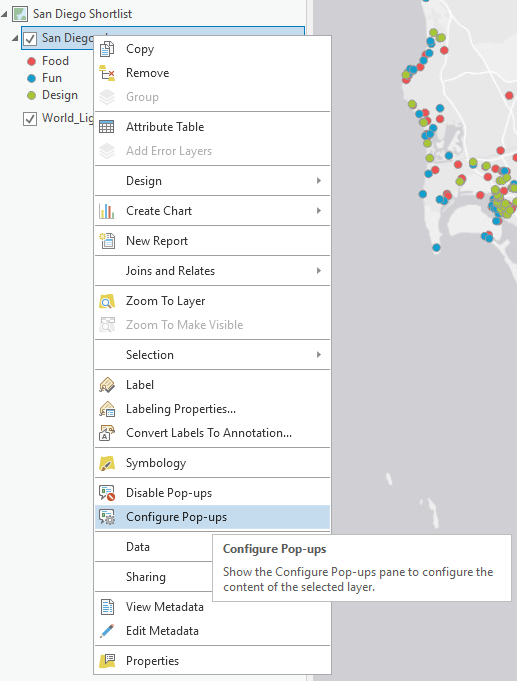
Right Click on the San Diego places layer and ‘Configure Pop-ups’.
Remove the current popup elements.

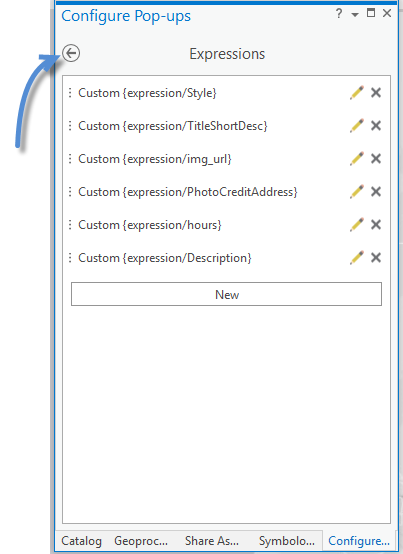
Click Expressions button to add an Arcade Expression

Click New to open the Expression Builder.

We will use multiple expressions to construct an HTML Popup. We could probably write it up in one expression, but it will be easier to learn if we break it into multiple expressions for each part of the popup.
This picture shows the finished popup configured with the expressions.

In the expression builder name the expression and copy and paste the expression below into the ‘Expression’ text box.
{expression/style} – mainly for font, background color, border color and heading.
var style = '<style>body {background-color: white; text-align: center; font-family: verdana; margin: 0px; border: 5px solid #0059b3; outline-style: solid; outline-color: white;} h1 {color: white; text-align: center; padding: 10px; background-color: #0059b3;}p { font-family: verdana; text-align: left; margin-left: 0px; padding-left: 5px; background-color: white;} </style>';
return style

note: The popup we are building is simple, so the style is as well, however, for more advanced popups you will definitely want make use of a style. Make sure there are no hard returns in the variables you set in the expressions, it will cause the expression to fail. All of the HTML needs to be quoted in a string.
Create new expressions for each of the expression that follow. The part of the popup that the expression applies to is also pictured for reference.
(expression/TitleShortDesc)
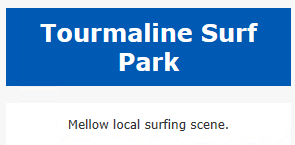
var title = '<h1 align="center"><font color="white"><b>'+ $feature.TITLE +'</b></font></h1>'
var bodytext = '<center style="background-color: white";><br>' + $feature.Short_Desc + '<br><br></center>'
return title + bodytext
note: In this expression we are utilizing a heading defined in the style and using an attribute from the TITLE field. We are also adding a short description field.
{expression/img_url}
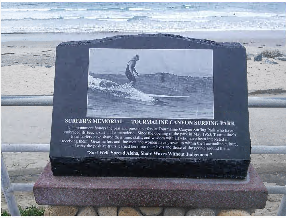
var ImgUrl = TextFormatting.NewLine +'<img src="'+ $feature.Pic_URL + '" width="100%" />';
return ImgUrl;
note: we have set the width for the image to 100% so that it will size to the width of the popup window.
{expression/PhotoCreditAddress}

return '<center style="background-color: white";><i>'+$feature.PIC_CREDIT +'</i><br><br>'+$feature.Address + '<br><br></center>'
{expression/hours}

var hours = ""
if (!isEmpty($feature.TextForHours)){
hours = '<center style="background-color: white";>Hours<br>' + text($feature.TextForHours) + '</center><br><br>'
return hours;
}
else {
}
note: in this expression we are checking to see if the TextForHours attribute is null, this is something that we could have done for all expressions, it is good practice to check for null attributes.
{expression\Description}

var weblink = '<center style="background-color: white";> <a href="'+$feature.website+'">' + $feature.TITLE + '</a><br></center>'
var description = '<p>' + $feature.Desc1 + $feature.Desc2 + $feature.Desc3 + $feature.Desc4 + $feature.Desc5 + '</p>'
return weblink + description
When you have finished entering all the expressions, click the back arrow and configure the popup.
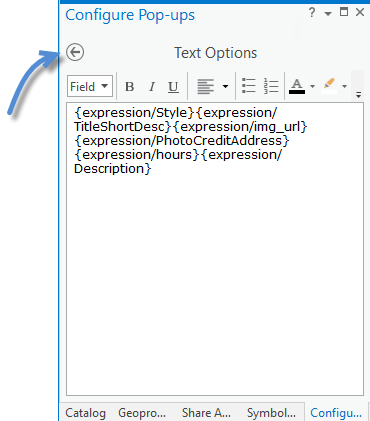
Add a ‘Text’ configuration.

Click the pencil icon to edit it.
Add all the expressions.

Since the formatting for the HTML was part of the expressions, you do not need to and probably should not format them in the Text Options.

Tap the back arrow.
Click on a feature to see if the popup appears as desired.

note: ArcGIS Pro shows a light gray background where background color is undefined. Also, you can see there is padding at the top and sides of the heading, this will display correctly in runtime apps.
Using ArcGIS Pro share the map as webmap or mobile map package (change the basemap if creating a mobile map package) and your map with HTML Popup will be ready for use in ArcGIS Runtime 100.5 and later apps. (Apps written on prior runtime version do not support the use of arcade in a popup and will not display arcade content.)

Just barely touching the surface for possibilities with arcade popups, but that's it for now.
You must be a registered user to add a comment. If you've already registered, sign in. Otherwise, register and sign in.