From On-Demand GPS Provisioning Widget Thingy: Step 1 we set up a python script do handle all of the data whatchamacallit and exporting thingamajigger. Now we need to execute the script in a model and publish the results as a GP Service.
This works best if you're working in a new, fresh, empty folder on your hard drive. Copy the python script you made from On-Demand GPS Provisioning Widget Thingy: Step 1 into this folder. In Arc Catalog, create a new toolbox in this folder (call it GPX), and add the python script to the new toolbox. A few important notes:
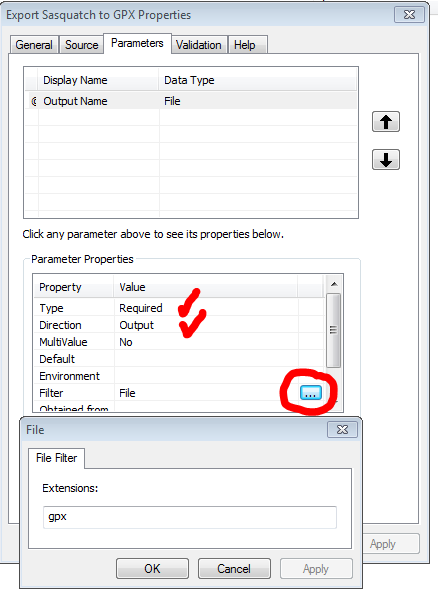
Set Output Name as a parameter, of type file, Direction -> Output, with a 'gpx' filter.
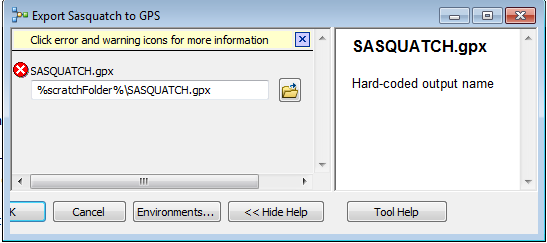
Create a new model, and drag the script object to the model. Set the default output name to be %scratchFolder\SASQUATCH.gpx.
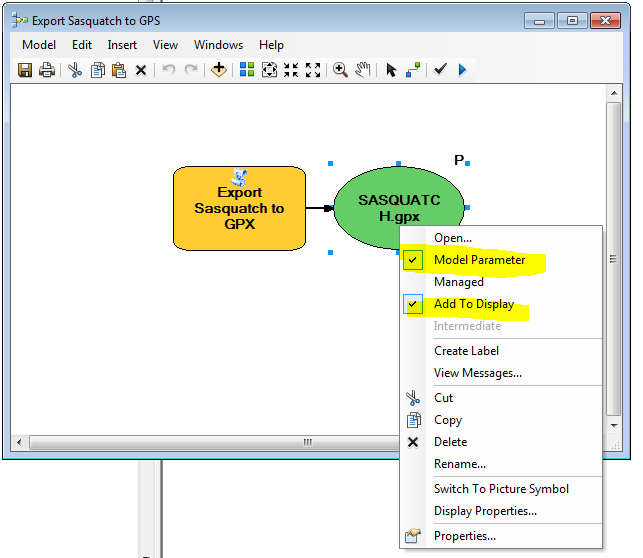
Right-click on the output object and check Model Parameter and Add to Display
Add some metadata to the model. This is real important for tool-execution when it's published!

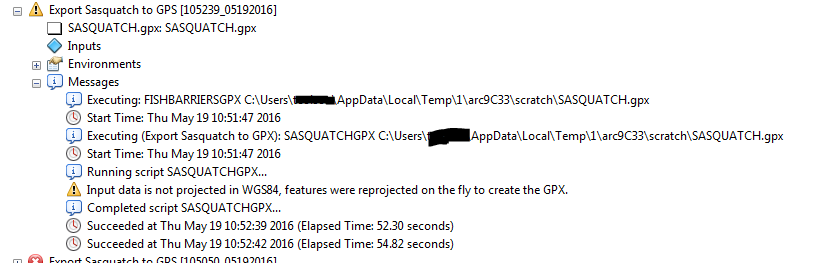
Save and run the model. Note the output in the GP Results window.
On-Demand GPS Provisioning Widget Thingy: Step 1
On-Demand GPS Provisioning Widget Thingy: Step 2
On-Demand GPS Provisioning Widget Thingy: Step 3
On-Demand GPS Provisioning Widget Thingy: Step 4