- Home
- :
- All Communities
- :
- Industries
- :
- Spatial Data Infrastructure
- :
- SDI Blog
- :
- Installing & Configuring an Enterprise Geodatabase...
Installing & Configuring an Enterprise Geodatabase on PostgreSQL and Linux (ArcGIS 10.2)
- Subscribe to RSS Feed
- Mark as New
- Mark as Read
- Bookmark
- Subscribe
- Printer Friendly Page
- Report Inappropriate Content
Implementation on PostgreSQL DBMS and Red Hat Enterprise Linux
1. PostgreSQL Installation
- Launch the installer by issuing the below command
./postgresql-9.2.2-1-linux-x64.run
- NB.
- Must have 755 rights on the above *.run file
- Must install as root
PostgreSQL installer launches
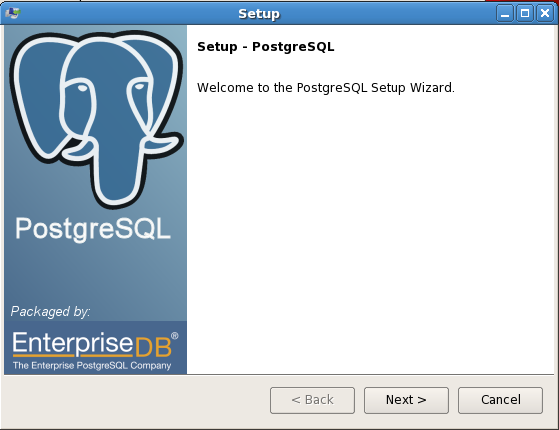
Click Next
2. Installation directory
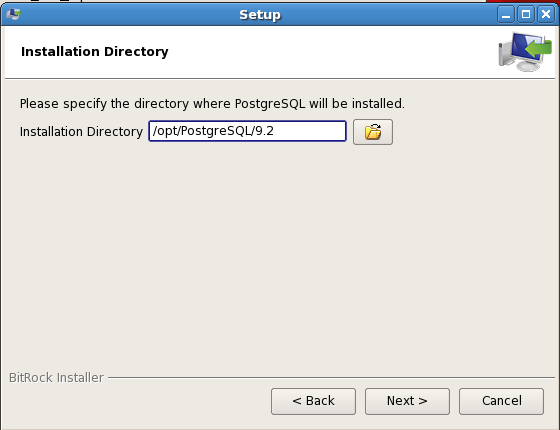
Click Next
3. Data Directory
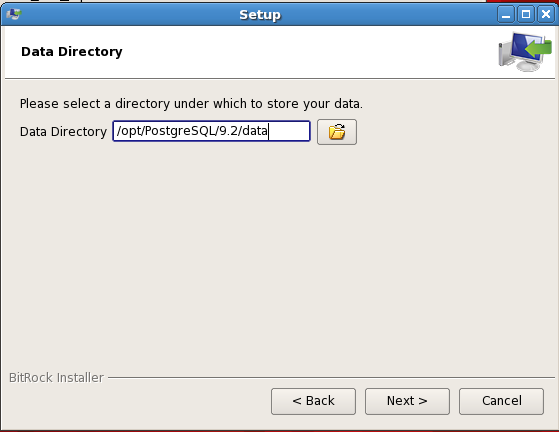
Click Next
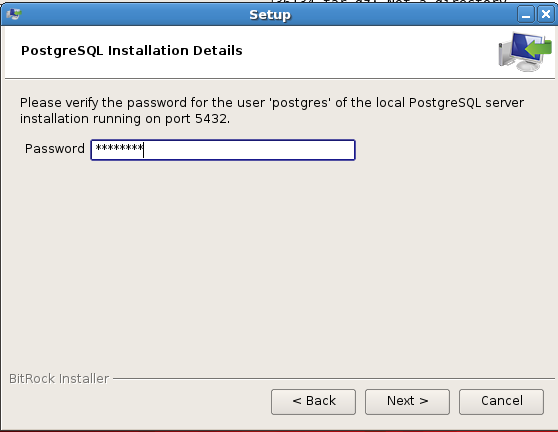
4. PostgreSQL Super User Password
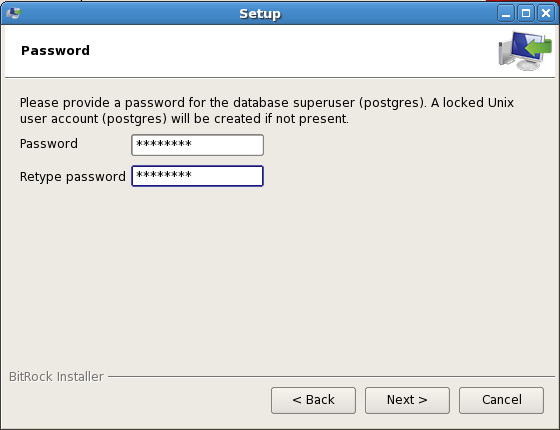
Click Next
5.Port

Click Next
6. Locale Settings
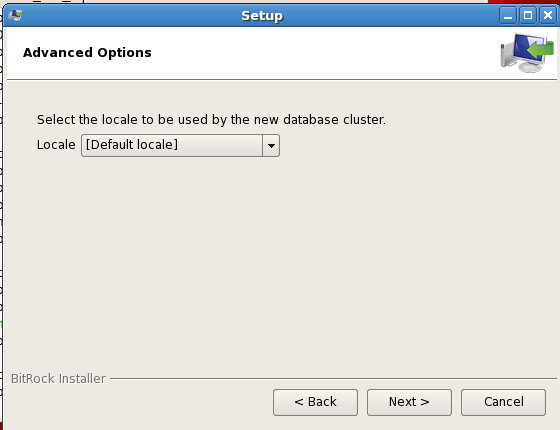
Click Next
7. Ready to Install

Click Next
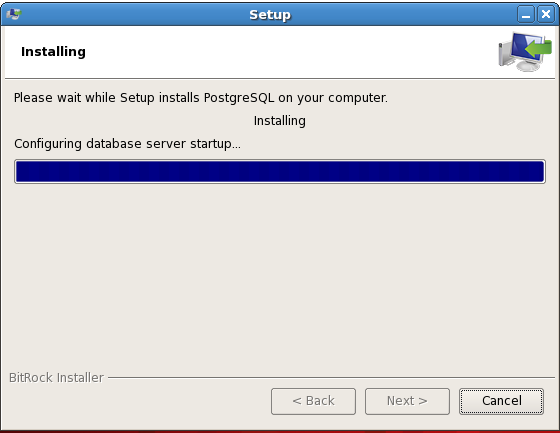
8. Installation Progress
9. Stack Builder
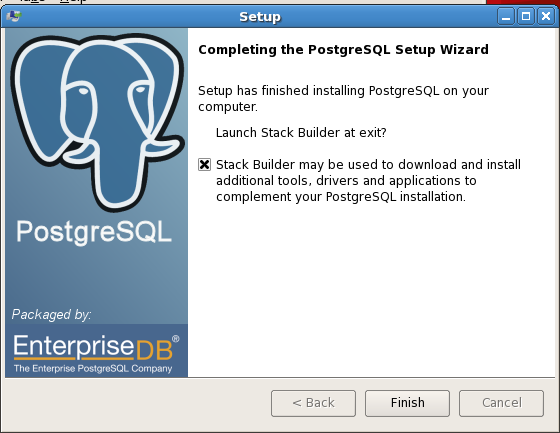
Alternatively, you can launch the “Application Stack Builder” later by going to Applications > PostgreSQL 9.2 > Application Stack Builder.
For now Click Finish to continue installing add-ons by launching Stack Builder.

Click Next
Choose from drop down PostgreSQL 9.2 on port 5432
Click Next
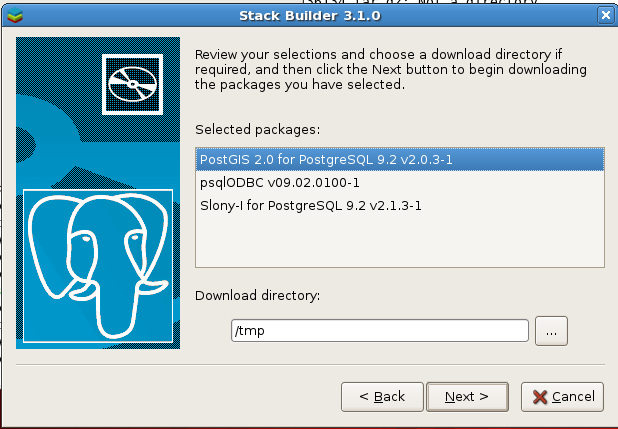
Accept default “tmp” directory. This is the location where all the downloads will be placed.
Click Next.
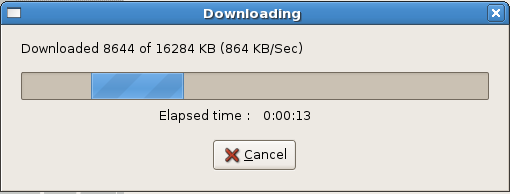
Wait until the downloads complete.
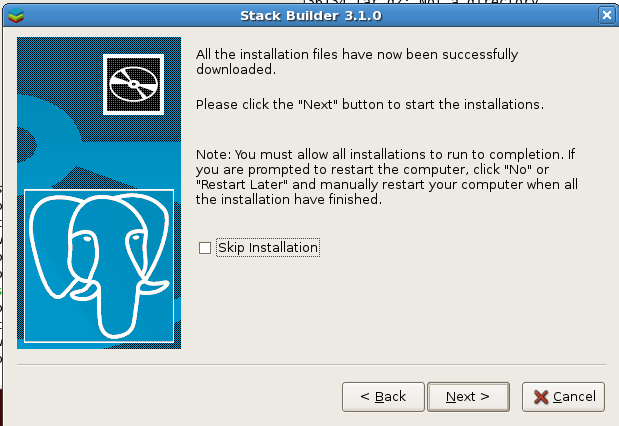
Click Next.
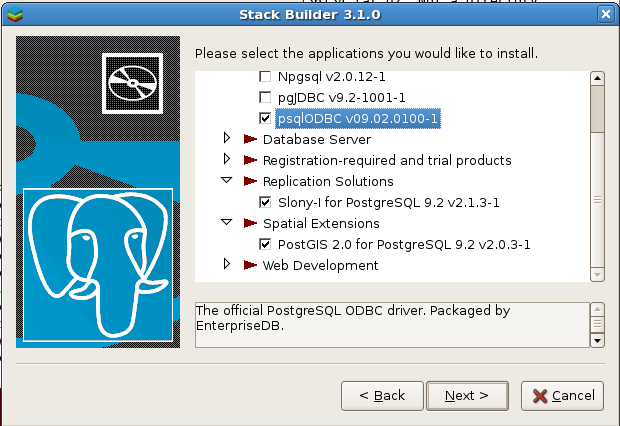
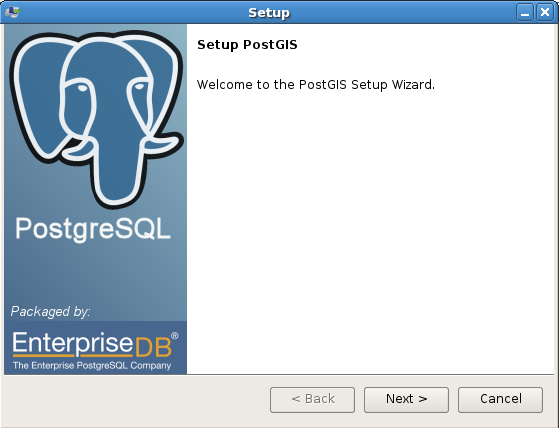
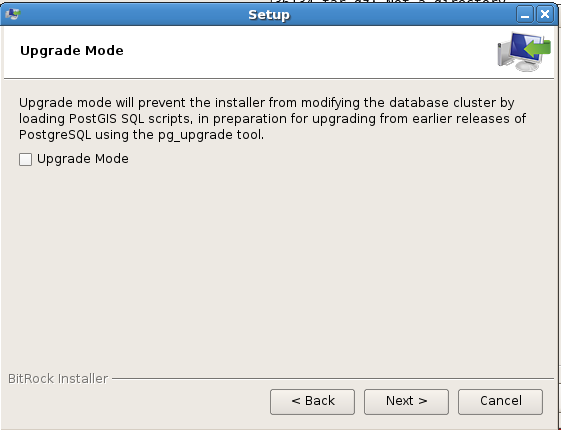
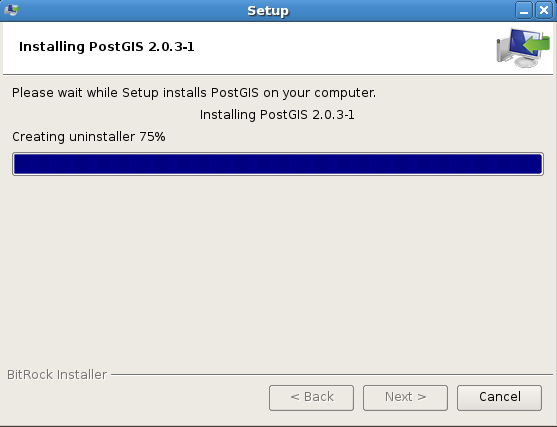
10. PostGIS 2.0 Installation (Optional)
Installation of PostGIS enables the use of PG_Geometry spatial type in addition to the Esri supported ST_Geometry geometry type.
Click Next
Click Next
11 . Database Authentication
Click Next
In the ready to Install dialog box, click Next
Wait until a template spatial database is created.
Click Finish on the PostGIS Setup Wizard.
12 PSQLODBC Setup.
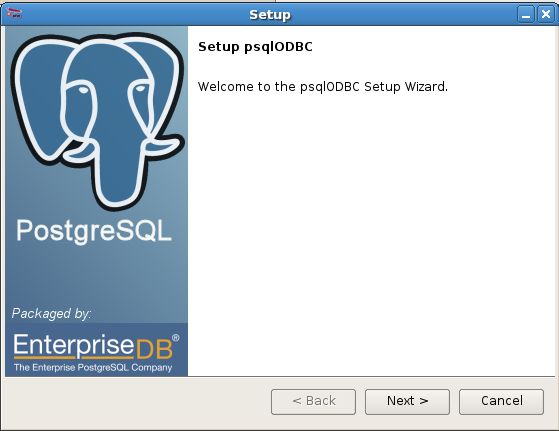
Follow the wizard in the installation steps enabling you installation of ODBC drivers.
13. Setup Slony
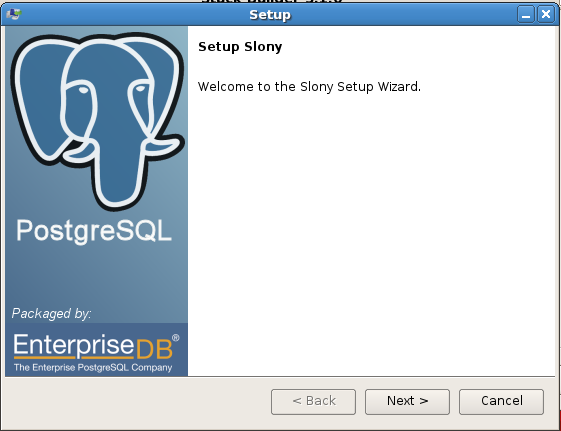
Click Next
click Next in the Ready to Install dialog box. Follow the installation wizard until the replication tool installs successfully.
Successful installation of the Add-Ons
Click Finish and reboot server by issuing command as root in the terminal window.
Reboot
2. Configuration
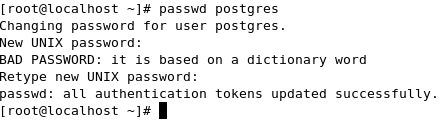
1. Change PostgreSQL Account password.
a) Issue command below
passwd postgres
b) Check postgres user home directory by issuing below command and search for postgres
vim etc/passwd
Confirm that Postgres home folder is /opt/PostgreSQL/9.2 . However, this may differ with the PostgreSQL installation method.
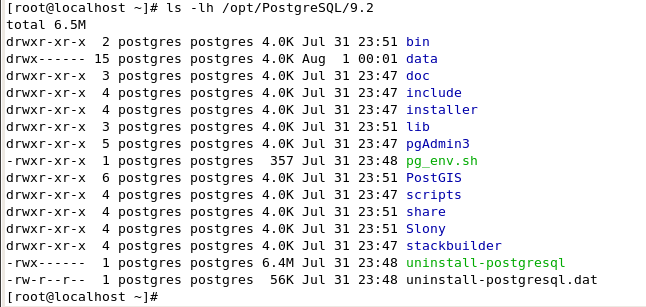
c) Change owner of home folder from root to postgres by issuing below command.
chown -R postgres.postgres /opt/PostgreSQL/9.2
Confirm rights by running by issuing command below.
ls -lh /opt/PostgreSQL/9.2
2. Environment settings
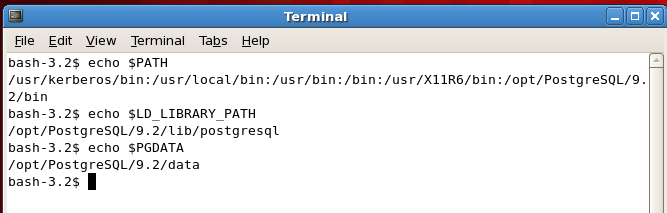
a) Set Environment variable in the file /etc/profile as root user
PGDATA=/opt/PostgreSQL/9.2/data
export PGDATA
LD_LIBRARY_PATH=/opt/PostgreSQL/9.2/lib/postgresql
export LD_LIBRARY_PATH
PATH=$PATH:/opt/PostgreSQL/9.2/bin
export PATH
b) Log in as postgres user and test that the environment variables set previously are available.
.3. Load ST_Geometry
a) Copy st_geometry.so from you DatabaseSupport folder in your Desktop10.2 folder in windows to your linux distro. Typical location for the library file is; “C:\Program Files (x86)\ArcGIS\Desktop10.2\DatabaseSupport\PostgreSQL\9.2\Linux64”
b) In the home directory / opt/PostgreSQL/9.2 change directory to the bin folder. Run the below command to find the location of the dynamically loaded modules
./pg_config –pkglibdir
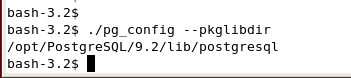
c) Copy and place the provided st_geometry.so into the location “/opt/PostgreSQL/9.2/lib/postgresql”.
Ensure st_geometry.so is owned by postgres user and has 755 permissions by issuing the below commands as user root.
chown postgres.postgres st_geometry.so
chmod 755 st_geometry.so
- NB. No need to log out of postgres but open a new tab in the terminal and elevate your rights to the root user by issuing command below;
4. Alter PostgreSQL Configuration Files
a) Log out as root and log in as postgres user account
b) Alter pg_hba.conf to include IP addresses of the client machines.
1. Open a terminal.
2. Issue the below command as user postgres .Backup pg_hba.conf and postgresql.conf
cd data
vim pg_hba.conf
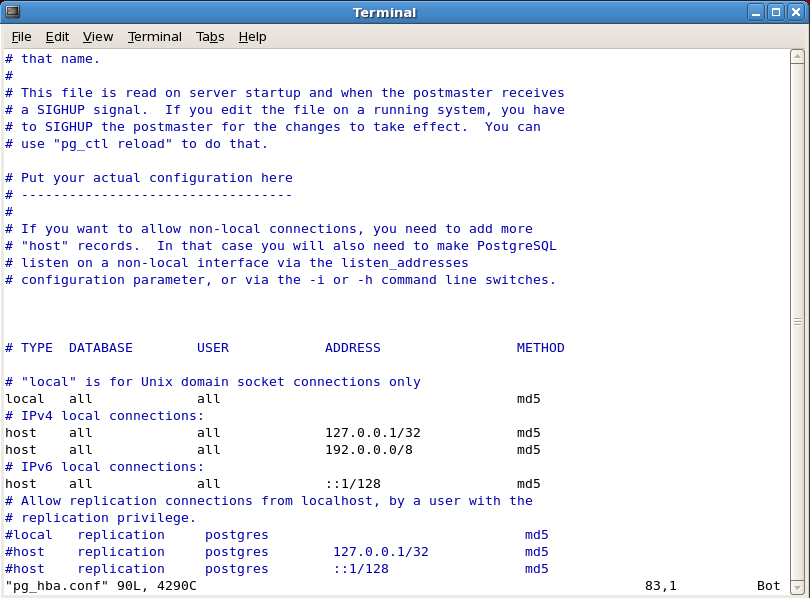
3. Allow all users who supply a valid password to connect to any of the databases on the PostgreSQL instance from addresses beginning with say 192, you would add a line similar to the following to the pg_hba.conf file:
host all all 192.0.0.0/8 md5
4. Exit and save vim by issuing command after pressing esc key to exit edit mode
:wq
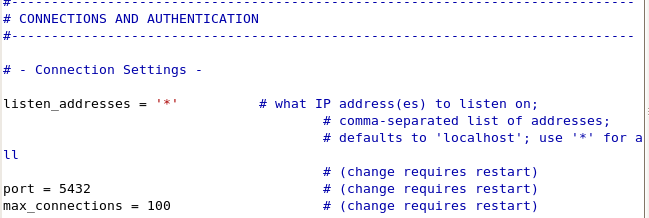
c) Confirm postgresql.conf file “Connections and Authentications” section is similar to the below entries in
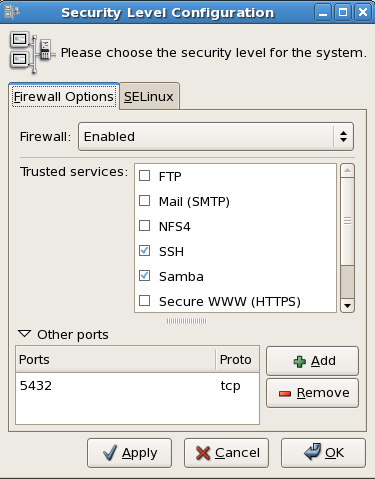
5. Security Wall and Firewall
a) Add port 5432 to the firewall of the linux distro as the root user.
6. ArcGIS Client
a) On windows, Install the ArcGIS client from which you will create the geodatabase.
b) Download the PostgreSQL client libraries (if your ArcGIS client is on Windows) or RPM (if your ArcGIS client is on Linux) from the Esri Customer Care portal and place them in the bin directory of the ArcGIS client you installed in the last step.
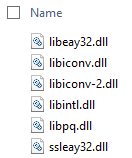
c) Copy 32 bit files from “..\ArcGIS 3rd Party\PostgreSQLClientLibs922\32bit” to the bin folder of your ArcGIS for Desktop 10.2 installation
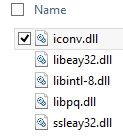
d) Similarly copy the 64 bit client in “..\ArcGIS 3rd Party\PostgreSQLClientLibs922\64bit” libraries for server to ArcGIS for server bin folder.
e) See Setting up a connection to PostgreSQL for more information.
f) Security and Firewall
Except port 5432 on Windows firewall or on your Antivirus.
7. Test Connection
a) Run Create Enterprise Geodatabase tool in ArcToolbox > Geodatabase Administration >
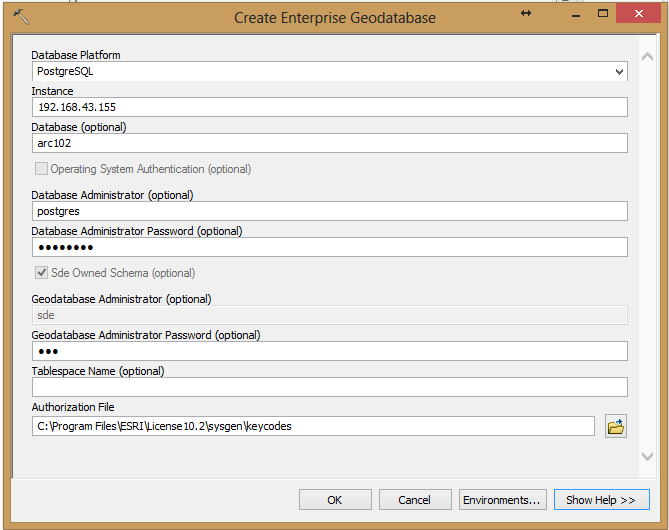 Click OK
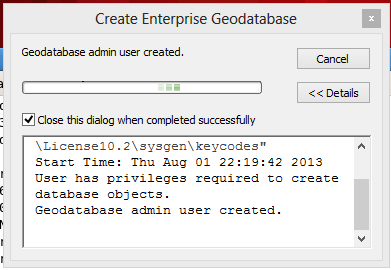
b) Process of creating an ArcSDE geodatabase. Close the dialog showing the geodatabase has been created.
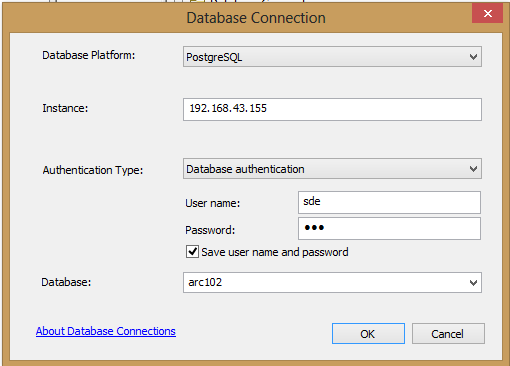
c) Create database connection.
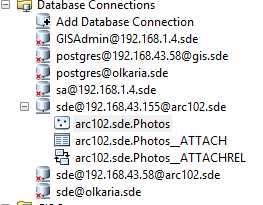
d) Load data through the connection to the database
You must be a registered user to add a comment. If you've already registered, sign in. Otherwise, register and sign in.