- Home
- :
- All Communities
- :
- Industries
- :
- Science
- :
- Ocean Science
- :
- Ocean Science Blog
- :
- Familiarizing Yourself with EMU’s in ArcGIS Pro
Familiarizing Yourself with EMU’s in ArcGIS Pro
- Subscribe to RSS Feed
- Mark as New
- Mark as Read
- Bookmark
- Subscribe
- Printer Friendly Page
- Report Inappropriate Content
Unpack your project:
Unpacking your project can take anywhere from 30 to 45 mins; be prepared for this…. Get lunch or a cup of coffee. Don’t worry, you only need to unpack once. After you save the project you should not need to unpack again!
ArcGIS Pro – Once you have the project open in Pro you should open to a screen that looks similar to this:
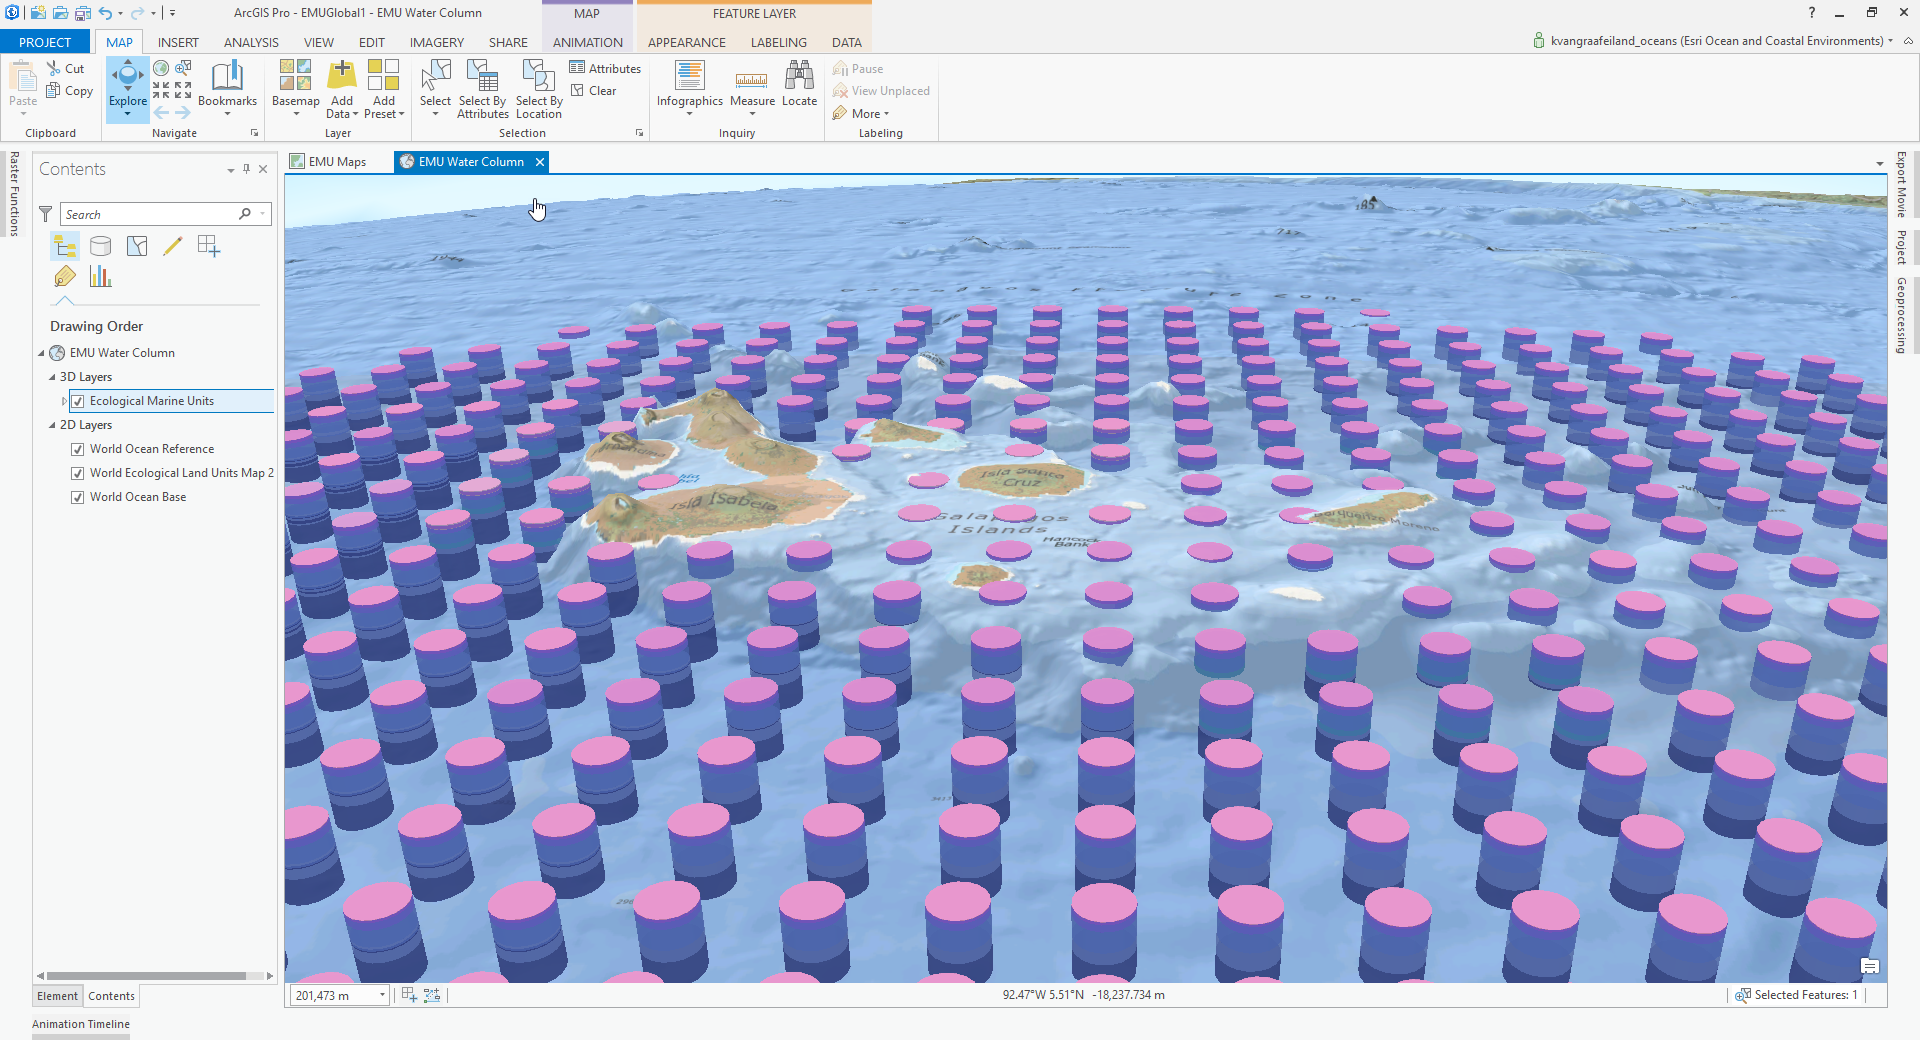
Exploring the Pro Project:
Now, I can see the Ecological Marine Unit data, displayed as cylindrical shapes in a 3D Scene. I have the ability to interact with the Ecological Marine Unit’s (EMU’s) by clicking on the cylinders in the map and looking at the associated pop-ups.
The Scene is comprised of 3D and 2D Layers.
- 3D Layers
- Ecological Marine Units (Local) – 3,574,396 records. this is the data that is represented as cylinders in the project. This is an optimized version of the 52-million-point mesh where volumes of contiguous water masses with the same characteristics or attributes have been merged together.
- 2D Layers
- World Ocean Reference (Online) - annotation for features on the World Ocean Base map, this reference layer includes marine water body names, undersea feature names, and derived depth values in meters. Land features include administrative boundaries, cities, and inland water names.
- World Ecological Land Units Map 2015 (Online) – Ecological Land Units (ELUs) are areas of distinct bioclimate, landform, lithology, and land cover that form the basic components of terrestrial ecosystem structure.
- World Ocean Base (Online) - The basemap focuses on bathymetry. It also includes inland waters and roads, overlaid on land cover and shaded relief imagery.
Of the four listed data sources, the only source lives locally on the hard-drive is the Ecological Marine Unit data. The remainder of the datasets are provided as online services through Esri’s Living Atlas of the World.
Elevation Data:
The scene’s elevation is controlled in the map properties. From here you can control the vertical exaggeration and elevation source(s).
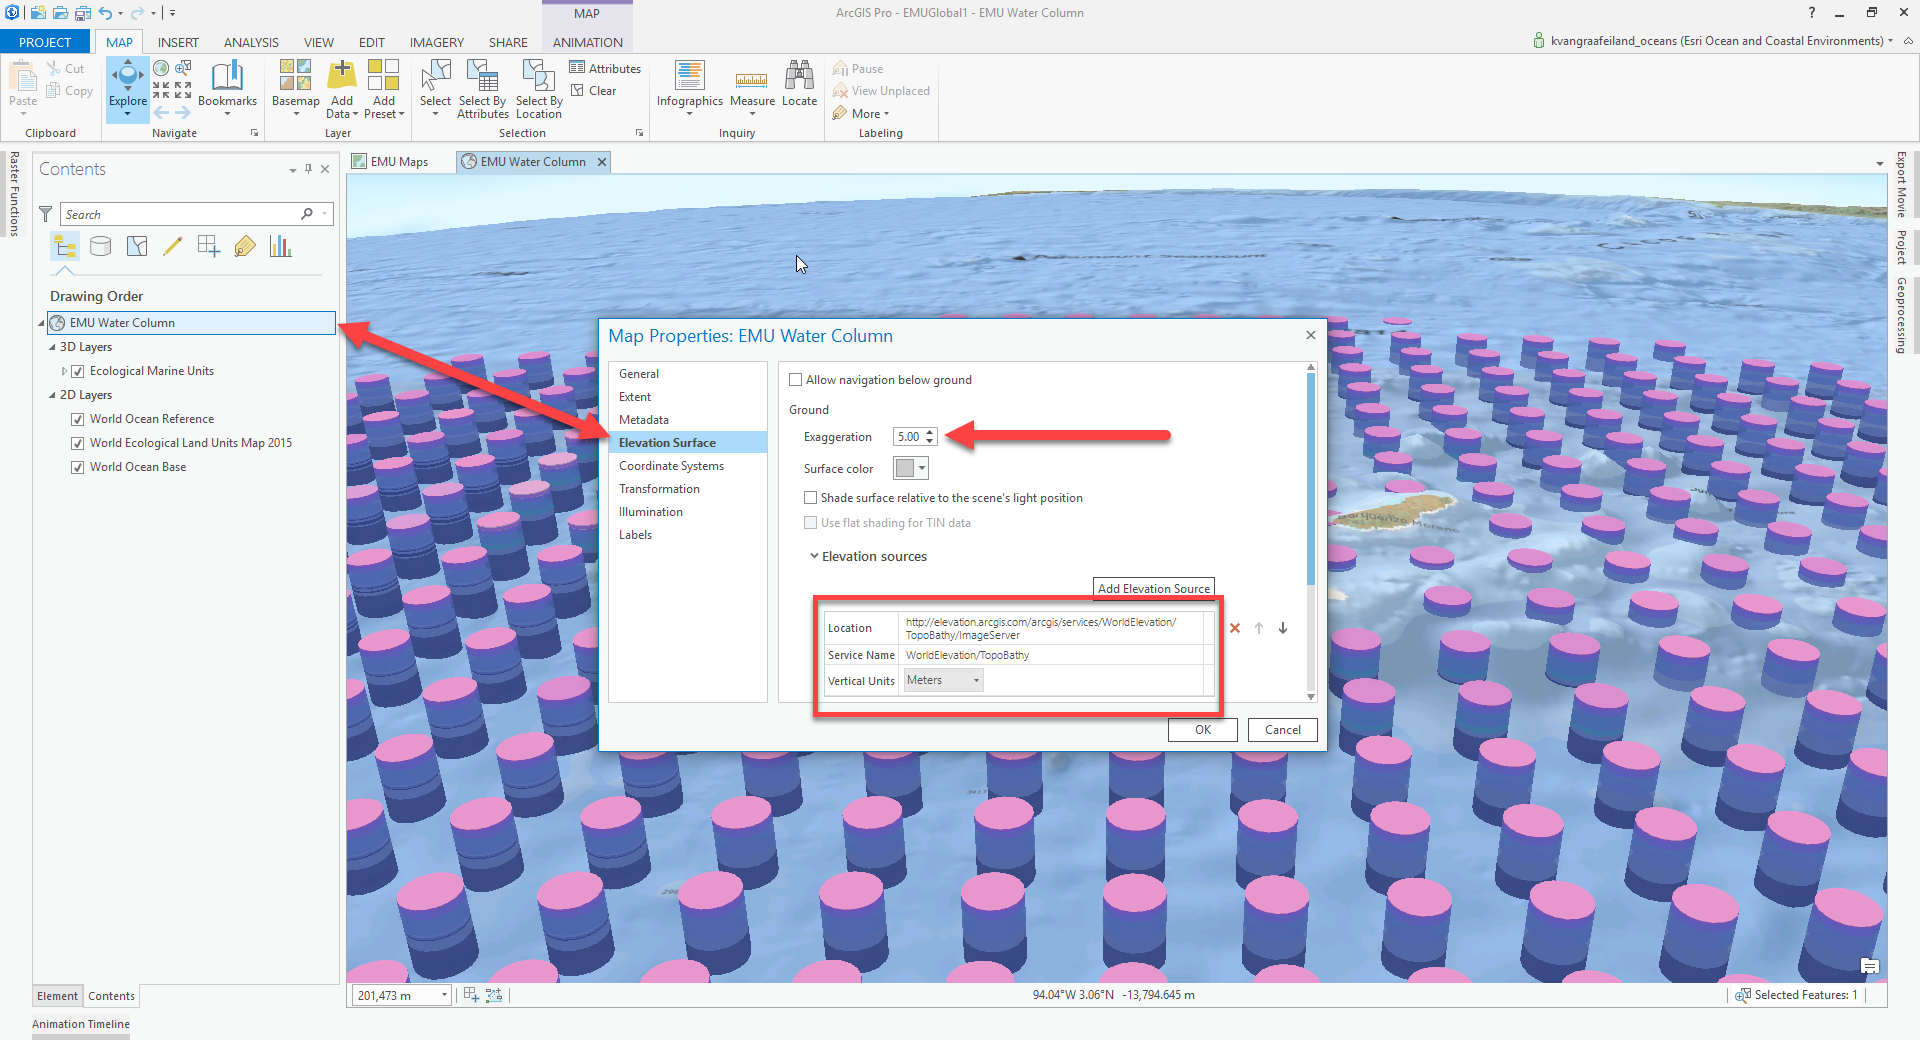
By default, the current scene is configured with a 5x vertical exaggeration and is utilizing the TopoBathy service that is available online through the Living Atlas of the World.
Bookmarks:
The ArcGIS Pro project package comes with 18 pre-configured bookmarks of fascinating places in the world’s oceans. Bookmarks can be accessed through a drop down interface where you can also create new bookmarks or manage your existing ones.
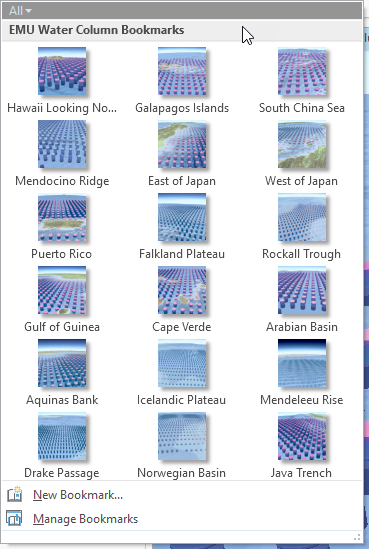
Navigate to the Falkland Plateau using the associated bookmark. Notice an immediate difference in the colors and variation in the EMU columns? The water column characteristics are represented different here than in the previous location of the Galapagos Islands.
I hope this orientation to the Ecological Marine Unit's in ArcGIS Pro was helpful. Please reach out to me with any questions or suggestions that you might have by commenting on this blog.
You must be a registered user to add a comment. If you've already registered, sign in. Otherwise, register and sign in.