- Home
- :
- All Communities
- :
- Products
- :
- ArcGIS GeoEvent Server
- :
- ArcGIS GeoEvent Server Blog
- :
- Using PKI Authentication with a GeoEvent Data Stor...
Using PKI Authentication with a GeoEvent Data Store
- Subscribe to RSS Feed
- Mark as New
- Mark as Read
- Bookmark
- Subscribe
- Printer Friendly Page
This blog post shows how to set up PKI authentication in a GeoEvent Data Store connection.
- Install Certificates
- Export Certificates
- Import Certificates
- Restart GeoEvent
- Create PKI GeoEvent Data Store Connection
- Store & RegisterYour PKI Certificate(s)
- Configure GeoEvent Data Store Connection
- Notes on GeoEvent Data Store connections
Install Certificates
The first thing you will need to do is install certificates for both your ArcGIS Enterprise machine and your authentication provider.
Export Certificates
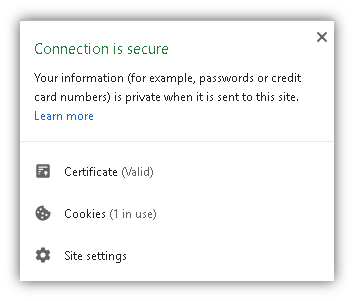
The easiest way to get these certificates is to export them from your browser. On your GeoEvent machine, open a tab in your browser and enter the URL for each into the address bar. Once you’ve done this, you can access the certificate by clicking on the ‘lock’ symbol in the address bar and viewing the certificate.
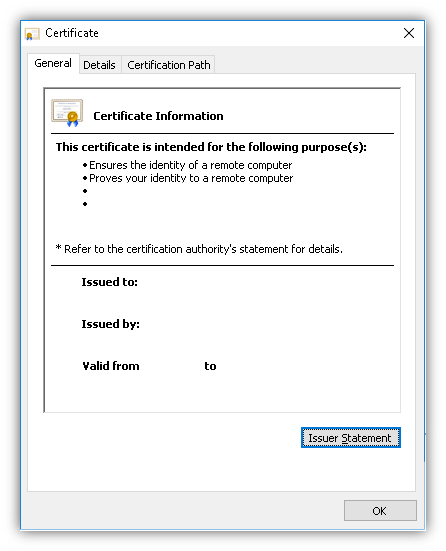
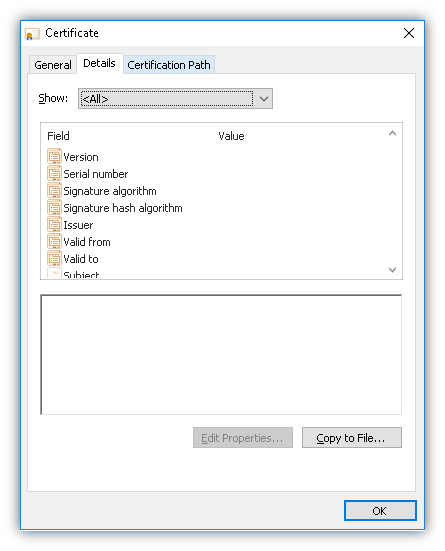
Once you are viewing the certificate, go to the ‘Details’ tab and press the ‘Copy to File…’ button.
This brings up the Certificate Export Wizard
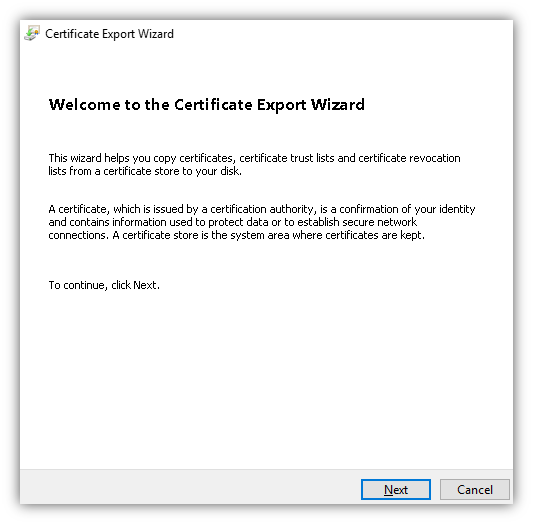
- Press ‘Next’ to go to the export format page, accept the default.

- Press ‘Next’ to go to the file to export page. Press the ‘Browse’ button and select a location and file name for the exported certificate.
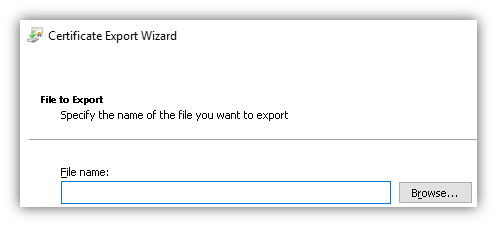
- Press the ‘Next’ button and then press the ‘Finish’ button.
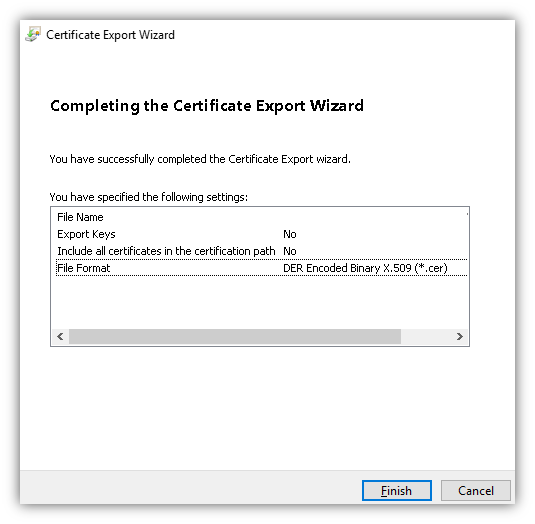
- The wizard should notify you that the file was exported.
Complete this process for both your ArcGIS Enterprise and your security provider URL.
Import Certificates
- On your GeoEvent machine, open the ArcGIS Server Admin console by going to https://<geoeventserver>:6443/arcgis/admin.
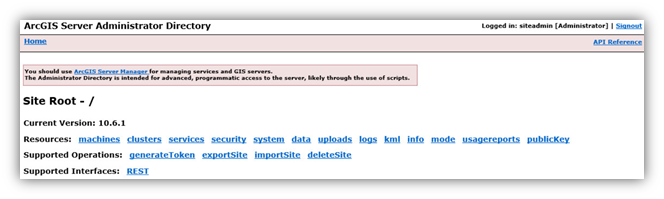
- Click on ‘machines’ then click on the link for your machine.
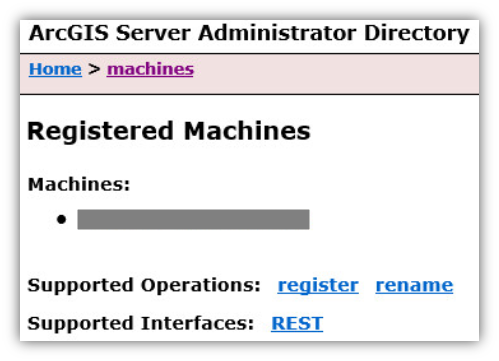
- At the bottom of the next page, click on the ‘sslcertificates’ link.

- On the SSL Certificates page, press the ‘importRootOrIntermediate’ link to open the import page.
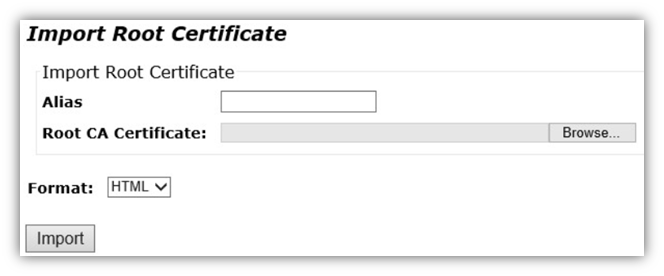
- Enter an alias for your certificate
- this could be the fully qualified domain name of the server the certificate represents
- avoid special characters and spaces, periods are ok.
- Press the ‘Browse’ button and locate the .cer file you saved above.
Complete this import process for both certificates. When you are done, your list of SSL Certificates should include a link for both your ArcGIS Enterprise and the security provider servers.
Restart GeoEvent
Finally, you will need to restart your Windows services. To do this either reboot your machine, or:
In Windows Services
- Stop ArcGIS GeoEvent
- Restart ArcGIS Server, wait about 30 seconds
- Start ArcGIS GeoEvent, wait about 60 seconds
Create PKI GeoEvent Data Store Connection
Store & Register Your PKI Certificate(s)
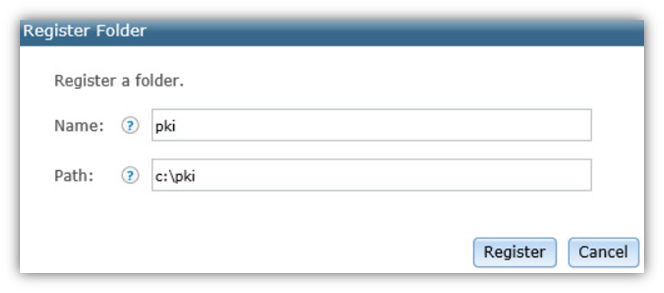
On your GeoEvent machine, create a folder where you will store the PKI certificates. These certificates represent the user you will be connecting to your enterprise as. The path MUST be on the local GeoEvent machine, UNC paths are not allowed. This folder can contain one or more user certificates (.pfx files), where each certificate represents a different user.
Log in to GeoEvent Manager and go to the ‘Site | GeoEvent | Data Stores’ page. Press the ‘Register Folder’ button. On the Register Folder dialog enter the path to the folder you created above to store your certificates.
Configure GeoEvent Data Store Connection
Within GeoEvent Manager, on the same Data Stores page, press the ‘Register ArcGIS Server’ button to open the ‘Register ArcGIS Server’ dialog. On the dialog, select the ‘Portal’ option at the top. Next, select the ‘Use PKI’ option to check that box.
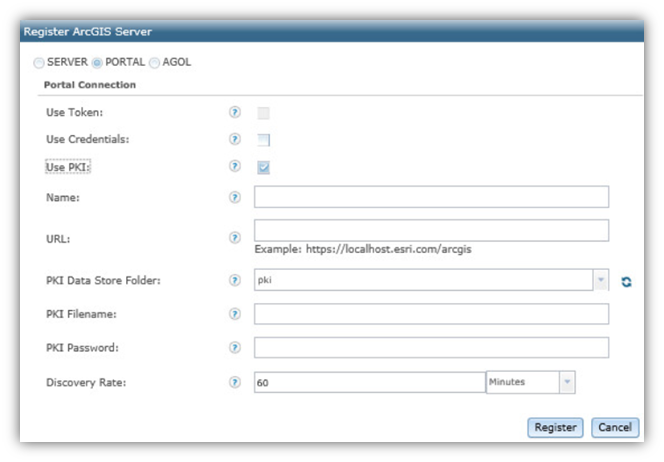
- Name - Enter a name for the GeoEvent Data Store connection (you can use spaces, I typically also include the name of the user the connection will use).
- URL – The URL of the ArcGIS Enterprise system you are connecting to. As shown in the example, this should be the Enterprise Server’s Web Adapter URL (without the port number) and not the direct administrative connection (with the port number).
- PKI Data Store Folder – Select the folder you created above to store your PKI certificates.
- PKI Filename – Enter the name of the certificate file you wish to use. This is case sensitive, and you should include the file extension (example: User1.pfx)
- PKI Password – Enter the password that is protecting the .pfx file. Note that this is not the same as the user’s password. It is the password used to access the .pfx file contents (this was set when the .pfx file was created). Check with your certificate manager who created the .pfx file if you don’t know this password.
- Discovery Rate – The default is fine. This is the rate that GeoEvent will reach out to the ArcGIS Portal to refresh GeoEvent’s catalog of the user’s content on that enterprise site.
Notes on GeoEvent Data Store connections
Each connection represents a specific user. Thus, the content that is accessible by a GeoEvent Data Store connection is limited to:
- Public items
- Items owned by that user.
Items shared with the user (e.g. through groups) will not be visible/accessible.
Because of this, it may be required to create multiple GeoEvent Data Store connections, each representing a different user. For this reason, I usually include the user’s name in the GeoEvent Data Store connection’s name. I usually suggest that organizations dedicate one “Application” user to GeoEvent and publish all content that GeoEvent will need access to under that one headless user. However, this is not always possible.
You must be a registered user to add a comment. If you've already registered, sign in. Otherwise, register and sign in.