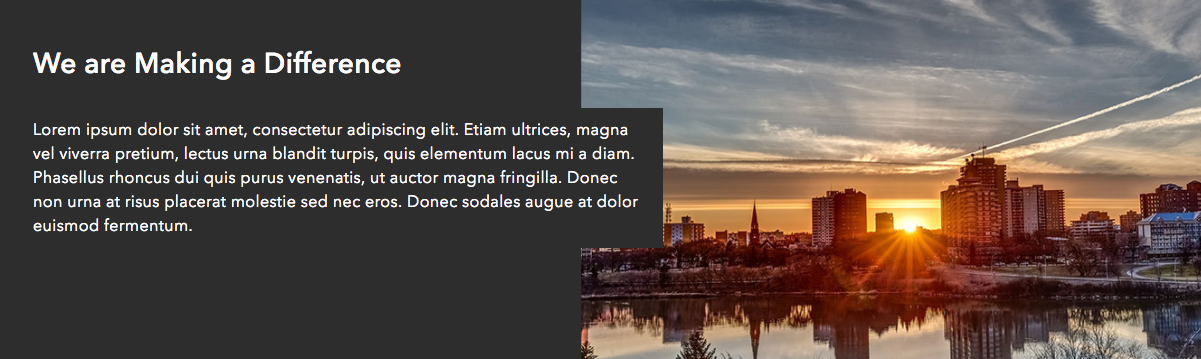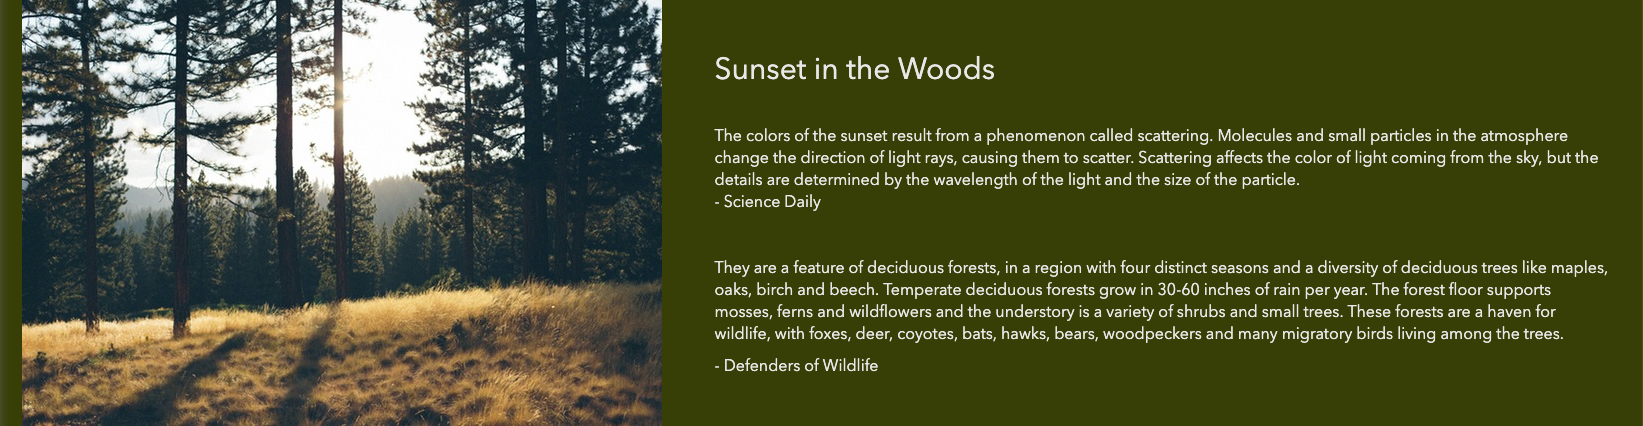
Update 08/15/2019: Since the original date of this post, we've made improvements to our image card and row card that make achieving a split look even easier and which works better on smaller devices. To achieve this effect, you'll want to select the Wide layout option on your Row Card, and then add an Image Card and a Text Card side-by-side.
Under Options on the Image Card, toggle on Scale to Fit, which allows the image to proportionately resize and fill whatever space is available. This may mean that some of the image will be hidden off screen on smaller devices, but you can use the Focal Point control to indicate what part of the image you want to stay predominantly visible during the resizing.
On the Text Card side, you may need to hit enter a couple times to vertically align your text, but the Text Card uses a transparent background and will rely on the background-color and text-color that you set in the Row Card.
Note: You will see some padding on the cards when you're in edit mode. This is a result of needing room for our hover controls. It will not be visible in live mode and you will have the edge-to-edge effect after you save and view your site.
--------
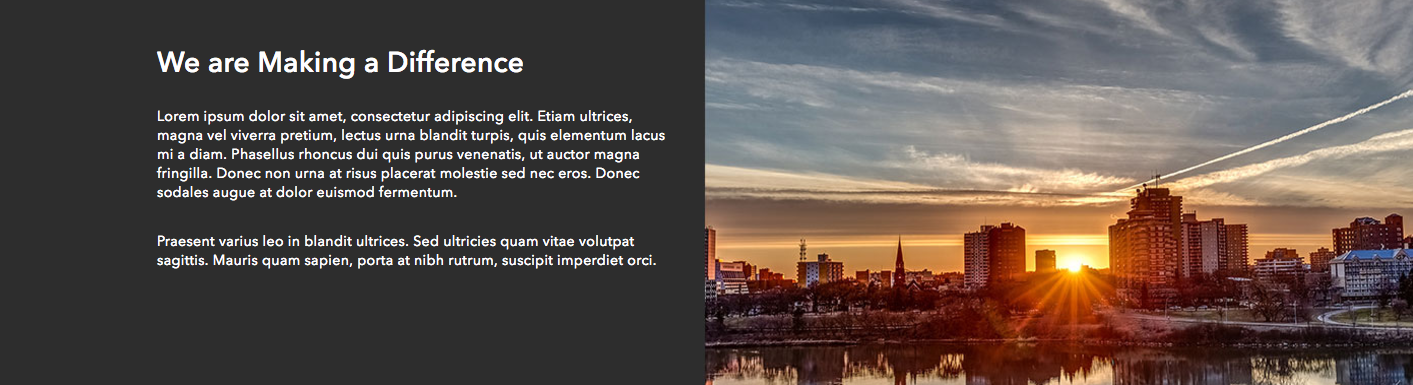
While designing Hub sites, you may find that you'd like to have images that bleed to the edges of your site. Unfortunately, in order to do this you would need to have a fluid-width container as the Bootstrap 3 grid depends on a set of nested elements: row, container, columns. Our app is based on a fixed-width container, which prevents columns and their content from taking up 100% of available screen space, and keeps your content from resizing past a certain maximum width. We've found this works best for the majority of sites. However, the rows which are outside of the container, are set to be fluid. This is what presently allows 100% width image and color backgrounds on rows. We're going to take advantage of that to achieve a split bleed look.
Steps
- In Photoshop or other image editing software, create a canvas 1400 x 450 pixels.
(Pixlr Editor is a free browser image editor that has similar functionality to the basics of Photoshop - it does require Flash to run.) - Fill canvas with desired background color.
- Import photo to canvas and resize it to 50% of canvas width.
- Save canvas as JPEG. (Save to desktop if using Pixlr.)
- Upload image to web hosting somewhere to get URL.
- In Site Editor > Layout Builder, add a row card.
- In row settings, paste image URL in for background image. Set row text color.
- Drag two text cards into row, side by side.
- In text card overlaying image, delete contents, add an empty div and set min-height to maintain a specific row height.
<SPAN class="token tag"><SPAN class="token tag"><SPAN class="punctuation token"><</SPAN>div</SPAN><SPAN class="style-attr language-css token"><SPAN class="attr-name token"> <SPAN class="attr-name token">style</SPAN></SPAN><SPAN class="punctuation token">="</SPAN><SPAN class="attr-value token"><SPAN class="property token">min-height</SPAN><SPAN class="punctuation token">:</SPAN> 350px<SPAN class="punctuation token">;</SPAN></SPAN><SPAN class="punctuation token">"</SPAN></SPAN><SPAN class="punctuation token">></SPAN></SPAN><SPAN class="token tag"><SPAN class="token tag"><SPAN class="punctuation token"></</SPAN>div</SPAN><SPAN class="punctuation token">></SPAN></SPAN><SPAN class="line-numbers-rows"><SPAN></SPAN></SPAN>
If your image is not decorative, you may want to add an aria-label to the div for web accessibility, since background images are not conveyed to assistive technologies like screen readers and do not support the alt text attribute.
<SPAN class="token tag"><SPAN class="token tag"><SPAN class="punctuation token"><</SPAN>div</SPAN><SPAN class="style-attr language-css token"><SPAN class="attr-name token"> <SPAN class="attr-name token">style</SPAN></SPAN><SPAN class="punctuation token">="</SPAN><SPAN class="attr-value token"><SPAN class="property token">min-height</SPAN><SPAN class="punctuation token">:</SPAN> 350px<SPAN class="punctuation token">;</SPAN></SPAN><SPAN class="punctuation token">"</SPAN></SPAN> <SPAN class="attr-name token">aria-label</SPAN><SPAN class="attr-value token"><SPAN class="punctuation token">=</SPAN><SPAN class="punctuation token">"</SPAN>city sunrise<SPAN class="punctuation token">"</SPAN></SPAN><SPAN class="punctuation token">></SPAN></SPAN><SPAN class="token tag"><SPAN class="token tag"><SPAN class="punctuation token"></</SPAN>div</SPAN><SPAN class="punctuation token">></SPAN></SPAN><SPAN class="line-numbers-rows"><SPAN></SPAN></SPAN>
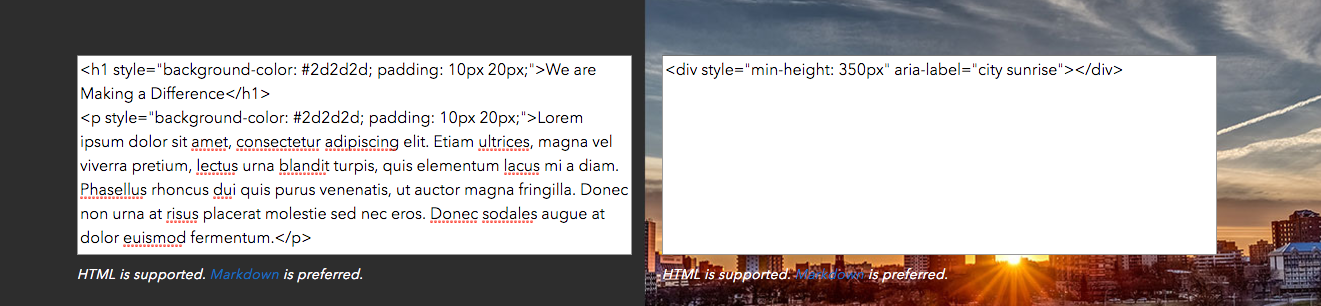
- In text card overlaying solid color, type text.
<SPAN class="token tag"><SPAN class="token tag"><SPAN class="punctuation token"><</SPAN>h1</SPAN><SPAN class="style-attr language-css token"><SPAN class="attr-name token"> <SPAN class="attr-name token">style</SPAN></SPAN><SPAN class="punctuation token">="</SPAN><SPAN class="attr-value token"><SPAN class="property token">display</SPAN><SPAN class="punctuation token">:</SPAN> inline-block<SPAN class="punctuation token">;</SPAN> <SPAN class="property token">background-color</SPAN><SPAN class="punctuation token">:</SPAN> #2d2d2d<SPAN class="punctuation token">;</SPAN> <SPAN class="property token">padding</SPAN><SPAN class="punctuation token">:</SPAN> 10px 20px<SPAN class="punctuation token">;</SPAN></SPAN><SPAN class="punctuation token">"</SPAN></SPAN><SPAN class="punctuation token">></SPAN></SPAN>
We are Making a Difference
<SPAN class="token tag"><SPAN class="token tag"><SPAN class="punctuation token"></</SPAN>h1</SPAN><SPAN class="punctuation token">></SPAN></SPAN>
<SPAN class="token tag"><SPAN class="token tag"><SPAN class="punctuation token"><</SPAN>p</SPAN><SPAN class="style-attr language-css token"><SPAN class="attr-name token"> <SPAN class="attr-name token">style</SPAN></SPAN><SPAN class="punctuation token">="</SPAN><SPAN class="attr-value token"><SPAN class="property token">background-color</SPAN><SPAN class="punctuation token">:</SPAN> #2d2d2d<SPAN class="punctuation token">;</SPAN> <SPAN class="property token">padding</SPAN><SPAN class="punctuation token">:</SPAN> 10px 20px<SPAN class="punctuation token">;</SPAN></SPAN><SPAN class="punctuation token">"</SPAN></SPAN><SPAN class="punctuation token">></SPAN></SPAN>
Welcome to our city.
<SPAN class="token tag"><SPAN class="token tag"><SPAN class="punctuation token"></</SPAN>p</SPAN><SPAN class="punctuation token">></SPAN></SPAN>
<SPAN class="line-numbers-rows"><SPAN></SPAN><SPAN></SPAN><SPAN></SPAN><SPAN></SPAN><SPAN></SPAN><SPAN></SPAN><SPAN></SPAN><SPAN></SPAN></SPAN>
While it is not necessary to add the style tags on these text elements, the reason I did so was because at some screen sizes, I observed the text briefly overlaying the image portion and I wanted the text to stay legible even in those cases.