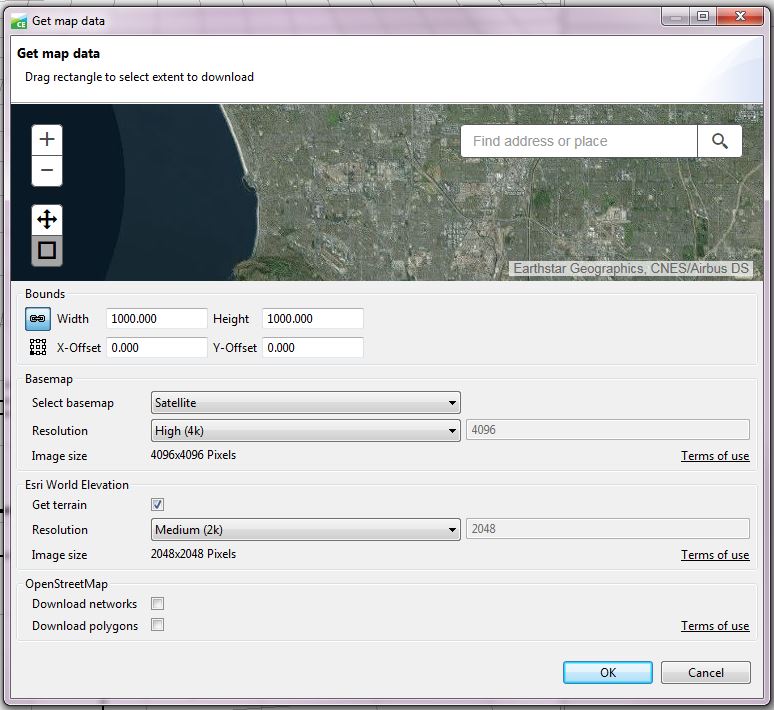
Looking for a way to model your city in 3D? Look no further! To create a 3D model of a real world city in CityEngine that can be used for city planning, modeling of 3D phenomena, or even in 3D gaming environments, all you need is a DEM, streets data, and building footprints.For those with CityEngine 2016.0, please read this post that shows you how to quickly prepare data for CityEngine with the Get map data wizard.
Before you bring your GIS data into CityEngine, however, there is some data preparation involved. Here, we review key information you need to know before getting started.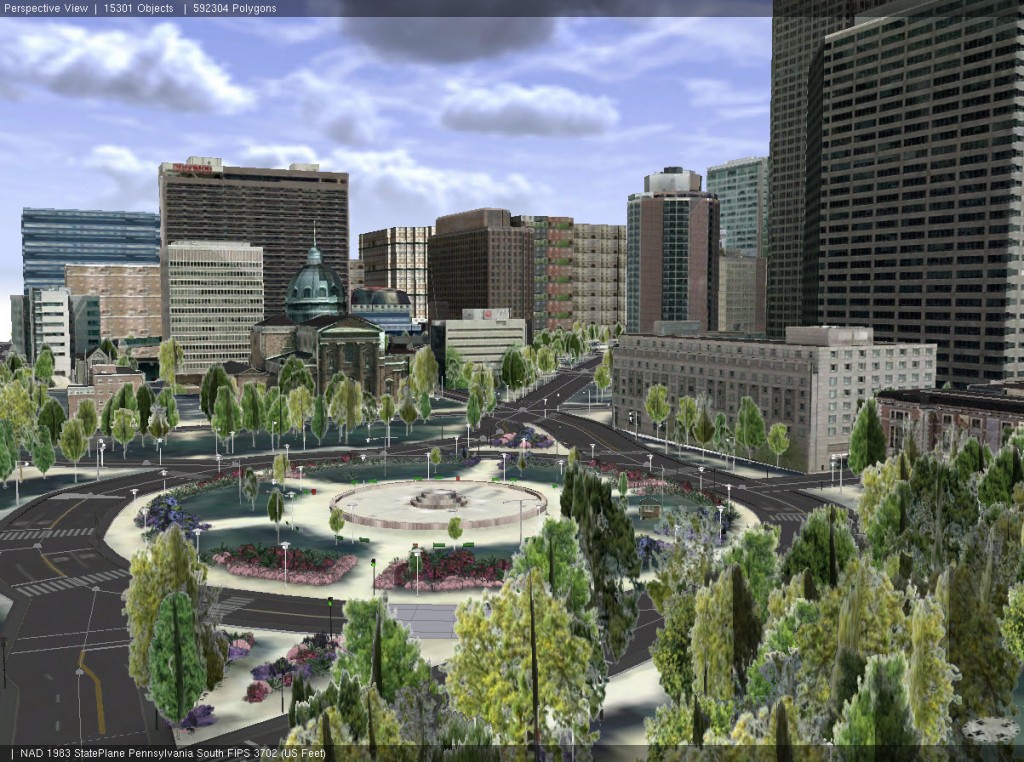
Common Terms used in CityEngine
Terrain = Digital Elevation Model (DEM)
Texture = Aerial Image or image for building facades
Graph = Streets
Lot = Building Footprint
Terrain and Texture
The first step is to gather your terrain and texture to overlay on top of the terrain. If you do not have a DEM, you can download one from the USGS. For terrains, 16-bit and 32-bit images with a maximum size of 4000 by 4000 pixels are supported. In order to verify the bit depth and number of rows/columns of an image, you can load it into ArcMap and check the information on the Source tab of the Raster Layer Properties.
Another key part of preparing the DEM and Aerial Image is to ensure that they have the same extent. This can be done in ArcMap by drawing a polygon graphic for the project area and running the Clip tool on the raster to clip both the terrain and texture to the same extent, or exporting the raster with the selected graphics as the clipping extent.
Another common issue is that the image has four or more bands. When this is the case, the aerial image will appear washed out. To resolve this issue, use the Make Raster Layer Tool in ArcMap and create a raster with three or less bands. The output from this tool will be temporary so it must be exported out in order to bring it into CityEngine.
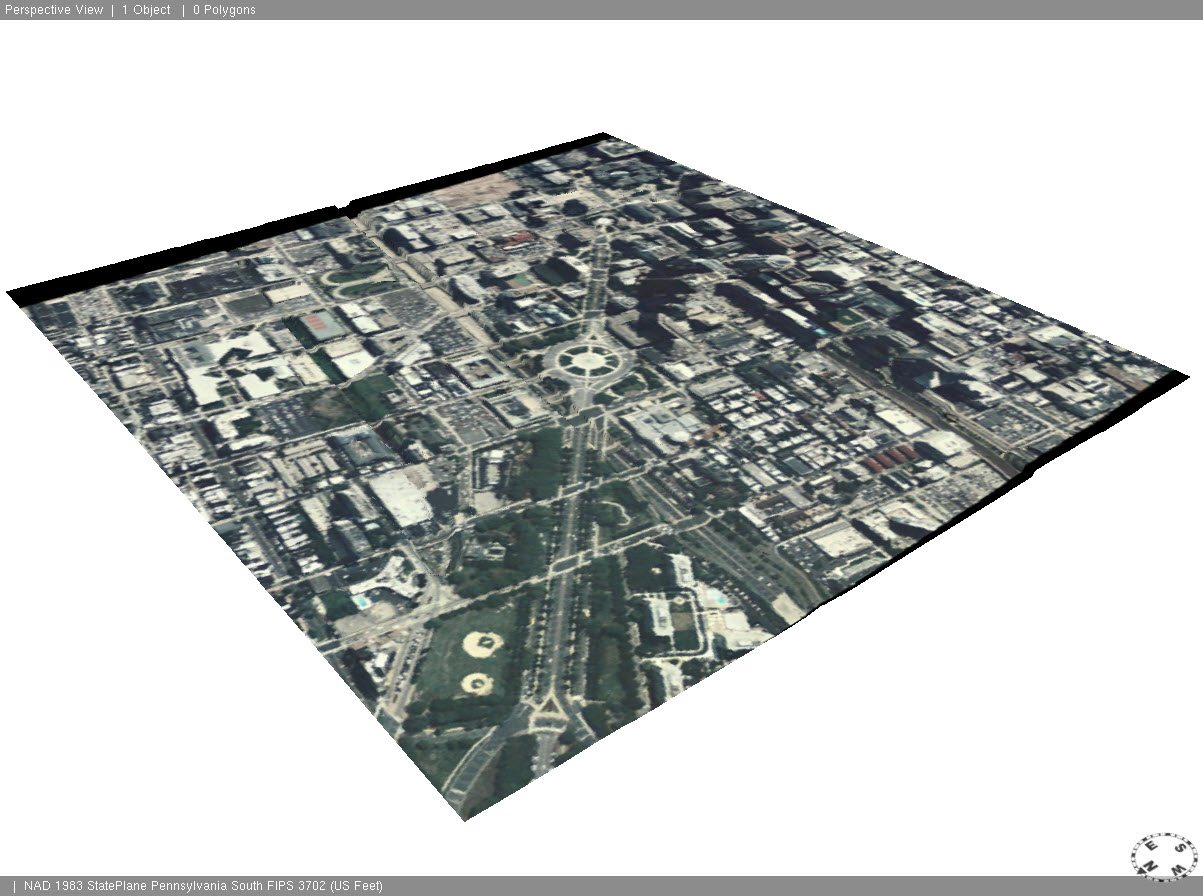
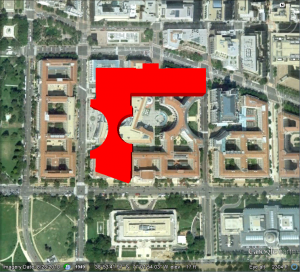
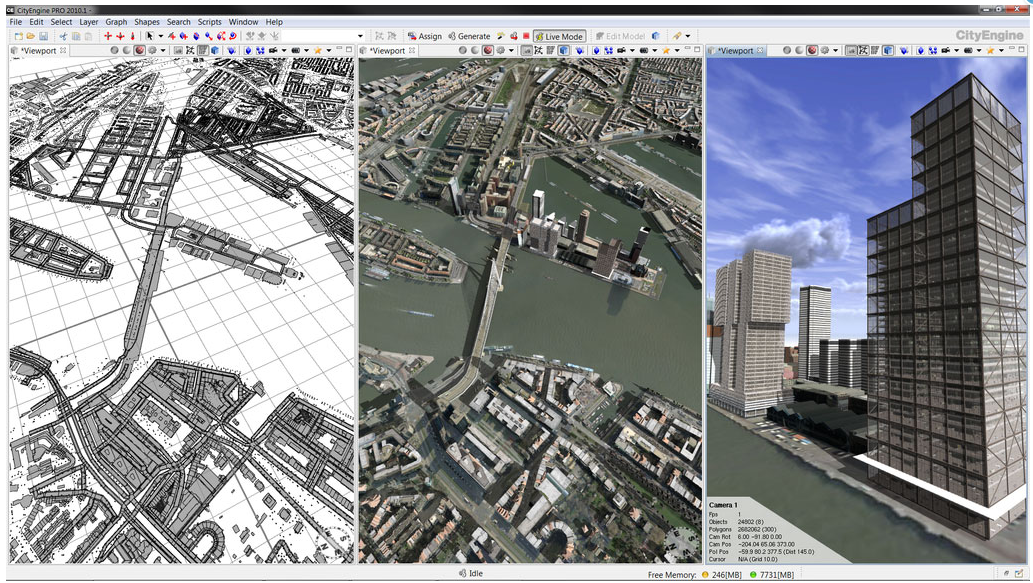
A terrain draped with a texture.
Streets and Buildings
The second step is to obtain feature data for streets and buildings. Commonly used street formats include shapefiles, geodatabases, KML, and OpenStreetMap (OSM). When you import the street data into CityEngine, sometimes there are messy intersections and merged nodes. We recommend using the Cleanup Graph tool to clean up these intersections, or manually edit the streets. If there are street segments that extend beyond the area of interest, use the selection tool to select the segments and delete them. Streets may also appear below the DEM - this can be rectified by running the Align Shape To Terrain tool, or manually raising the streets.
Additionally, OSM contains options for importing building footprints. With CityEngine you have the ability to generate your own lots, use your own data, or use those provided by a third party, such as OSM. An important distinction is that lots in CityEngine can represent the entire legal lot for a parcel, the building footprint, or lots with building footprints. When importing an OSM file, check the Highways and Buildings in order to import both the streets and the building footprints. Once the streets are imported they may be offset from the terrain and this can be remedied by using the Align Graph to Terrain tool in CityEngine.
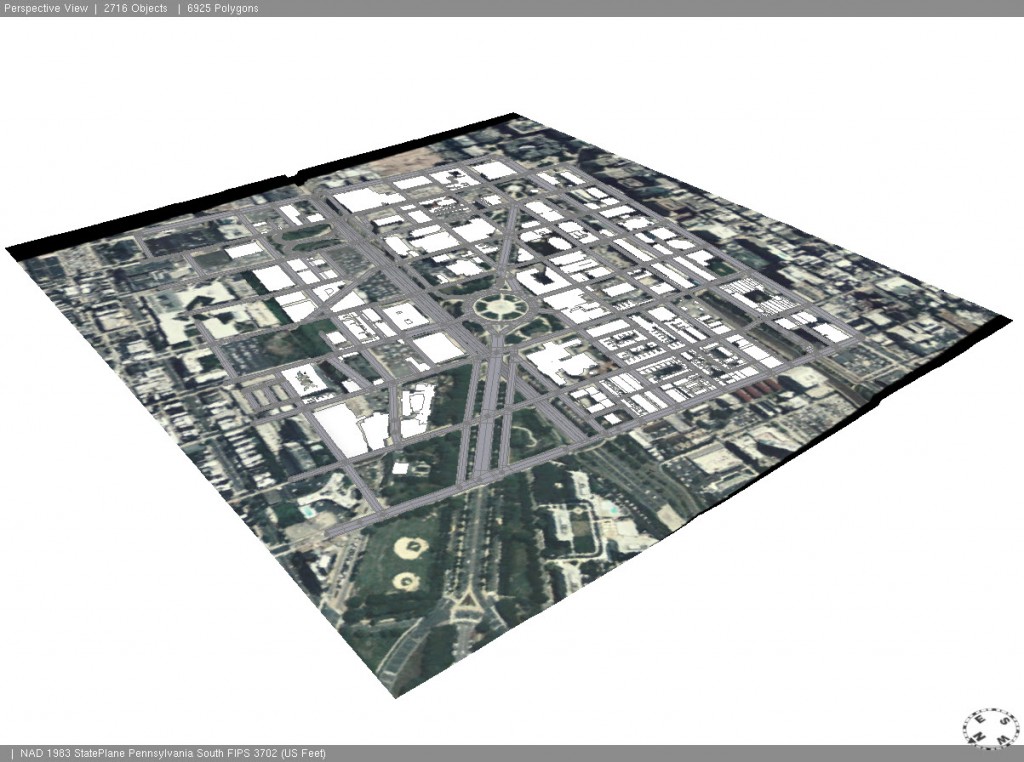
Adding streets and building footprints.
Projection
Once you have the terrain, texture, streets, and building data, the next step in data preparation is ensuring that your data is correctly projected. It is good practice to ensure that all layers are in the same Projected Coordinate System. CityEngine does not support Geographic Coordinate Systems such as WGS 1984 or NAD 1983 for the scene coordinate system, so the scene will need to be in a Projected Coordinate system. Additonally, CityEngine can only apply datum transformations for vector data. For terrains and textures you must ensure the datum matches the datum used in the scene. We recommend bringing the data into ArcMap prior to importing into CityEngine to ensure that everything lines up correctly and has the same projection. If you are downloading your data from OpenStreetMap, the OSM data format is not supported by ArcMap, so CityEngine will reproject the data to the scene projection and perform a datum transformation, if necessary (OSM uses the WGS 1984 Geographic Coordinate System.)
CGA rules
Once all data has been added to your scene, you can start the actual modeling. CityEngine uses CGA (Computer Generated Architecture) rules to programmatically generate buildings from footprints or lots. These rules determine the geometry of each building created (has four walls and a roof) as well as color, textures, height, number of floors, roof shape, and so forth. CGA rules usually have an element of randomness so that the city has a natural and varied appearance. For example, a rule could be created that all buildings are between 30 and 50 feet high and have roofs with pitches between 20 and 30 degrees.
Writing CGA rule files can be an involved process, but fortunately there are a number of pre-existing CGA rule files available to get you started:
- The Buildings_From_Footprints.cga file found in the Esri.lib project (installed with CGA.)
- A number of CityEngine projects with CGA files have been made available for public use and are available on ArcGIS Online by the CityEngine team here.
- Esri also provides a number of tutorials and examples, most of which come with pre-made CGA files which can be copied and modified, and these can be found here.
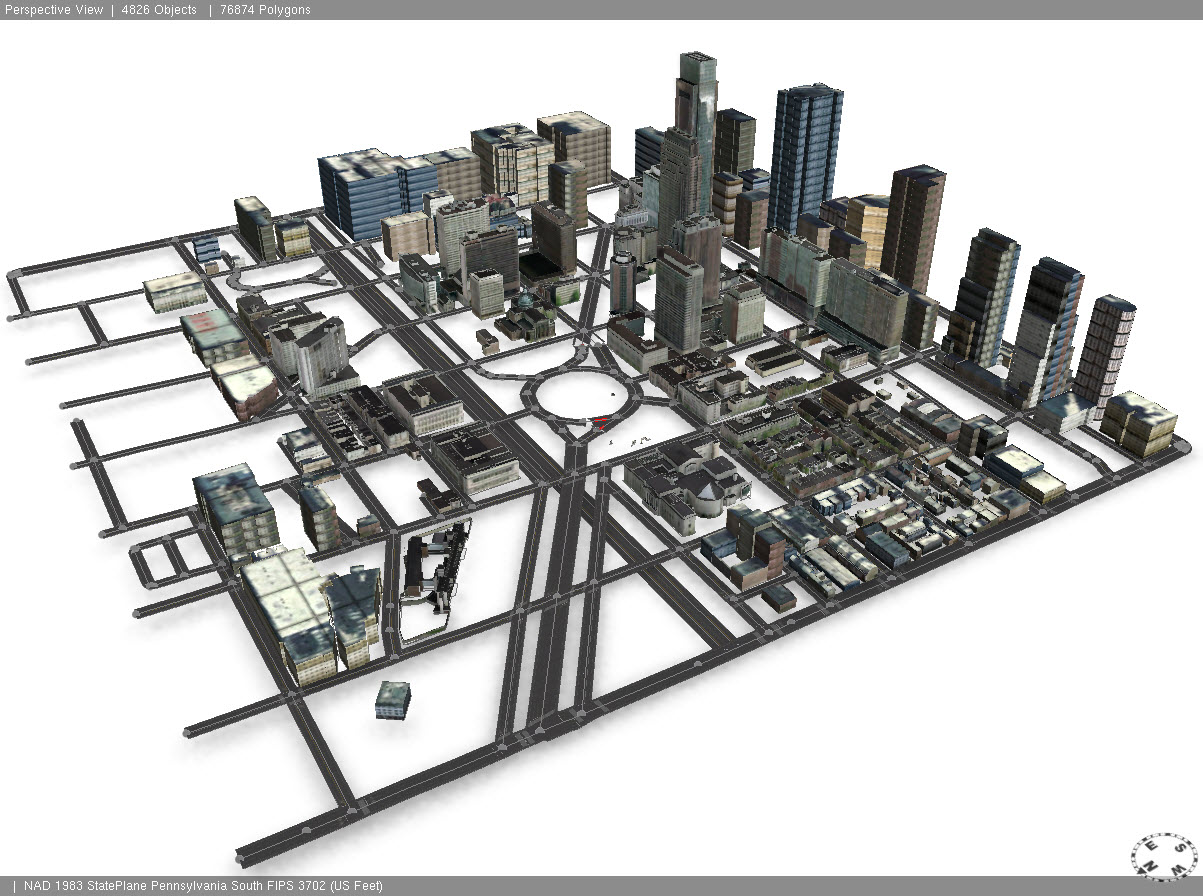
If you are interested in writing your own CGA files, check out this tutorial as well as the CityEngine manual.
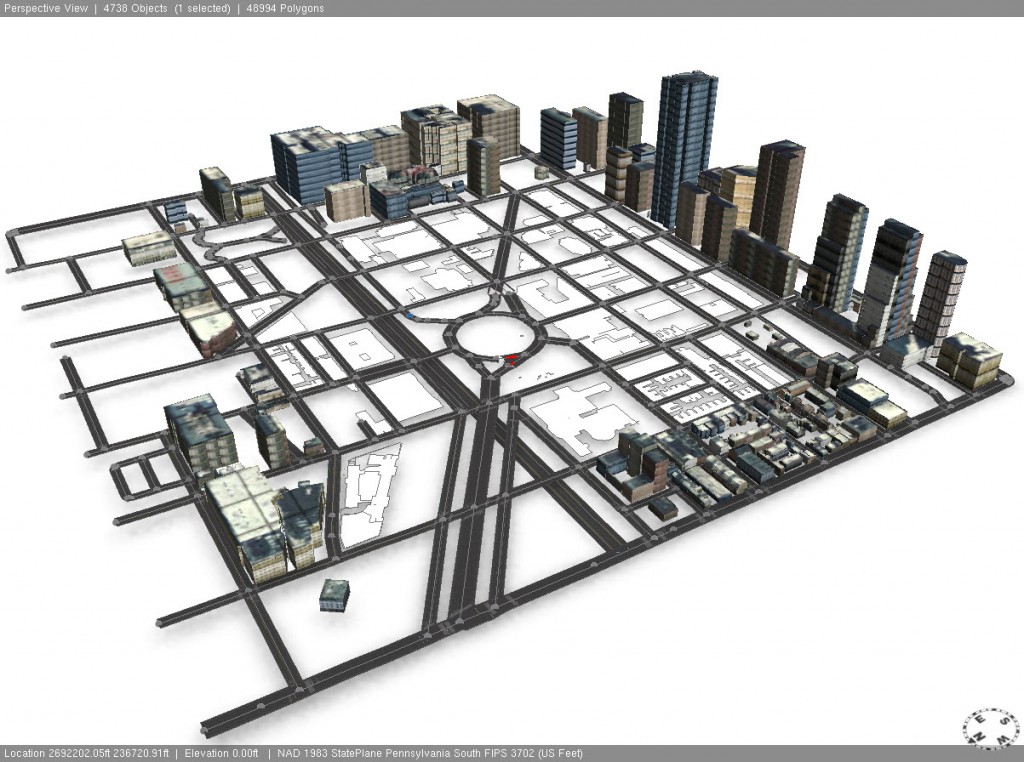
The building footprints and streets after CGA rules have been applied
3D models
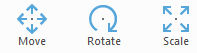
If you have areas of the city with distinct architecture or landmark buildings, you may want to consider adding pre-constructed 3D models. These models can be created in one of the many 3D modeling software programs, such as Blender or 3ds Max, or purchased on a 3D warehouse such as 3D Warehouse or Turbo Squid. Just be sure that the models are in one of the supported formats (multipatch, DAE, FBX, KML, KMZ, and OBJ). Most 3D models are not created in projected space, but once they are added to CityEngine they can be scaled, rotated, and positioned as needed.

Adding 3-D models to the scene
How big can I go?
One question that we are frequently asked is “How big of a city can I have in CityEngine?”
There is no hard and fast rule for this, as it depends on the number of shapes, the complexity of the models, the number of textures, as well as your system memory and graphics card. You can check the system requirements and recommendations to see if your system can support CityEngine.
Remember that CityEngine is a modeling tool and not a visualization tool. When you are testing your rule files, it is generally good practice to only generate a portion of your city. This will improve performance both for the model generation and drawing. Then, when you have finalized the rules, you can generate all the models and export it to several different file formats (such as multipatch, DAE, FBX, KML/KMZ, OBJ, CityEngine Web Scene 3ws, Renderman RIB, and e-on Vue VOB) with the expectation that this may take some time if your city is very large.
Once the data is prepared, creating your model is just a question of bringing the data into a scene and applying the rule files. From there, you can refine your model by improving the CGA rule files, growing new streets and parcels to plan new developments, or creating a complex city with different rules for different sections of the city.
For more information about getting started with CityEngine, check out the links below.
Additional Resources:
Rebecca R. and Andrew J. - Desktop Support Analysts
 3D data is becoming more ubiquitous nowadays and is especially promoted throughout the ArcGIS Platform. From web scenes, to CityEngine, to ArcGIS Pro, there are many different applications to import, manage, model, and share your 3D data. To get the output you are looking for, it may require numerous steps and tools. To navigate some of these steps and tools, here are some tips and tricks for working with 3D data in ArcGIS.

 Note: There is known issue with the Import 3D files tool. The placement points parameter is not honored so as of ArcGIS 10.4.1 or ArcGIS Pro 1.3, this tool is not a viable option. This issue is planned to be fixed in a future release.
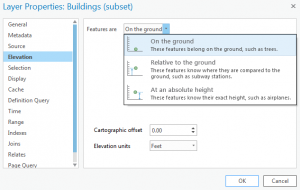 set the multipatch data "on the ground" and use the


 CityEngine is a great way to create entire cities of textured, 3D building models without designing every building. These models can be used in 3D scenes, animations, and game platforms. However, when exporting models made in CityEngine to third-party software, there are a number of considerations. This blog post reviews settings options in the Export wizard to help you render CityEngine models in third-party software.
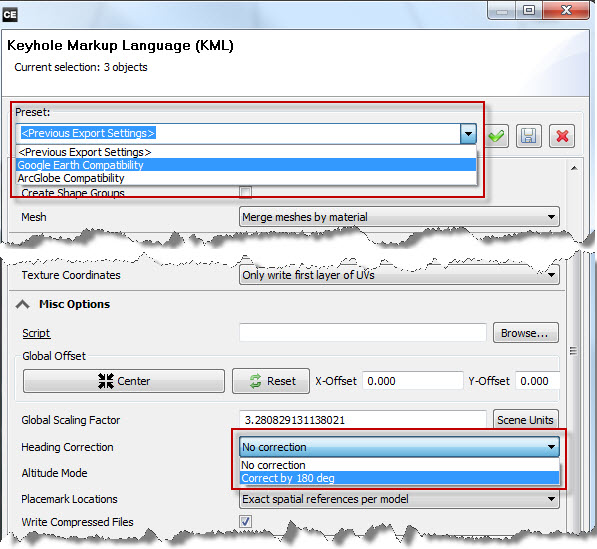 The Google Earth option sets a heading correction of 180 degrees. This allows the model to display correctly. Keep in mind though, if you apply the Google Earth preset, the KML will not display correctly in ArcGlobe.
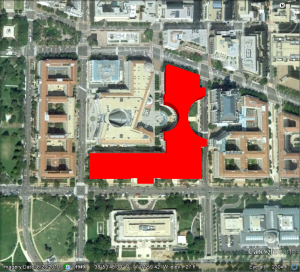


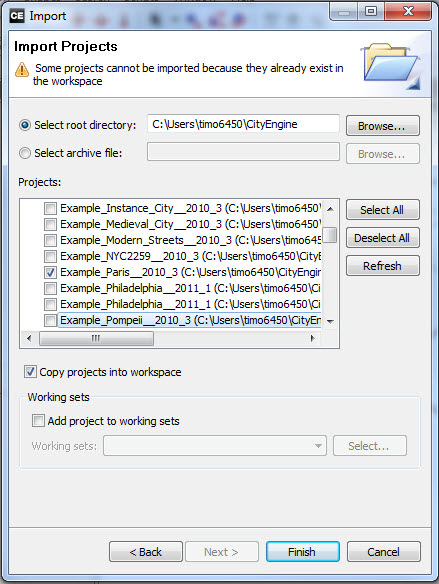
 CityEngine is a powerful product that can build amazing cityscapes. Digging into this software can be a little tricky at first; however, the more you use it, the easier the functionality becomes.
 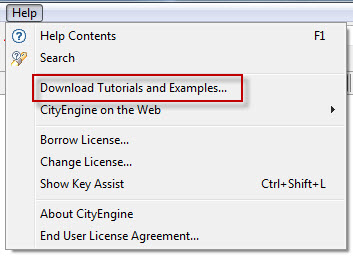 Open the Help menu > Download Tutorials, then download the desired Tutorials and Examples from the
 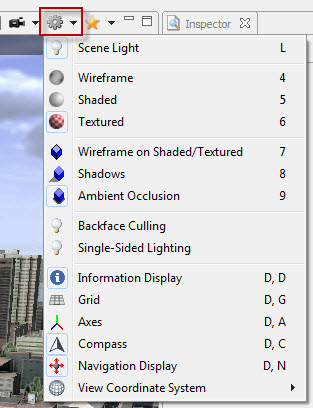 There are a wide range of view settings that can be accessed from the Viewport settings dropdown. To the scene, you can alter lighting settings, activate reference information (grid, axes, compass, etc.).
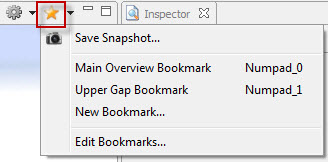 From the bookmarks button in the viewport, you can access the functionality to save a snapshot/screenshot. The output dimensions can be set along with additional information elements. There are a variety of formats available to save the screenshot (.png, .jpg, .tiff, .bmp, etc.).
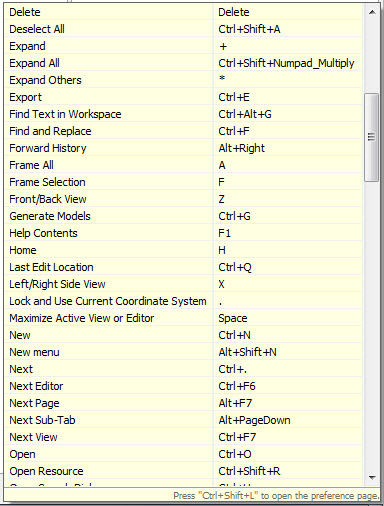 The Key Assist can be accessed from the Help menu or by pressing CTRL + SHIFT + L. This will open a dialog at the bottom right corner with a list of all the shortcut keys.
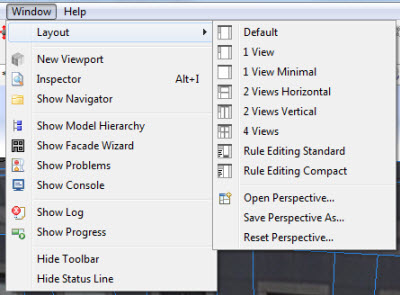 There are many windows available within CityEngine, and you may find yourself looking for a specific one, such as the Viewport or Navigator. The Window Menu will give you access to all windows individually.