- Home
- :
- All Communities
- :
- Developers
- :
- Native Maps SDKs
- :
- .NET Maps SDK Questions
- :
- Re: How to create 3d surface in .net wpf using iso...
- Subscribe to RSS Feed
- Mark Topic as New
- Mark Topic as Read
- Float this Topic for Current User
- Bookmark
- Subscribe
- Mute
- Printer Friendly Page
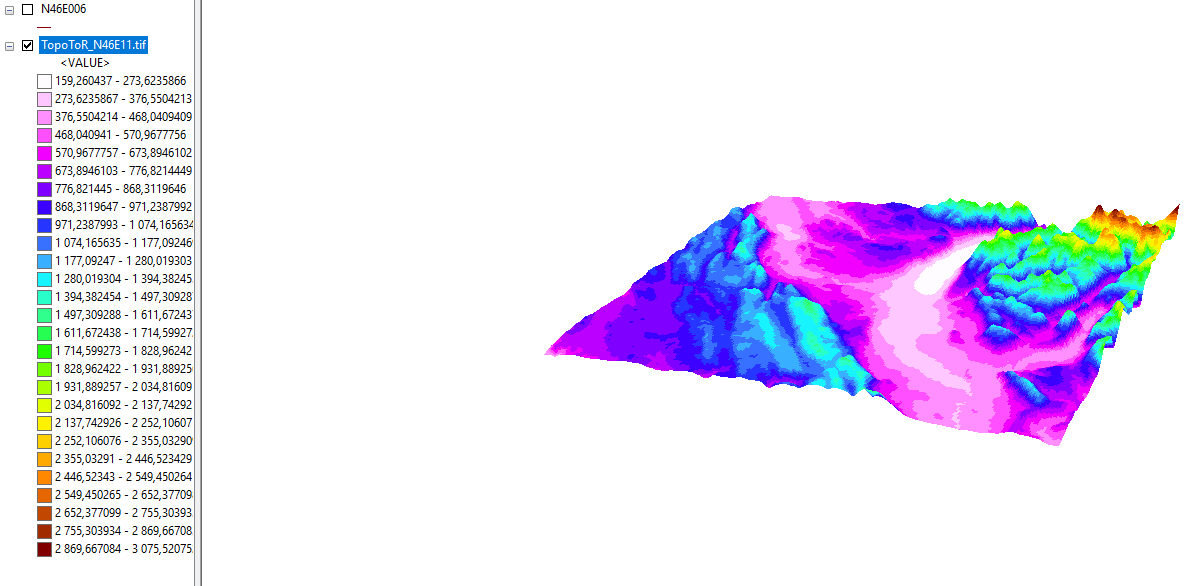
How to create 3d surface in .net wpf using isolines or tiff data file? To get something like that 3d surface on picture but in the wpf .net application
- Mark as New
- Bookmark
- Subscribe
- Mute
- Subscribe to RSS Feed
- Permalink
- Report Inappropriate Content
- Mark as New
- Bookmark
- Subscribe
- Mute
- Subscribe to RSS Feed
- Permalink
- Report Inappropriate Content
Hi,
The following Guide topics will help explain:
- Build a new scene—ArcGIS Runtime SDK for .NET | ArcGIS for Developers
- Add raster data—ArcGIS Runtime SDK for .NET | ArcGIS for Developers
Thanks
Mike
- Mark as New
- Bookmark
- Subscribe
- Mute
- Subscribe to RSS Feed
- Permalink
- Report Inappropriate Content
Hi, Michael. Thank you for answer. But i didnt catch anything from this. I have a TIFF file path C:\Users\user123\Documents\ArcGIS\11062020\TopoToR_N46E11 and want to create 3d surface in wpf app using this file. Could you please show code example in my case? Thank you)
- Mark as New
- Bookmark
- Subscribe
- Mute
- Subscribe to RSS Feed
- Permalink
- Report Inappropriate Content
I tried this one from your link:
- Create a scene and assign it to a scene view.
// create a new scene with a topographic basemapvar myScene = new Scene(Basemap.CreateTopographic()); // add the new scene to the scene viewMySceneView.Scene = myScene;Add an elevation surface and apply it to the scene.
// create an elevation sourcevar elevationSource = new ArcGISTiledElevationSource(new System.Uri("C:\\Users\\user123\\Documents\\ArcGIS\\11062020\\TopoToR_N46E11.tiff")); //-----added my filepath to tiff file// create a surface and add the elevation surfacevar sceneSurface = new Surface(); sceneSurface.ElevationSources.Add(elevationSource); // apply the surface to the sceneMySceneView.Scene.BaseSurface = sceneSurface;

And it doesn't work(
- Mark as New
- Bookmark
- Subscribe
- Mute
- Subscribe to RSS Feed
- Permalink
- Report Inappropriate Content
Hi,
Does it work if you use the RasterElevationSource Class?
The tiled elevation source should be used when you have elevation encoded tile packages (Share a tile package—ArcGIS Pro | Documentation).
Thanks
Mike
- Mark as New
- Bookmark
- Subscribe
- Mute
- Subscribe to RSS Feed
- Permalink
- Report Inappropriate Content
Michael, thank you for your answer. I took the program code from RasterElevationSource Constructor. I have .tiff file. I dont have .dt2 file. What data should i insert in GetDataFolder method?:
string packagePath = DataManager.GetDataFolder("98092369c4ae4d549bbbd45dba993ebc", "MontereyElevation.dt2");
I tried
string packagePath = DataManager.GetDataFolder("i dont know what should be there  ", "tifffile.tiff");
and i still haven't found the way to make it works
", "tifffile.tiff");
and i still haven't found the way to make it worksThank you
- Mark as New
- Bookmark
- Subscribe
- Mute
- Subscribe to RSS Feed
- Permalink
- Report Inappropriate Content
If somebody is interested in. There is my solution that works. it is made on mvvm like pattern
First. Class SceneViewmodel:
public class SceneViewModel : UserControl, INotifyPropertyChanged
{
public SceneViewModel()
{
CreateNewScene();
}
Scene _scene;
/// <summary>
/// Gets or sets the map
/// </summary>
public Scene Scene
{
get { return _scene; }
set { _scene = value; OnPropertyChanged(); }
}
/// <summary>
/// Raises the <see cref="MapViewModel.PropertyChanged" /> event
/// </summary>
/// <param name="propertyName">The name of the property that has changed</param>
protected void OnPropertyChanged([CallerMemberName] string propertyName = null)
{
var propertyChangedHandler = PropertyChanged;
if (propertyChangedHandler != null)
propertyChangedHandler(this, new PropertyChangedEventArgs(propertyName));
}
public event PropertyChangedEventHandler PropertyChanged;
private async void CreateNewScene()
{
Scene newScene = new Scene(Basemap.CreateImagery());
RasterElevationSource elevationSource = new RasterElevationSource(new[] { @"C:\Users\user\Downloads\tif3dmap1.tif" ,@"C:\Users\user\Downloads\tif3dmap2.tif" });
await elevationSource.LoadAsync();
Surface elevationSurface = new Surface();
elevationSurface.ElevationSources.Add(elevationSource);
elevationSurface.ElevationExaggeration =20;//depends on how deep relief on the surface you want
await elevationSurface.LoadAsync();
newScene.BaseSurface = elevationSurface;
Scene = newScene;
Scene.InitialViewpoint = new Viewpoint(elevationSource.FullExtent);
}
}
Second. MainWindow.xaml.cs:
public partial class MainWindow : Window
{
public MainWindow()
{
InitializeComponent();
var SceneViewModel = new SceneViewModel();
this.DataContext = SceneViewModel;
}
}
Third. MainWindow.xaml:
<Window x:Class="ArcGISApp5.MainWindow"
xmlns="http://schemas.microsoft.com/winfx/2006/xaml/presentation"
xmlns:x="http://schemas.microsoft.com/winfx/2006/xaml"
xmlns:d="http://schemas.microsoft.com/expression/blend/2008"
xmlns:mc="http://schemas.openxmlformats.org/markup-compatibility/2006"
xmlns:esri="http://schemas.esri.com/arcgis/runtime/2013"
xmlns:local="clr-namespace:ArcGISApp5"
mc:Ignorable="d"
Title="MainWindow" Height="525" Width="790">
<Window.Resources>
<local:SceneViewModel x:Key="SceneViewModel" />
</Window.Resources>
<Grid>
<esri:SceneView x:Name ="MySceneView" Scene="{Binding Scene}" >
</esri:SceneView>
<Border Background="White" BorderBrush="Black" BorderThickness="1"
HorizontalAlignment="Right" VerticalAlignment="Top"
Margin="30" Padding="20" Width="355">
<Border.Effect>
<DropShadowEffect/>
</Border.Effect>
<StackPanel>
<TextBlock x:Name="ScreenCoordsTextBlock" Foreground="Black"
HorizontalAlignment="Left" VerticalAlignment="Center"
Text="Screen Coords: " TextWrapping="Wrap" FontWeight="Bold" />
<TextBlock x:Name="MapCoordsTextBlock" Foreground="Black"
HorizontalAlignment="Left" VerticalAlignment="Center"
Text="Map Coords: " TextWrapping="Wrap" FontWeight="Bold" />
</StackPanel>
</Border>
</Grid>
</Window>