- Home
- :
- All Communities
- :
- Products
- :
- ArcGIS CityEngine
- :
- ArcGIS CityEngine Questions
- :
- Re: Creating a bridge overpass with Pillar support...
- Subscribe to RSS Feed
- Mark Topic as New
- Mark Topic as Read
- Float this Topic for Current User
- Bookmark
- Subscribe
- Mute
- Printer Friendly Page
Creating a bridge overpass with Pillar supports
- Mark as New
- Bookmark
- Subscribe
- Mute
- Subscribe to RSS Feed
- Permalink
Hallo there,
Am new to city engine but have been working on it for a few days now, seems pretty interesting in generating 3D models, been working with the default CGA rules that i manage to download. I had an issue while trying to develop an overpass bridge over an roundabout, the overpass is ment to act as a link to two bike lanes that are diconnected by the roundabout.
After geting my streets from get maps data OSM data, option I created a street to act as an overpass but when I try generating a bridge from the "Generate Bridges" tool it does not extrude above but levels down same as the other streets, I was forced to elevate the street crossing over the round about by using the move tool. my problem come in when I want to produce pillars to help support the bike street above that crosses over the roundabout.
Anyone with an idea on how to go about this please, I'll appreciate the help
Attached please check out the overpass street m
model
Thanks
- Mark as New
- Bookmark
- Subscribe
- Mute
- Subscribe to RSS Feed
- Permalink
Generate Bridges tool
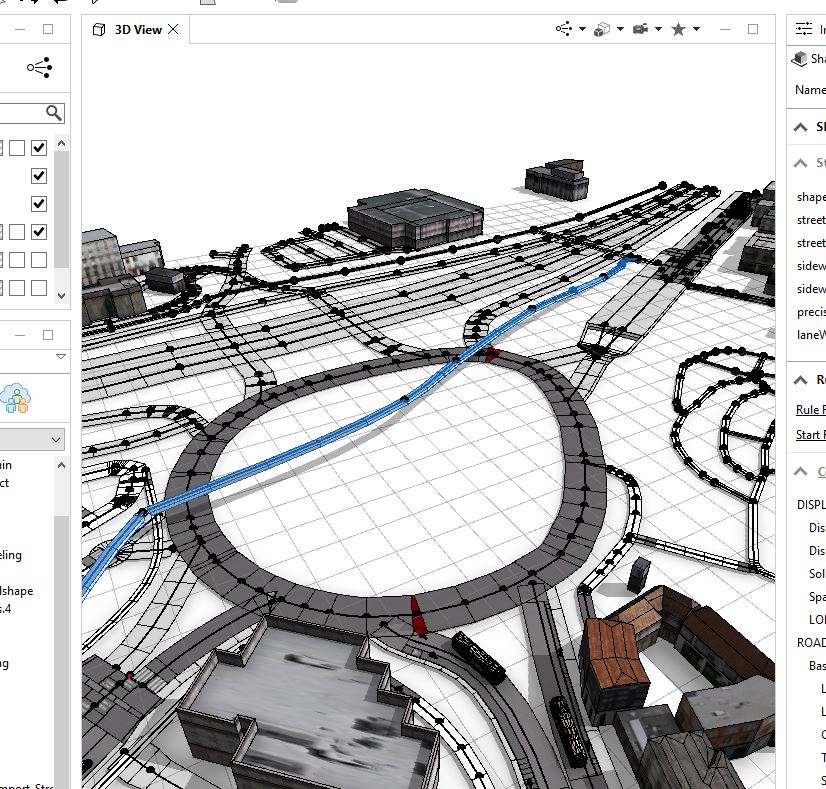
Consider these two streets which seem to cross each other but don't actually intersect (there is no graph node at the intersection). One street is the elevated bike path, and the other is the busy road underneath the bike path.

If one street has a smaller street width than the other street, then the Generate Bridges tool will automatically decide to put the narrow street at a higher elevation, making it the bridge.
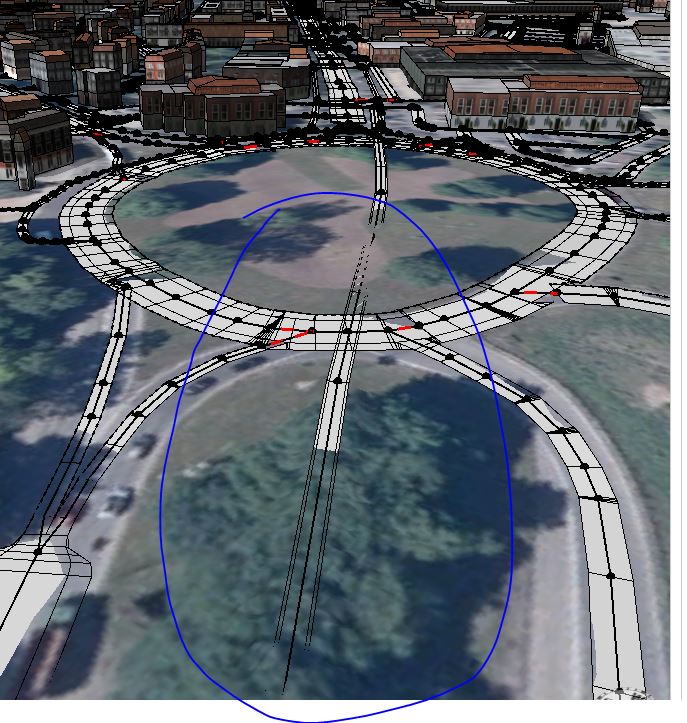
Alternatively, you can specify which street is at which level through an object attribute. This might already be specified if you've downloaded OSM data. Select the graph segments you want to make into a bridge (the bike path), and create an object attribute called "layer" with the value 1. You can optionally create the object attribute "layer" on the other graph segment and set it to 0. If there are other graph segments, you can specify different layer numbers. For example, if you have yet another road on top of the bike path, then you can set layer=2 for that road.

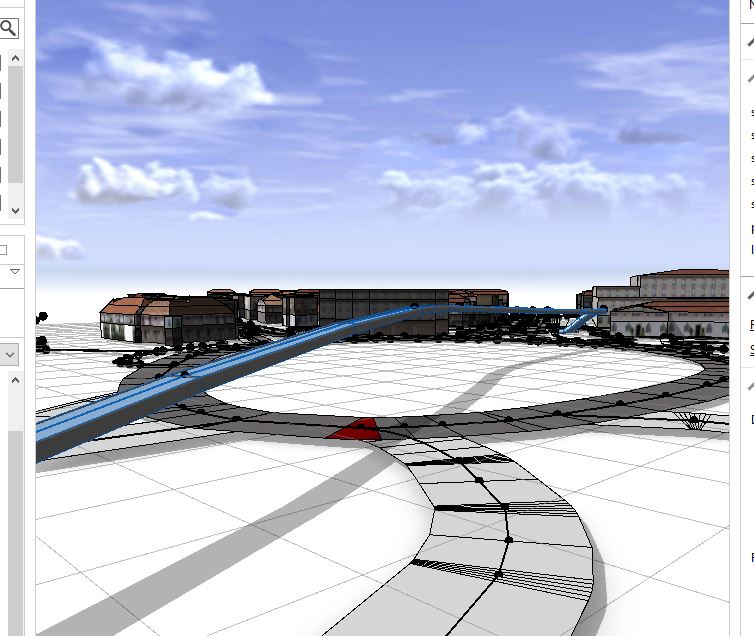
Select the streets and run the Graph -> Generate Bridges tool. The bike path will be elevated 5m above the road since Level height = 5. The object attribute called layer is used to determine which street is on top of the other.


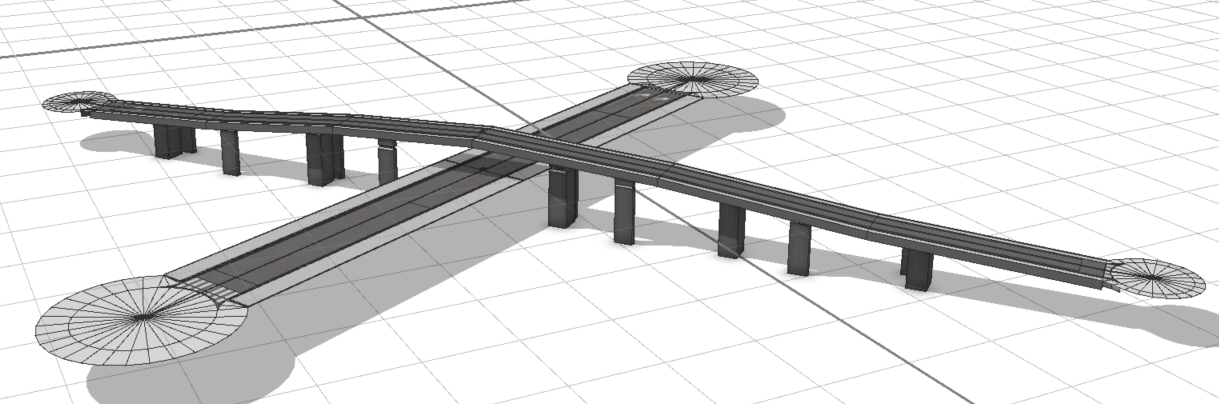
In the Complete Streets example (Help -> Download Tutorials and Examples), the Complete_Street.cga and the Advanced_Street.cga rules both offer options to create bridges with pillars underneath. The Bridge attributes can be found in the Inspector.

Here is the result of applying the Complete_Street.cga rule to the bridge.
For more information about the settings, please see the help docs:
------
When downloading streets from OSM, it is likely that you already have an object attribute that specifies which level each street is. Look for this object attribute which says the ground street is 0, the first level bridge street is 1, the second level bridge street is 2, and so on. You can set this attribute in the Generate Bridges dialog where it says "Object attribute for level". There is another setting called "Object attribute for absolute height". You have both of these set to "height", and the latter might be overriding the first. If there is another object attribute which specifies the street level, then, I would change the first setting to be the name of this attribute. If there is an object attribute called "height", which you don't want to use, then I would set the second setting to an empty string. Also, you should make sure to select both the ground streets and the bike paths when running the Generate Bridges tool.
- Mark as New
- Bookmark
- Subscribe
- Mute
- Subscribe to RSS Feed
- Permalink
This video is about created an elevated rail guideway: