3D Gridded Terrain Tiles from DEM Rasters
- Subscribe to RSS Feed
- Mark as New
- Mark as Read
- Bookmark
- Subscribe
- Printer Friendly Page
- Report Inappropriate Content
At Esri, we constantly receive the question "can Esri software generate 3D gridded terrain tiles from elevation rasters". Well, the answer is yes!
Whether you are a 3D environment artist focusing on film, gaming, or rendering, an AEC Professional, or GIS expert interested in a non-TIN based approach to terrain surface generation you will find the following post helpful.
The following workflow requires ArcGIS Pro and Esri CityEngine.
Process:
- Create a new ArcGIS Pro Project.
- Install the Toolbox in ArcGIS Pro
- Download the "Generate3DTerrainGridTools" here: gen3DTerrainGrid.zip - Box
- Unzip the .zip folder to your computer at your location of choice.
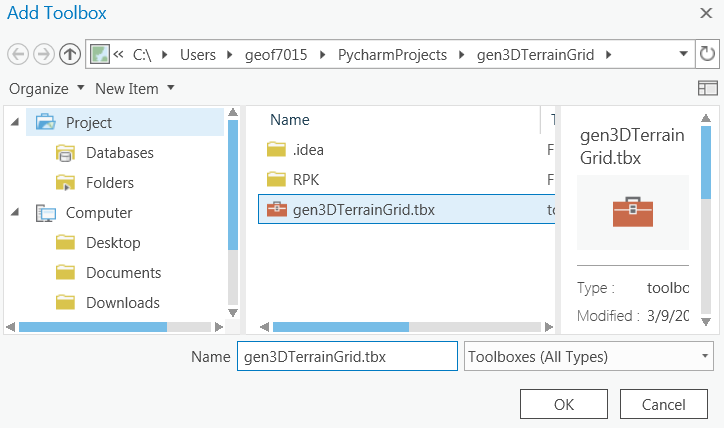
- In the "Catalog" tab in ArcGIS Pro "Right Click" on "Toolboxes" and select "Add Toolbox"
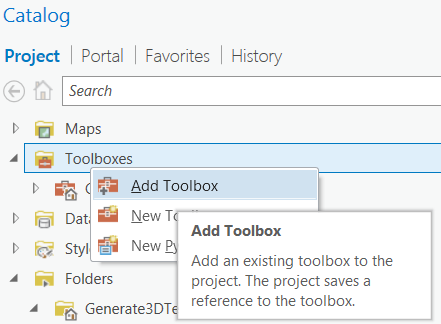
- Search for the toolbox within the folder you extracted.
- You should now see the script tools in the toolbox in ArcGIS Pro catalog.

- Open the "Generate 3D Terrain Grid" tool
- Input your DEM Raster, choose the Output GeoDatabase, and Output Feature Class Name and click "RUN"
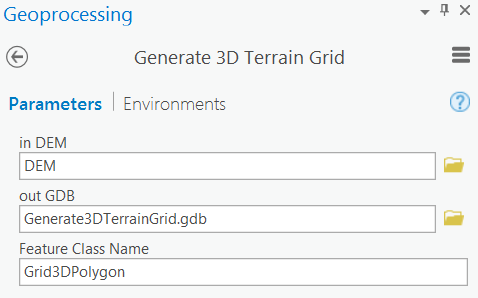
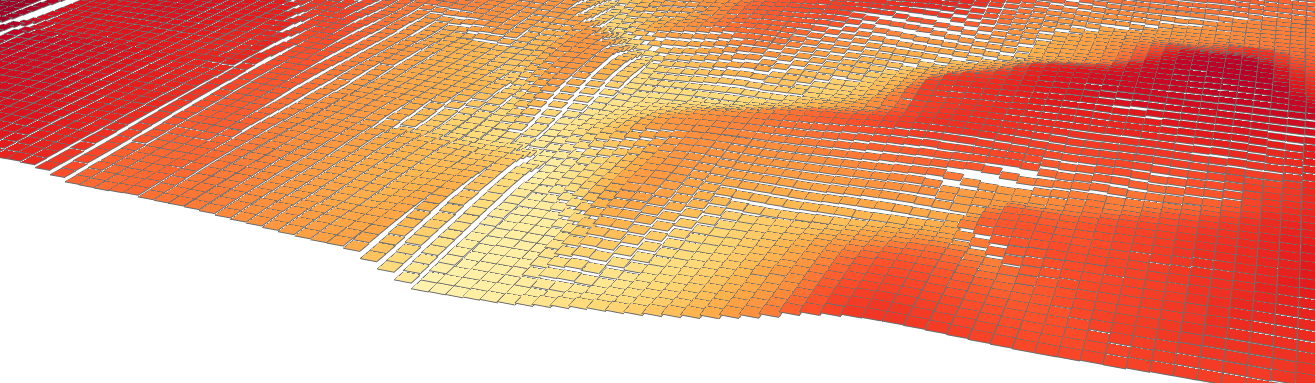
- The output will be convert your raster pixels to 3D polygons at their respective elevation.
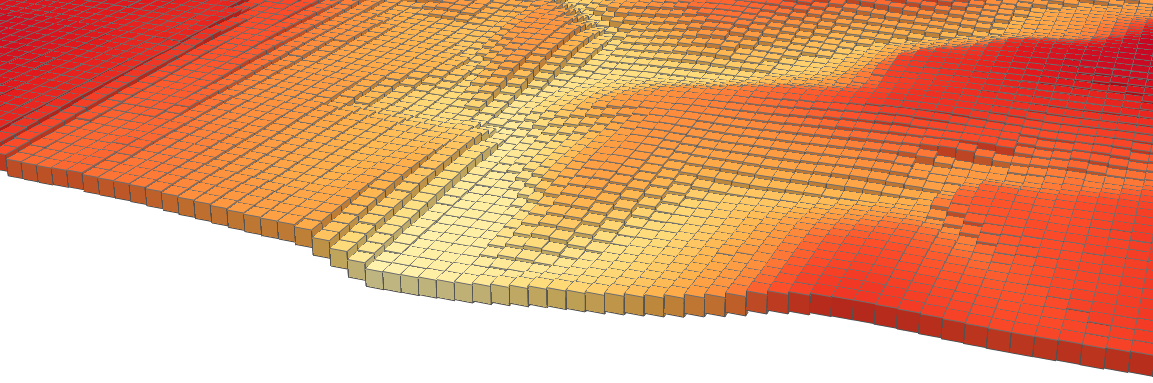
- You can symbolize the data if your want, use the extrude tool in the "genTerrainGrid toolbox" to create a voxel representation or continue to the next step below to continue creating a watertight 3D Mesh.
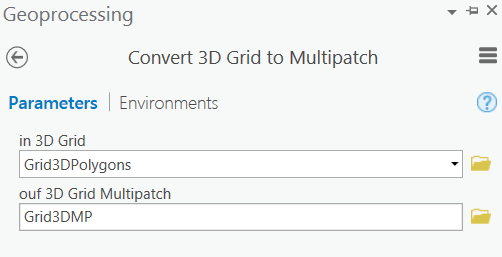
- Run the "Convert 3D Grid to Multipatch" GP tool
- input the Grid3DPolygons from the previous tool and select the output location for the Multipatch Grid.
- **Processing time will depend on the number of total polygons.
- The resulting data is a single MultiPatch feature.
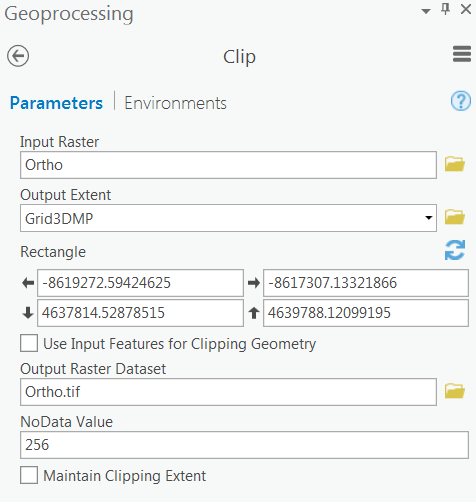
- Lastly, if you want to place imagery on the final model you can do this by clipping the raster/s to the extent of the Grid3DMP feature
- Download the following CityEngine Project files here: texture3DGridCE.zip - Box
- In CityEngine Navigate to File --> Import:
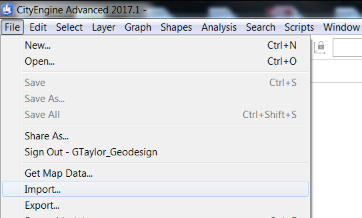
- Choose "Existing Projects into Workspace"

- "Select Archive File" and Import the "texture3DGridCE.zip"

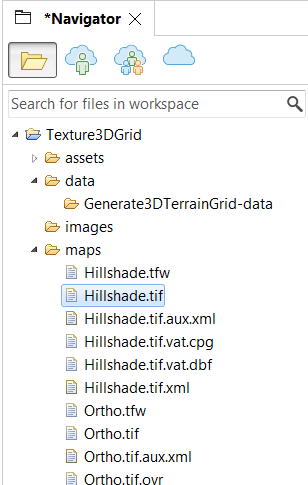
- You will now see the "Texture3DGrid" Project in the "Navigator" panel in CityEngine
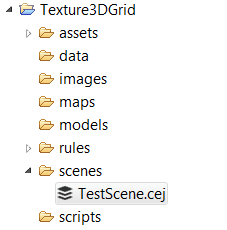
- Either Create a new Scene or open the default "TestScene.cej" file.
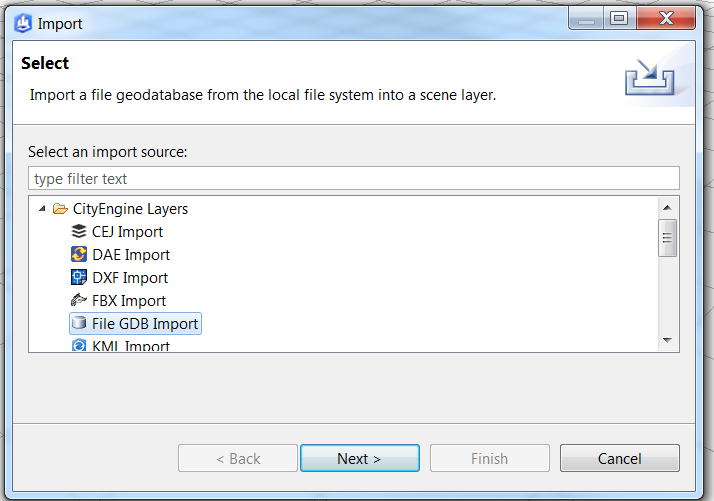
- Select File--> Import --> File GDB Import
- navigate to your ArcGIS Pro project and import the file Geodatabase you saved the "Grid3DMP" file to.

- Select only the Grid3DMP file or whatever you named the multipatch file and click Finish.

- The Grid will be loaded into CityEngine.
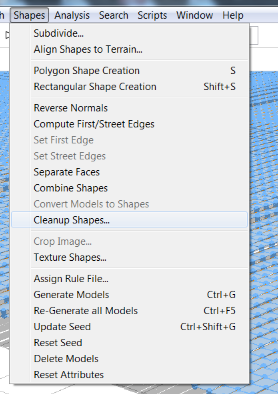
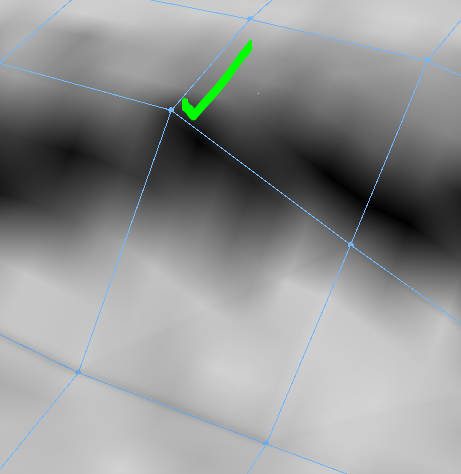
- With the Grid Still Selected navigate to "Shapes --> Cleanup Shapes"
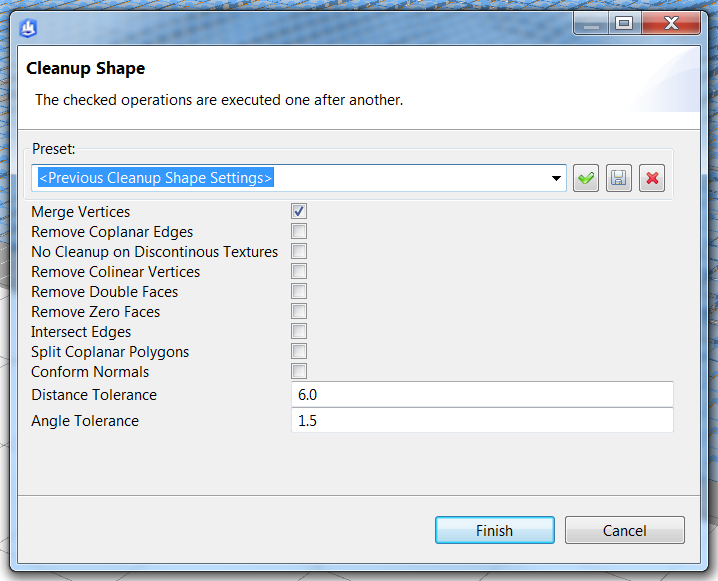
- Select only "Merge Vertices" and set the "Distance Tolerance" to slightly less than the geometry width or height depending on which is smaller. Also keep in mind CityEngine is in Metric so if your data is in feet you need multiply the value by 0.3048.
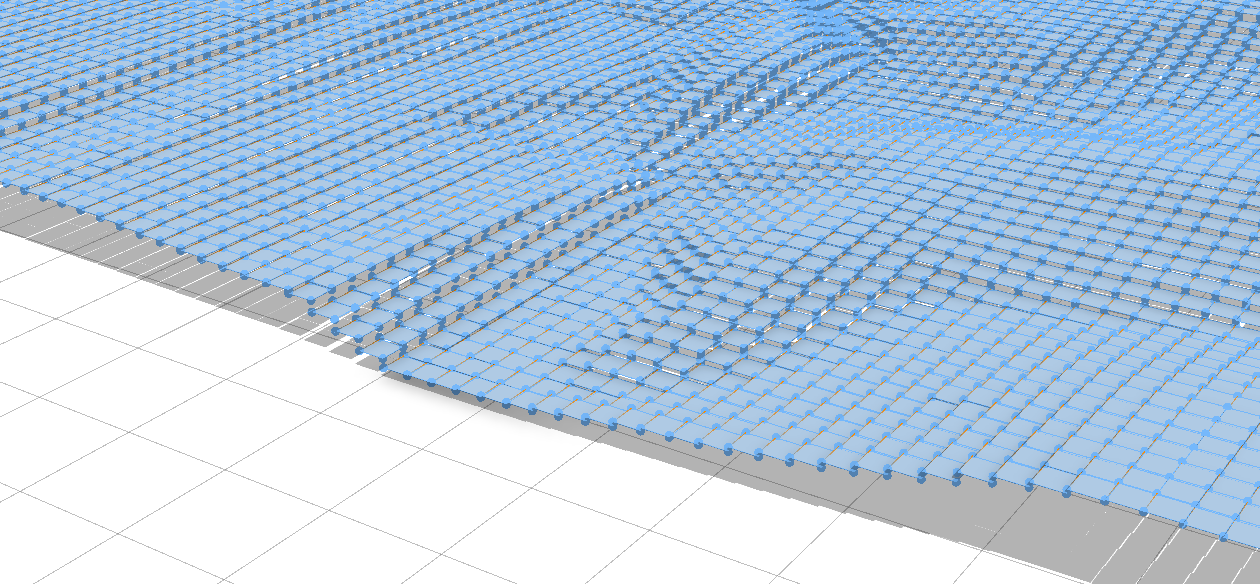
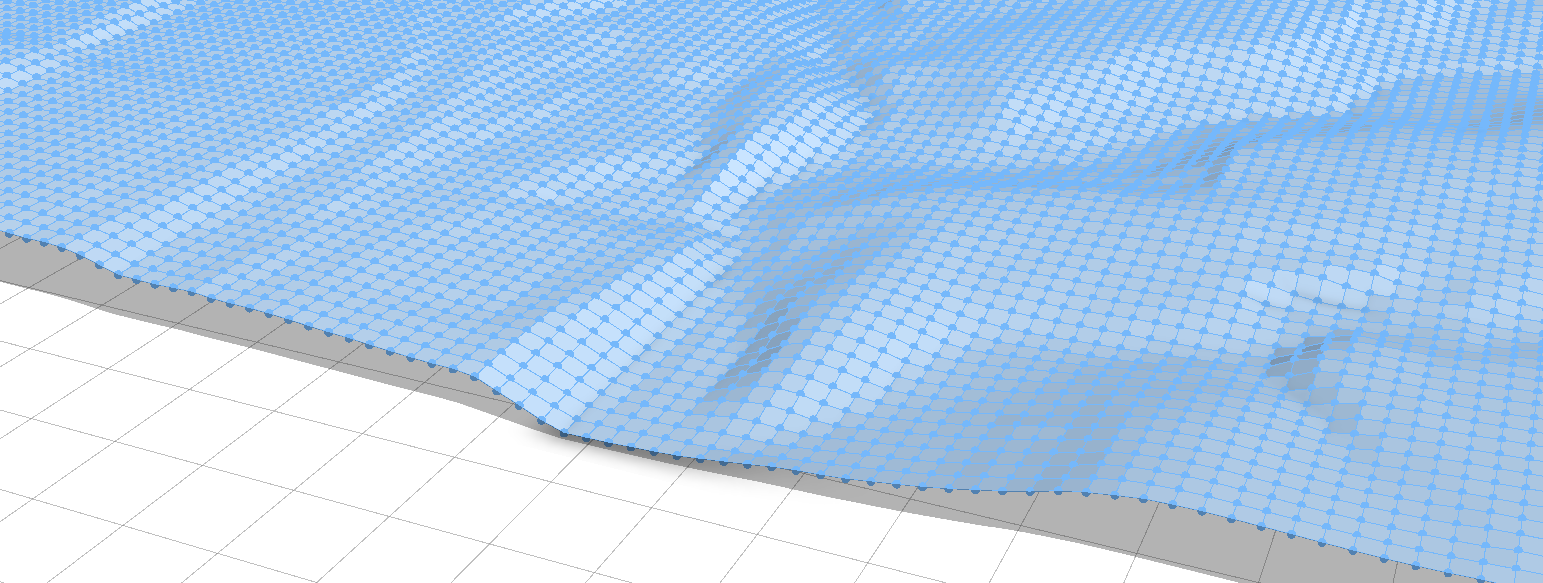
- Click finish and your result will be as follows:
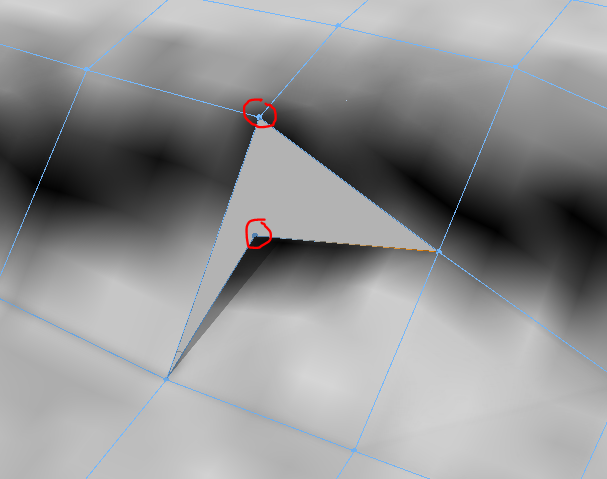
- In some circumstances the distance between vertices is greater than the width of pixels. In these cases just manually select the vertice point, move it closer to the above point and re-run the cleanup shape process.

- In CityEngine Navigate to File --> Import:
The Cityengine process above and below can also be automated with python scripting. We are looking to implement this soon.
- Texturing the Terrain in CityEngine.
- Copy your .tif or .jpg files you clipped rasters to from the previous process in ArcGIS Pro to the "maps" folder in your CityEngine Project.
- Drag and Drop the Hillshade.tif file into the viewport but do not import the files. We just want to note the X size and Z size values. This is the Length and Width of the Raster.

- Drag and Drop the "textureFeatureFromOrtho.cga" rule on the 3D model.

- Click on the 3D Model and the procedural rule options will appear in the inspector
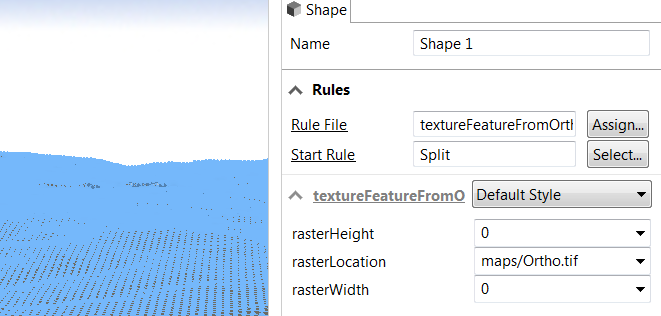
- Update the raster height and raster width the raster width and height numbers you noted earlier (X, Z)
- Under the drop down next to "rasterLocation" use the "browse" option to select the raster you want to texture the model with. Be sure not to mix-up the rasterHeight and rasterWidth values or the image will tile several times on the geometry.
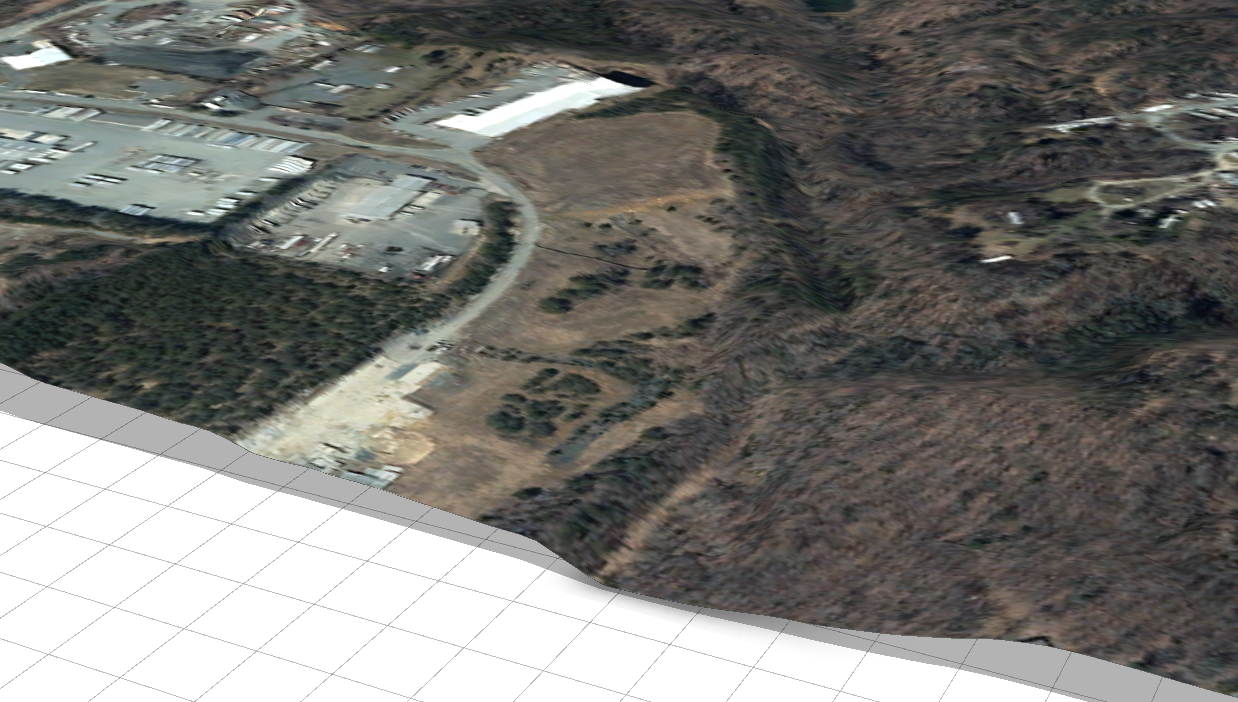
- The texture model should look as follows:

Exporting the Model for 3rd party programs, SceneLayer Package, or to GeoDatabase to migrate back to ArcGIS Pro.
- Select the model and go to File--> Export or select "Ctrl+E" to open the file export settings dialogue.

- Select your format of choice and check your ideal settings and export the models
- The models by default will be placed in the "model" folder of your CityEngine Project.
You must be a registered user to add a comment. If you've already registered, sign in. Otherwise, register and sign in.